
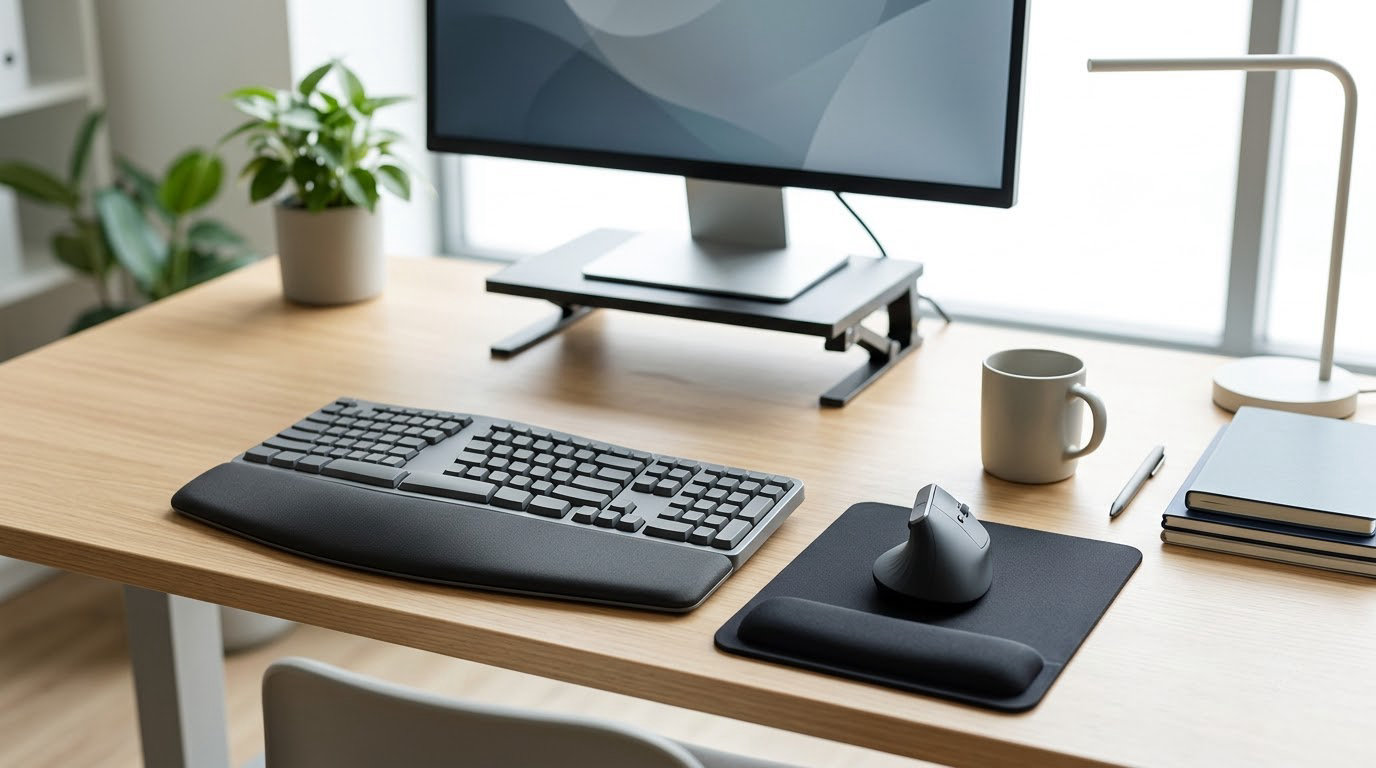
Carpal tunnel prevention at work comes down to three things: a neutral wrist, fewer forceful repetitions, and short breaks taken before you feel anything. Carpal tunnel syndrome happens when the median nerve is squeezed as it passes through a narrow, rigid passage at the wrist, and the workplace exposures behind it — repetition, force, awkward wrist posture, and hand-arm vibration — are the kind of thing a person or a team can actually change.
This guide is written for employees, managers, and safety teams, whether the job is typing all day, running a power tool, or scanning items at a checkout lane. It is general workplace information, not a diagnosis or a treatment plan; numbness, weakness, or pain that lingers belongs with a qualified healthcare professional.
Table of Contents
- What You Need
- Carpal Tunnel Prevention at Work: A Step-by-Step Plan
- Step 1: Map High-Risk Tasks and Repeated Hand Movements
- Step 2: Adjust the Workstation to Keep the Wrist Neutral
- Step 3: Alternate Tasks and Reduce Repetition
- Step 4: Use Light Pressure and Neutral Hand Technique
- Step 5: Take Microbreaks Before Symptoms Build
- Step 6: Review Tools, Gloves, and Workload
- Wrist rests, braces, and gloves: what the evidence actually supports
- Step 7: Report Persistent Numbness or Weakness Early
- Step 8: Involve Workers in Ergonomic Changes
- Step 9: Check Whether the Prevention Plan Is Working
- Common Mistakes
- Frequently Asked Questions
- Can a desk job cause carpal tunnel syndrome?
- Can using a computer mouse cause carpal tunnel syndrome?
- How do I prove carpal tunnel is work-related?
- Do I need to take time off work for carpal tunnel?
- Do wrist braces and wrist rests help at work?
- Does mouse arm syndrome go away, and is it the same as carpal tunnel?
- What to Do First
What You Need
Prevention fails when it starts with equipment. You need a clear picture of the work before anyone buys a thing, and that means gathering a few things up front.
- A qualified ergonomic assessor. An occupational health clinician, a certified ergonomist, or a safety lead trained in manual musculoskeletal disorders. For real exposures like assembly lines and fabrication, an assessment by someone who has seen them before matters more than a generic desk checklist.
- Accurate task detail. How many hours a day sit at the mouse, how heavy the tool is, how long one assembly cycle takes, how many wrist rotations a shift includes. Your own notes are a good start.
- Equipment you can actually adjust. A chair with adjustable height and armrests, a monitor riser or arm, a keyboard tray, and a place to support the forearms. Adjustable beats new.
- A symptom reporting route. Who the worker tells, in what form, and how quickly a response comes back. Without one, early signs get absorbed instead of escalated.
- Feedback from the people doing the task. The person doing eight hours of data entry knows where the strain builds long before a spreadsheet does.
Start with the task map, not the shopping list. Equipment bought before anyone has watched the job usually solves the wrong problem, and the budget is then spent.
Carpal Tunnel Prevention at Work: A Step-by-Step Plan
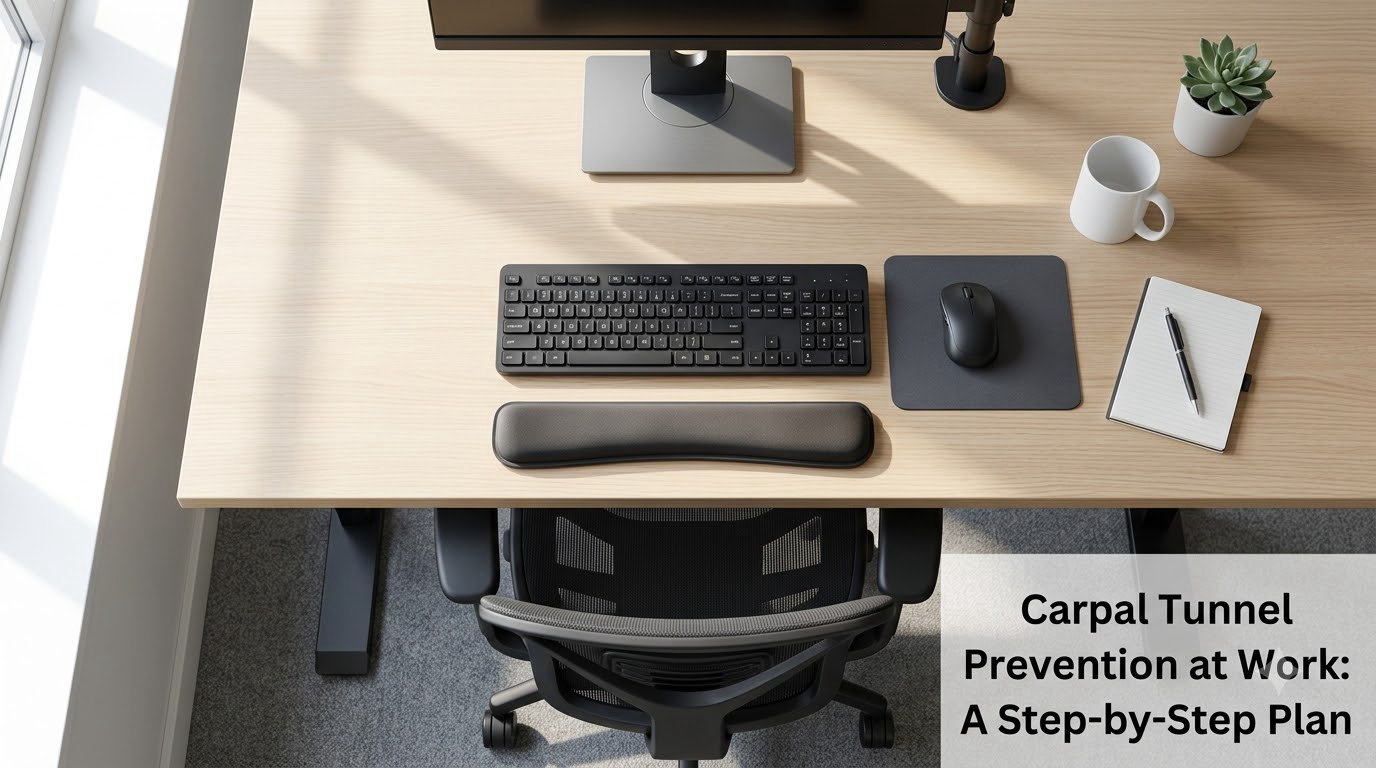
The plan runs from finding the risky task to checking whether the changes actually helped. Each step below says what to do and how you can tell it is working.
Step 1: Map High-Risk Tasks and Repeated Hand Movements
List every task in a typical shift and mark the four exposures that drive hand and wrist problems: repetition, force, awkward or sustained wrist posture, and vibration. Typing, mouse work, gripping, trigger-pulling, scanning, hammering, and handheld vibrating tools all belong on that list.
Then watch a real cycle rather than reading the job description. The written description rarely mentions the twenty minutes an hour spent craning sideways to reach a bin, and that twenty minutes is often the problem. You will know this step is done when you have a short ranked list of specific movements rather than a general sense that the job is hard on the hands.
Step 2: Adjust the Workstation to Keep the Wrist Neutral
Neutral means the hand continues the line of the forearm — straight, not bent up, bent down, or angled sideways toward the little finger. Set the chair height so the elbow sits near 90 degrees, rest the forearms on the desk or armrests, and lower the keyboard or raise the chair until the wrists are flat rather than lifted.
Position the monitor roughly an arm’s length away and high enough that the neck stays relaxed, because a worker leaning forward toward a screen ends up bracing on the desk edge, and desk-edge bracing loads the wrist. It works when someone can type for ten minutes with the forearms supported and the hands relaxed, without shrugging or reaching.
Step 3: Alternate Tasks and Reduce Repetition
Repetition is count, not effort, which surprises people. A task performed hundreds of times an hour with almost no force can be a bigger strain than occasional heavy lifting, so reducing the count of movements matters as much as reducing any single one.
Batch similar tasks instead of alternating every thirty seconds, group keyboard work into blocks rather than scattering it through the shift, and rotate between hand-intensive and non-hand tasks where the job allows it. Job rotation only helps when the rotation is real: a rotation between two equally hand-heavy tasks is a rotation in name only. You will know it is working when a task count taken from the same two hours a week later is measurably lower.
Step 4: Use Light Pressure and Neutral Hand Technique
Most people press harder than the task requires. Relax the shoulders, keep the wrists unlocked, use soft keystrokes, and move the mouse with the whole forearm instead of flicking it from the wrist. Grip tools with the whole hand rather than pinching between finger and thumb, and let a tool or part rest in the palm instead of being held by fingertips.
Where a tool can be hung, rested, or set down between uses, take that option. It works when a colleague watching the task cannot see obvious finger whitening or a tight, braced grip.
Step 5: Take Microbreaks Before Symptoms Build
Short movement breaks work best as a schedule rather than as a reward for finishing something. Twenty to thirty seconds of movement every twenty to thirty minutes, plus a longer break with a full position change every hour, keeps tissue moving without stopping the work.
Good microbreaks: gently open and close the hands, circle the wrists within a comfortable range, stand up and reset posture, look away from the screen to let the eyes and neck settle. Avoid stretches that force the wrist into an extreme bend, since the point is to relax the position, not to push it. It works when breaks happen before anyone reports discomfort, not after.
Step 6: Review Tools, Gloves, and Workload
Sometimes the fix is a lighter tool, a lower-force setting, a different grip handle, or a glove that damens vibration from a handheld power tool. A workstation assessment should also raise the option of reducing the workload itself, which is often the control that helps most and the one people skip because it feels less like a fix.
Do not buy equipment before the assessment, though. A poorly chosen keyboard tray or an over-gripped mouse can add a new awkward posture while the original problem stays exactly where it was.
Wrist rests, braces, and gloves: what the evidence actually supports
A soft, compressible wrist rest that presses into the base of the palm is a poor choice, because direct pressure over the tunnel is exactly what you are trying to avoid. A firmer palm rest that supports the wrist in a straight, neutral line is generally preferred by people who use one for hours; users posting in gaming communities consistently describe firm foam helping them keep the hand straight, and paired that with a brace rather than relying on the rest alone.
Bracing advice genuinely conflicts. People on the carpal tunnel subreddit report being told by different clinicians over the years both to wear a brace during mouse and trackpad work and not to, and all-day bracing is uncomfortable enough that people stop. Treat that as a question to put to a clinician who can look at your symptoms, not as a settled fact. Gloves for vibration exposure are a separate matter and belong with the tool and workload assessment.
Step 7: Report Persistent Numbness or Weakness Early
Numbness, tingling, weakness, dropping objects, or wrist discomfort that does not settle with a change of position should be reported promptly to a supervisor and to a qualified healthcare professional. Early reporting is the whole point: the stage where a change to the workstation is easiest to make is the stage where the only symptom is a hand that feels odd at 2 a.m.
Treat constant numbness, visible wasting of the muscle at the base of the thumb, and a grip that is genuinely weaker as reasons to be seen rather than monitored. This step is working when reporting feels routine and nobody is debating whether the symptom counts.
Step 8: Involve Workers in Ergonomic Changes
Ask the person doing the task to run the new setup for a shift before it is signed off, and ask specifically whether anything is harder to do now. Worker input catches the real obstacle — a tray that blocks a needed drawer, a mouse that is precise but slow, a rotation that leaves the hardest task in the same hour — that no amount of measuring catches.
When several people share the same tool or station, change it for all of them at once where you can, so nobody inherits a workaround. You will know it is working when the change survives a full week of normal work without a private workaround appearing.
Step 9: Check Whether the Prevention Plan Is Working
Review on a schedule rather than on impressions. Look at the trend in reported symptoms, re-observe the tasks you flagged in step one, collect equipment feedback from the people using it, and re-run the ergonomic assessment periodically or whenever the task, the tool, or the staffing changes.
If symptoms are not trending down after honest adjustments, the next question is not a new gadget but whether the exposure has actually been reduced. A workstation that was fixed while the workload doubled is not a fixed workstation. You will know this step is done when you can point to a date, a set of observations, and a change in reported symptoms.
Common Mistakes
Most workplace prevention efforts fail on one of these, and each has a straightforward correction.
- Buying a wrist brace before an assessment. A brace chosen by guesswork treats a posture problem with a support and leaves the posture in place. Fix: map the tasks first, then decide whether a support helps at all.
- Treating pain by repeating the motion with more care. Precision does not reduce load; it just concentrates the same effort. Fix: change the count, the force, or the duration.
- Relying on breaks that only happen when the queue is empty. Breaks scheduled around workload disappear under workload. Fix: put them on the board as fixed, short, non-negotiable intervals.
- Assuming one-size-fits-all equipment works for a whole team. A setup that suits a 6-foot-2 person with long forearms can be wrong for someone 5-foot-4. Fix: adjust per person, and let each person try the setup before it is adopted.
- Ignoring early symptoms because the person can still do the job. Tingling that fades is easy to talk yourself out of. Fix: treat an early report as a trigger for a workstation review, not for reassurance.
- Confusing a soft wrist rest with wrist support. A compressible rest pressed into the palm adds pressure where the nerve runs. Fix: support the wrist in neutral, and do not lean the forearm into the rest while typing.
- Reviewing once and then never again. Tasks, tools, and staffing change. Fix: put the reassessment on a calendar.
Frequently Asked Questions
Can a desk job cause carpal tunnel syndrome?
Yes, it can, though a keyboard on its own is rarely the whole story. Desk work combines sustained posture with a very high repetition count, held for hours a day, and that combination is a well-established risk factor. Research reviews of workplace and individual risk factors for carpal tunnel syndrome, including work published in Occupational and Environmental Medicine, point to job redesign as the main prevention lever. Reducing the count of movements and holding the wrist neutral matters more than any single piece of equipment.
Can using a computer mouse cause carpal tunnel syndrome?
Usually not on its own. A mouse is a low-force movement, but gripping one low and out to the side keeps the forearm rotated and the wrist bent for hours, and that sustained posture is what tends to cause trouble. It is worth separating true median nerve entrapment from mouse arm syndrome, an overuse condition involving forearm, elbow, and shoulder pain that improves with load modification and posture change. If symptoms persist, a clinician can tell the two apart.
How do I prove carpal tunnel is work-related?
Start a symptom diary that ties each entry to a task and a date, keep your job description, task list, and rotation schedule, and request the employer job-task analysis in writing. Get a diagnosis from a clinician with a clear description of your daily exposure history, and keep copies of every report you make about symptoms. If a claim is denied, you can request an independent medical exam, since rules differ by state. This is general information, and your state agency or a workers compensation attorney can tell you how it applies to you.
Do I need to take time off work for carpal tunnel?
Mild, intermittent symptoms usually do not require time off, and are typically managed with load modification, regular breaks, neutral-wrist changes, and sometimes night splinting. Time off or modified duty becomes worth discussing when weakness is showing up, objects are being dropped, symptoms wake you at night repeatedly, or conservative changes have not helped over a sustained period. Persistent weakness and visible muscle wasting at the base of the thumb are the signals to get assessed rather than to work through.
Do wrist braces and wrist rests help at work?
It depends on the design and on the task. A soft compressible wrist rest that presses into the base of the palm can add pressure over the tunnel, while a firmer palm rest that supports the wrist in a straight line is generally better tolerated over long sessions. Brace guidance genuinely conflicts, since people report being told both to brace and not to brace during mouse work, and wearing one all day is uncomfortable enough that people stop. Ask a clinician who can examine your symptoms before committing to a schedule.
Does mouse arm syndrome go away, and is it the same as carpal tunnel?
No, it is a different condition, and it is usually more manageable. Mouse arm syndrome describes overuse and overload of the forearm, elbow, and shoulder muscles and tendons rather than compression of the median nerve at the wrist. It typically improves over weeks to a few months with relative rest, load modification, and posture change, and it settles when the underlying repetition and grip demand comes down. Persistent numbness or weakness needs a proper assessment rather than an assumption.
What to Do First
Start with the movement, not the equipment. Identify the single most repetitive or most awkward task in the week, adjust the workstation so the wrist sits neutral and the forearms are supported, then reduce the count and the force of that task’s movements and put short breaks on a fixed schedule. If symptoms still show up, report them early and ask for a qualified ergonomic assessment, and get persistent numbness, weakness, or dropping objects checked by a healthcare professional rather than working through them. 2026