
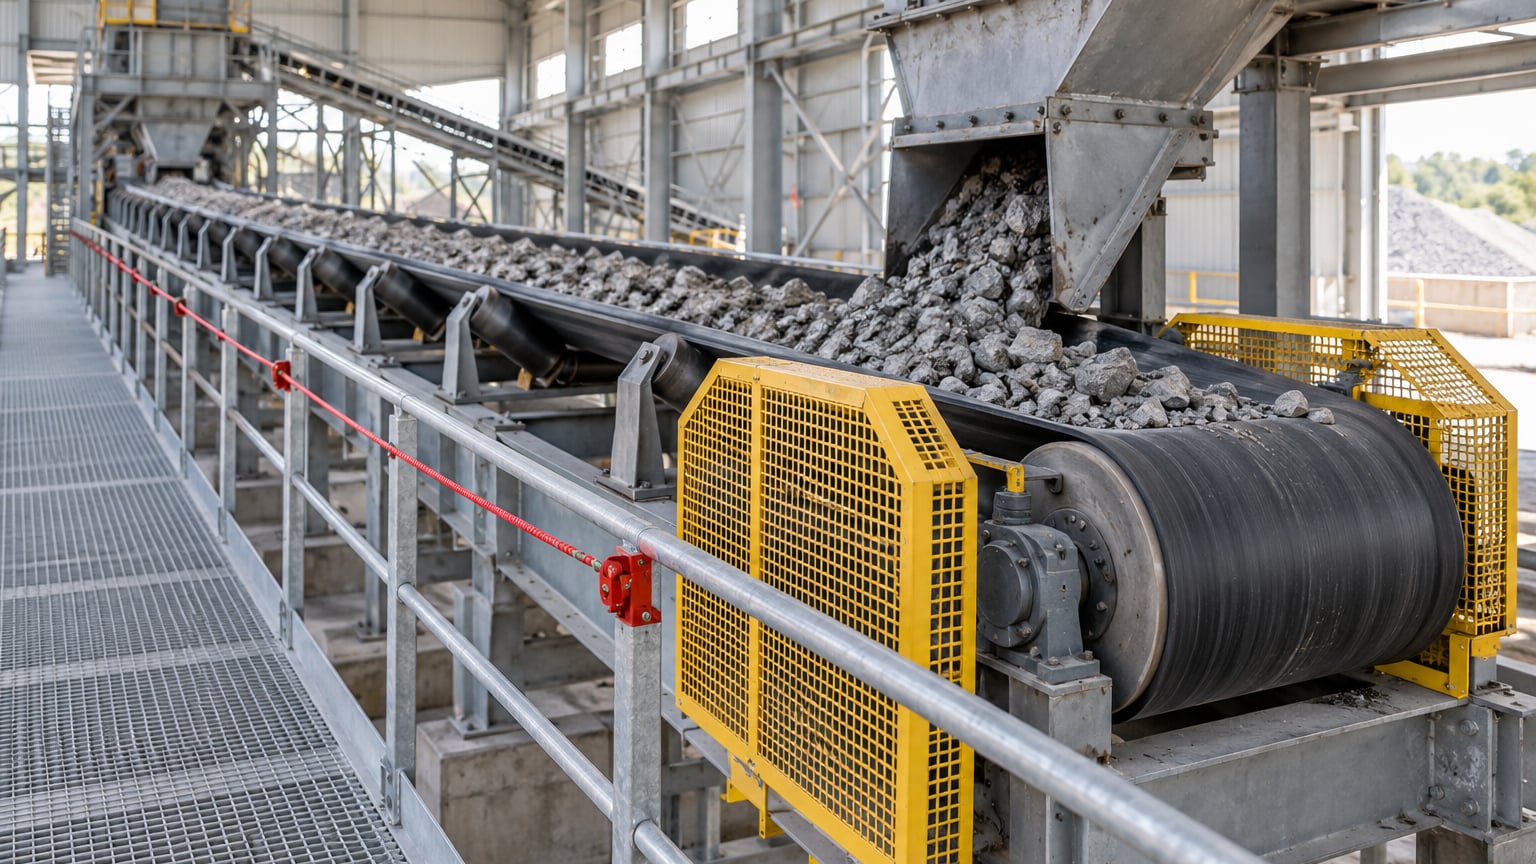
Conveyor belt safety is the set of guards, emergency stops, lockout/tagout procedures, inspections, and training that keep workers from being caught, crushed, or amputated by moving parts. Conveyors sit in almost every warehouse, plant, mine, mill, and recycling line in the country, and they produce some of the worst injuries in manufacturing because a belt can pull a limb into a pulley in under a second.
Most of those injuries happen in an unplanned moment — a jam, a cleanout, a missing guard — not during steady production. The rest of this guide is built around that reality: what the hazards are, what controls actually work, how to inspect, how to train, and what to do when it goes wrong. Regulations differ by jurisdiction, so the OSHA, MSHA, and ANSI references below are a starting point, not legal advice.
Reviewed for accuracy against OSHA, MSHA, and ANSI/ASME source material in 2026. Requirements change, so confirm the current text of any standard before you rely on it.
Table of Contents
- What Are the Main Conveyor Belt Safety Hazards?
- What Engineering Controls Reduce Conveyor Belt Risks?
- How Should Employers Inspect Conveyor Belts?
- How Do You Train Workers on Conveyor Belt Safety?
- What Should You Do After a Conveyor Belt Incident?
- How Do You Build a Conveyor Belt Safety Program?
- Frequently Asked Questions
- What are the OSHA safety requirements for conveyors?
- Do conveyor rollers need guarding?
- How do you safely clear a jam on a running conveyor?
- How often should conveyor emergency stop pull cords be tested?
- Which employees need lockout/tagout training?
- What should you do if a worker is caught in a conveyor belt?
- Conclusion
What Are the Main Conveyor Belt Safety Hazards?
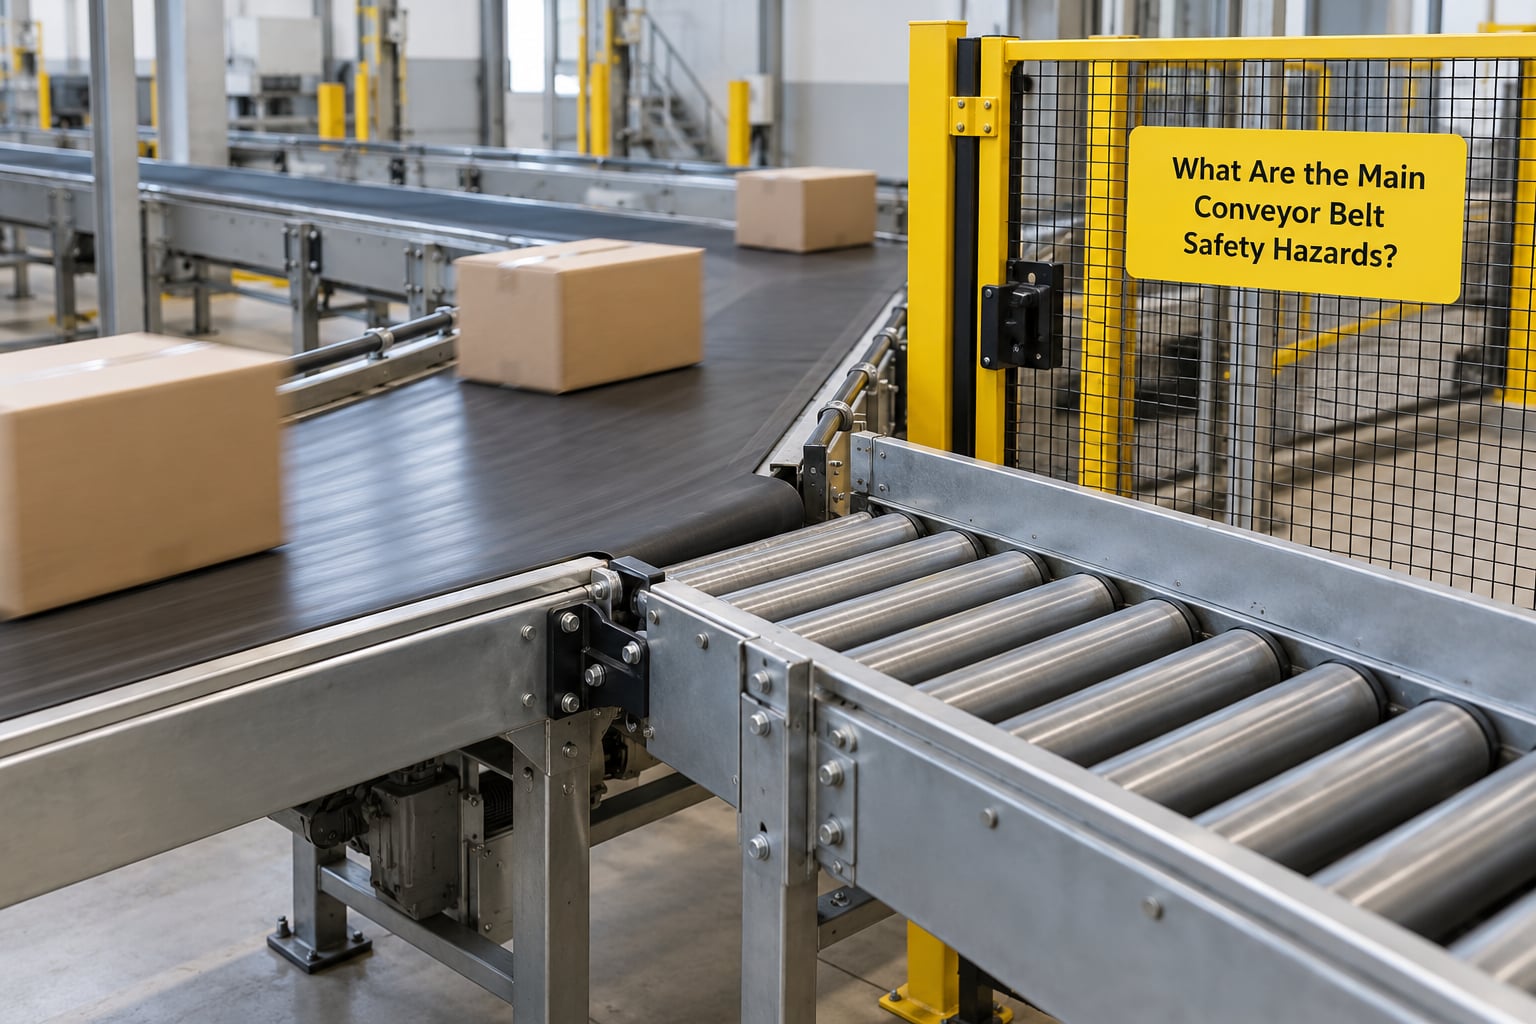
Conveyor hazards fall into a short list of mechanical actions, and each one has a predictable injury. Knowing the mechanism tells you where to put the guard and where the paperwork needs to say “do not reach.”
| Hazard | What happens | Body part at risk | Usual location |
|---|---|---|---|
| Entanglement | Loose clothing, hair, lanyards, or a glove is caught and wound into the belt or a sprocket | Arms, hands, hair, skin | Head and tail pulleys, drive sprockets, loading points |
| Caught-in / drawn-in | A hand or forearm follows the belt into an in-running nip and is crushed | Hands, forearms, arms | Head pulley, drive pulley, take-up pulley, three-roll transfer discs |
| Caught-between | A body part is pinched between a moving belt and a fixed structure | Torso, limbs | Skirts, chute walls, skirt boards, side rails |
| Nip point | Two rotating or one rotating and one moving surface create a crushing nip with no room for fingers | Hands, fingers | Idler and pulley bearings, meshing gears, roller transfers |
| Pinch point | A moving part presses against a fixed point, often at a transfer or a diverter | Hands, fingers, feet | Transfers, diverter gates, take-up screws |
| Catch point | A rotating component catches clothing or a limb and whips it around | Full body | Drive shafts, couplings, fans, exposed sprockets |
| Crush / shear | Two large surfaces close together, shearing rather than tearing | Full body | Screw conveyors, augers, drag chain flights, bucket elevators |
Different conveyor types concentrate different hazards, and the top result in this niche — what are the safety devices of a conveyor belt — comes down to this component list.
| Conveyor type | Distinct hazard | Control that matters most |
|---|---|---|
| Belt conveyor | Trough and belt edge at the loading point; head and tail pulley in-running nips | Fixed pulley guards, skirts or chute liners, LOTO before cleanout |
| Gravity roller conveyor | Exposed roller ends nip fingers; pinch at shaft take-ups | Roller end caps, shaft covers, guardrails at the load side |
| Screw conveyor / auger | Shear and crush at the trough and flighting; grain dust ignition | Bearing and coupling guards, screw shaft guards, dust control |
| Bucket elevator | Entrapment at the head; internal access is often a confined space | Boot and head guards, permit-required entry for internal work |
| Drag chain conveyor | Chain and flights whip and catch; sprocket nip at the drive | Chain guard, sprocket guard, flight clearance checks |
| Over-belt / slider bed | Sliding material builds up and coats the belt; thermal damage to the belt | Heat and speed monitoring, housekeeping around the return side |
A couple of reader questions come up constantly. Yes, some conveyor belts run on chains — drag chain and slat conveyors use the chain as both the pulling and carrying element, which is why those lines carry the highest catch-point exposure. And belt surfaces are textured, or carry cleats and anti-slip patterns, because smooth belts would not grip the load; a rough or cleated belt also changes housekeeping habits, since loose debris rides along instead of dropping off.
Which rules apply to your conveyors?
Most US employers fall under one of these, and the numbers matter because they tell an inspector exactly which obligation applies to your line.
| Reference | Applies to | Plain-English summary |
|---|---|---|
| OSHA 29 CFR 1917.48 | Marine terminals (general industry rules adopted there) | Conveyors must be stopped and power sources locked out and tagged out during maintenance, repair, and servicing, unless power is needed for testing |
| OSHA 29 CFR 1926.555 | Construction | Means of stopping a running conveyor must be within easy reach of the working area |
| OSHA 29 CFR 1910.147 | General industry, all sites | The control of hazardous energy: the lockout/tagout standard that covers every conveyor energy source |
| ANSI/ASME B20.1 | Conveyors and related equipment | The consensus design and safety standard for conveyors, used widely as the engineering reference |
| CEMA Standard 350 | Bulk material handling | Safety guide covering guards, nip points, pull cords, and general conveyor design practice |
| MSHA 30 CFR Parts 56 and 57 | Metal and nonmetal mining | Surface and underground conveyor requirements, including locks, blocking, and moving-parts protection |
One of the most common causes of belt damage and, right behind it, belt-related injuries is misalignment. A tracking belt throws material to one side, spillage piles at the skirt, someone reaches in with a bar to fix it, and now the incident is on the form. That chain of events is worth naming to operators, because it is how most near misses actually start.
What Engineering Controls Reduce Conveyor Belt Risks?
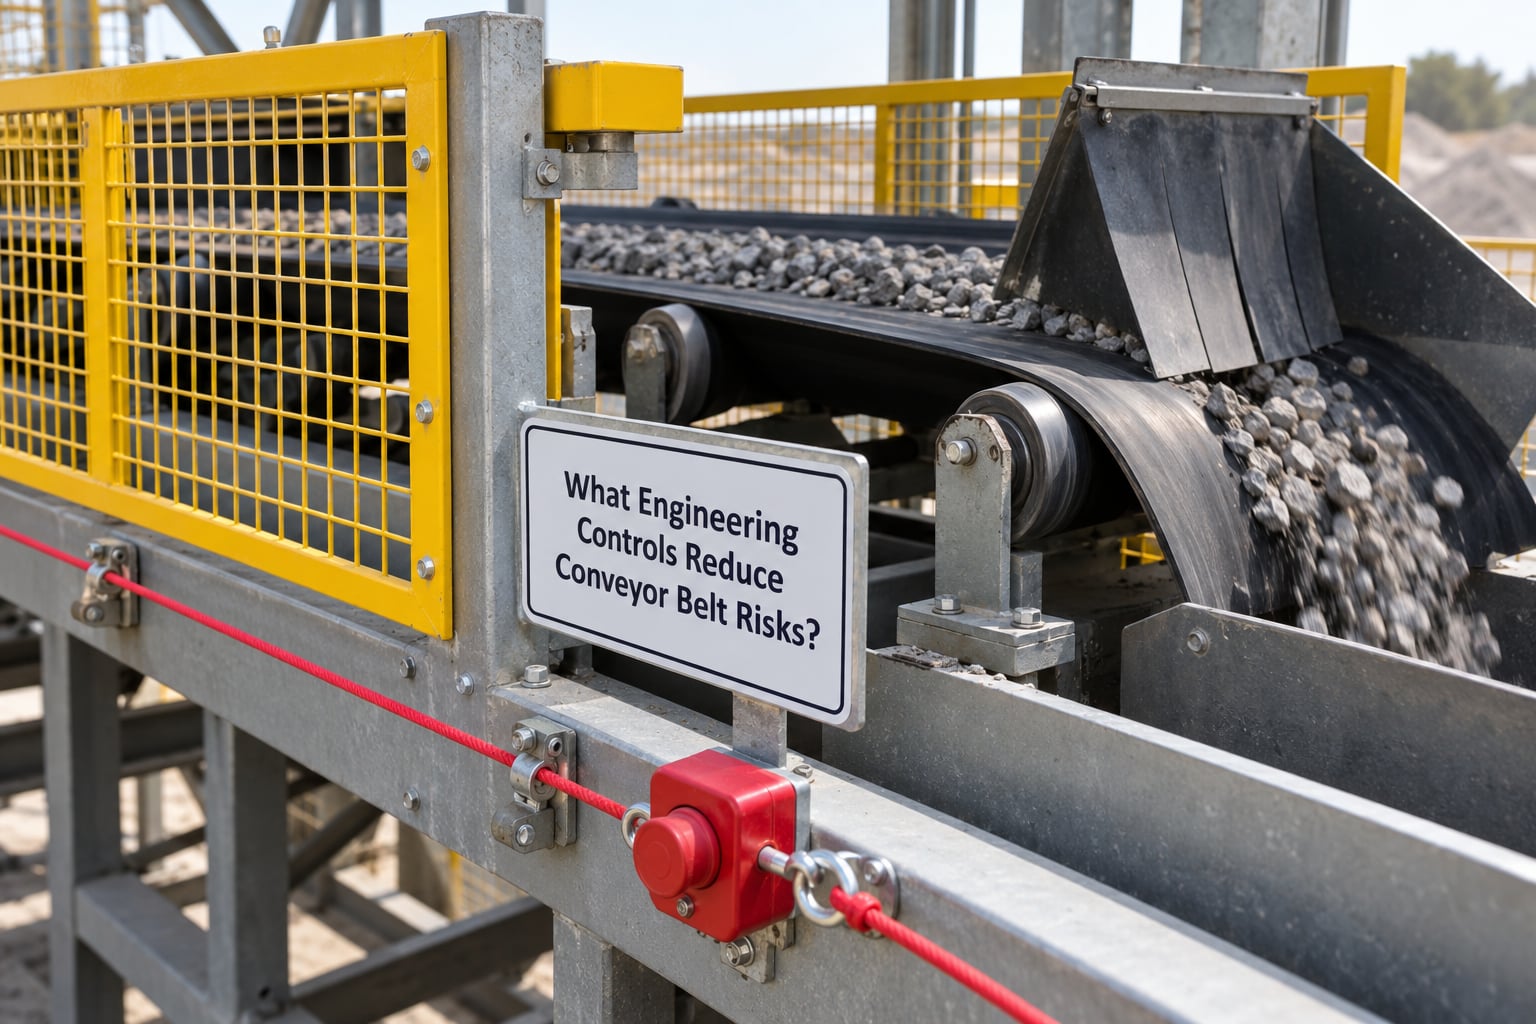
Engineering controls are the part you do not have to remember to use. A guard, an interlock, and a pull cord keep working at two in the morning when the operator has other things on their mind.
Guarding nip points and moving parts
Guard every nip point where a worker could place a hand: the in-running nip at the head pulley, the drive pulley, and the take-up pulley, plus any meshing drive components. Fixed mesh or perforated guarding is the usual choice where a worker must reach the area, while an interlocked guard that opens a stop signal is the choice where frequent access is unavoidable. Guard the drive end and the return side; guarding only the drive end is one of the most common gaps found on a floor walk.
Return rollers and tail pulleys are guarded on many lines, and the argument that they are “low risk because they are small” is exactly the reasoning behind a lot of fingertip injuries. Return roller guards, bearing covers, and V-belt guards are cheap compared with a hand.
Emergency stops and pull cords
A pull cord runs the length of the conveyor so anyone nearby can stop it without walking to a panel. Mount the cord so it stays under tension and cannot be tied off, kept out of the way, or tangled into the belt; a cord that has never been tested is a decoration. Put a mushroom-button emergency stop at each operator station, keep them unobstructed, and mark them.
Decide on a test interval and write it into the procedure — monthly for pull cords, and before each shift at remote and unattended sections — then log the test by section with the date and the initials of the person who pulled it. A zero-speed switch or belt speed sensor that trips the drive when the belt stops moving unexpectedly catches a stalled condition that an operator might not notice.
| Device | Function | Where it belongs |
|---|---|---|
| Pull cord switch | Stops the line from anywhere along the run | Full length of the conveyor, both walk sides where two-sided access exists |
| Mushroom e-stop | Large, hard-to-miss manual stop | Each operator station and control panel |
| Interlocked guard | Stops the drive when the guard is opened | Any point where a worker must routinely reach a hazard |
| Presence-sensing device | Stops or slows the line when a body enters the hazard zone | Transfer points and pick stations where reaching in is routine |
| Backstop | Prevents a loaded belt from running backward on an incline | Inclined belt conveyors, especially on the return side |
| Zero-speed switch | Detects a stalled belt | Any conveyor running unattended for part of the shift |
| Chute and skirt boards | Contains material and keeps hands out of the loading zone | Every loading point and transfer |
| Crossover platform and guardrail | Crosses over the line without climbing or stepping over it | Any point where workers must cross a conveyor |
The distinction that trips people up: an administrative control is a rule (“do not reach into a running belt”), while an engineering control removes the reach. Fix the nip point before you write another rule about it.
How Should Employers Inspect Conveyor Belts?
Inspections fail when they are one long form nobody signs. Three tiers work better: a quick pre-shift look by the operator, a documented periodic inspection by a competent person, and a verification step before any machine returns to service after maintenance.
Pre-shift operator check
Two to three minutes before starting, the operator confirms guards are in place and tight, the pull cord is free along its whole length, the emergency stop is not disabled, the belt is tracking and free of damage or embedded material, and the area is clear. If any item fails, the line does not start.
Documented periodic inspection
| Check | What to look for | Action if failed |
|---|---|---|
| Belt surface and edges | Cuts, gouges, fraying, embedded metal, splice condition | Stop, isolate, repair before restart |
| Rollers and idlers | Seized or lagging rollers, missing or loose end caps, bearing leaks | Replace or guard before restart |
| Pulleys | Missing lagging, exposed shafts, belt tracking off center | Re-lag or re-align; investigate cause |
| Take-up | Correct belt tension, guards secure, weight travel unobstructed | Adjust and re-tension |
| Drive | Chains and V-belts guarded, coupling intact, lubrication at level | Install guards, service |
| Guards and interlocks | All guards present, secure, and interlock functional | Do not operate without them |
| Emergency stops | Test every section; confirm the drive stops and the fault resets | Repair and log the failed test |
| Sensors | Zero-speed and belt-speed devices functional | Repair before unattended operation |
| Housekeeping | Spillage removed, no tools or debris under or beside the line, no belt mistracking buildup | Clean before starting |
| Structure | Frames, walkways, crossover platforms, guardrails | Repair, barricade area |
Record each finding, the date, and the name of the person who inspected. Findings that repeat are a signal about the equipment or the process, not about the inspector.
Return to service after maintenance
Before any guarded, locked, or bypassed system runs again, the person doing the work reinstalls the guard and confirms it is secure, removes every lock and tag in person, verifies the area is clear of people and tools, restores the pull cord and e-stop functions, and presses start while standing clear of the line. Many organizations require a second person to confirm the guard is back before the start button is pressed; that single habit prevents most “we forgot to put the guard back” incidents.
How Do You Train Workers on Conveyor Belt Safety?
Training works when it is specific to what the person will actually do. A generic video shown once at hiring does not prepare someone to clear a jam on a screw conveyor at night.
Define who is allowed to do what
Three roles matter. An authorized operator runs the conveyor under the written procedure. A lockout/tagout-trained employee isolates and verifies energy before servicing or jam clearing. Other authorized personnel, such as maintenance technicians, work on the machine after isolation but do not apply their own locks for others. Anyone outside these roles — including new hires, temporary staff, and contractors — watches and is supervised until trained and signed off.
Cover the never-do list
Never ride, walk, sit, or stand on a conveyor, even when it appears stopped. Tie back long hair and remove loose clothing, jewelry, gloves, and lanyards near any moving part. Never bypass, defeat, or tape down a guard, interlock, pull cord, or emergency stop. Never reach into or over a moving belt, whether to clear debris or straighten a load. Never assume a stopped conveyor is de-energized.
That last rule deserves its own emphasis, and practitioners in the field call it out constantly: a stopped conveyor still holds electrical energy in the drive, stored pneumatic pressure, hydraulic accumulator pressure, and gravitational energy from a loaded belt or an elevated bucket. Isolation means every source is locked, tagged, and verified.
Teach the seven-step lockout/tagout sequence
Follow the site energy control program, but a typical conveyor sequence runs like this:
- Prepare. Identify every energy source feeding the conveyor — electrical, pneumatic, hydraulic, gravitational, and stored or spring energy. Know where each isolating device is before you start.
- Notify. Tell affected employees and the operator that the line is going down and why.
- Shut down. Use normal stopping controls rather than pulling the emergency stop, so the equipment comes down in its designed sequence.
- Isolate. Open every energy-isolating device, including disconnects, valves, and breakers.
- Lock and tag. Each authorized employee applies their own personal lock and tag. One lock per person, no shared keys, no exceptions for convenience.
- Release stored energy. Bleed air, bleed hydraulics, block or lower elevated loads, and secure moving parts that could travel or fall.
- Verify zero energy. Try the start control and confirm nothing operates, then return the control to off. This is the step most often skipped, and it is the one that saves lives. Try-out is a verification, not a restart.
When the work is finished, reverse it in the same order: clear the area, reinstall guards, remove your own lock and tag, and only then re-energize.
Make the training stick
Train in the language and literacy level of the crew, including agency and seasonal workers, and supervise new operators until they are signed off as competent. Cover how to report a hazard or near miss, when to call for help, and what a hand pull cord is for. Then keep the records: who was trained, on what, on what date, by whom, and which standard it met.
Retrain when an employee is new to the line, after a change in equipment or procedure, after an incident or near miss involving that line, when a role changes, and on a regular refresher interval. Practical, hands-on sessions on the actual machine beat a slide deck every time.
What Should You Do After a Conveyor Belt Incident?
The instinct to pull an entangled person free is the wrong first move. A body pinned in a belt can be pulled further in, and pulling can turn a survivable crush into a fatal one.
Immediate response
- Stop the equipment. Hit the nearest emergency stop or pull cord. Do not climb onto the belt.
- Prevent restart. Have someone at the controls lock out the system, or physically restrain the start until help arrives.
- Call for help. Activate the emergency plan and call emergency services for any entanglement, suspected amputation, or unconscious worker. Time matters.
- Stabilize before moving. Support the person’s body and the trapped limb. Do not yank, cut the belt over the person, or lift by an injured limb.
- Provide first aid. Control bleeding, keep the person warm and calm, and monitor breathing. Follow your emergency medical response plan.
Once the person is stable, preserve the scene. Leave the lock, tag, belt position, guard condition, and material load exactly as they were, photograph what you can without disturbing it, and keep the equipment down. Those details are the evidence an investigator needs, and they are gone the moment someone tidies up.
Report, investigate, and act
Make the required regulatory and internal reports, including any workers’ compensation filing and OSHA reporting where it applies. Then investigate the root cause rather than the person: what allowed unsafe access, what control failed or was missing, and what allowed the task to happen at all. Corrective actions should address the system, then rebuild the training, then confirm the fix works.
Do not restart the line until the investigation is complete and the return-to-service checks are done. The pressure to resume production in the same shift is the single biggest reason the same incident repeats.
How Do You Build a Conveyor Belt Safety Program?
Here is the sequence that works, roughly in order. It suits a plant or warehouse manager assembling a program from nothing, and it doubles as an audit of a program that already exists.
- Inventory every conveyor. Type, length, drive, energy sources, controls, guarding, and the people who work on it.
- Name accountable roles. An owner for the program, a competent person for inspections, authorized operators, LOTO-trained employees, and supervisors.
- Run a hazard assessment per line. Map nip, pinch, catch, and crush points; note every place someone currently reaches in or climbs over.
- Close the gaps with engineering controls first. Guards, interlocks, pull cords, presence sensing, crossover platforms. Then correct the administrative gaps that remain.
- Write the procedures. An operating procedure per system, an energy control program, a return-to-service checklist, and an emergency response plan. The guide to writing a standard operating procedure for safety covers the structure.
- Train by role. On the actual equipment, in the crew’s language, with sign-off and records.
- Institute documented inspections. Pre-shift, periodic, and post-maintenance, with a log that survives an audit. Our tool safety inspection checklist adapts well to equipment rounds.
- Run near-miss reporting. The near miss that gets reported is the injury that does not happen. Respond visibly to what gets reported.
- Track a few honest metrics. Guard restoration rate, pull cord test completion, training completion by role, findings closed, and near-miss reports per quarter. More detail on tracking safety metrics in a small company.
Set the review interval and write it down. A program reviewed on a schedule survives leadership changes; one that depends on memory does not.
Frequently Asked Questions
What are the OSHA safety requirements for conveyors?
OSHA 29 CFR 1917.48 requires conveyors to be stopped and their power sources locked out and tagged out during maintenance, repair, and servicing, unless power is necessary for testing. OSHA 1910.147 is the general industry lockout/tagout standard that governs isolating every energy source on the conveyor, including pneumatic, hydraulic, and stored or gravitational energy. Construction work falls under 29 CFR 1926.555, which requires a means of stopping a running conveyor within easy reach of the working area.
Do conveyor rollers need guarding?
Guard any roller or nip point a worker could place a hand into, which includes roller ends, drive and tail pulleys, and transfer points. Many sites leave return rollers and tail pulleys exposed because they sit low and seem low-risk, and that is exactly where fingers are lost. Roller end caps and shaft covers address part of the problem; fixed or interlocked guarding addresses the rest. Record the decision either way so an inspector can see the basis for it.
How do you safely clear a jam on a running conveyor?
You do not. Any jam clearing, cleanout, debris removal, or belt realignment requires the conveyor stopped, de-energized, locked, tagged, and verified at zero energy first. Production pressure to clear a jam without isolation is the most cited root cause of conveyor injuries in the field. A short stoppage is always cheaper than a drawn-in hand, and the rule holds even when the belt appears slow enough to reach into.
How often should conveyor emergency stop pull cords be tested?
Many operations test every pull cord section monthly and before each shift on lines that run unattended, but the interval is yours to set and document. What matters is that it happens on a schedule, that every section gets tested rather than one spot near the control panel, and that each test is logged with the date and the initials of the person who pulled it. A cord that was never tested after installation has no evidence behind it.
Which employees need lockout/tagout training?
Every employee who performs servicing or maintenance on a conveyor needs lockout/tagout training under the applicable standard, as does anyone who removes guards, resets interlocks, or operates isolation devices on that line. Operators who start and stop equipment under the written procedure hold a different role, but they still need to know why they may not defeat a control and how to recognize that a stopped machine is not isolated. Contract and agency workers on the line need the same training before they work unsupervised.
What should you do if a worker is caught in a conveyor belt?
Stop the equipment first using the nearest emergency stop or pull cord, then prevent anyone from restarting it. Do not pull the worker free by hand or lift them by an injured limb, because a pinned worker can be drawn in further. Call emergency services, support the body and the trapped limb, control bleeding, and follow your emergency response plan. Leave the machine locked and undisturbed for investigation, and do not restart until the investigation and return-to-service checks are complete.
Conclusion
If you take five things from this guide, start here. Stop unsafe access physically, not with a poster. Isolate and verify every energy source before anyone reaches into a conveyor. Document inspections and pull cord tests so they mean something. Train people by role, including agency and seasonal workers. And investigate before restarting after an incident.
Conveyor belt safety is mostly a matter of removing the moment where the injury happens. Do that, and the rest of the program follows from it.