
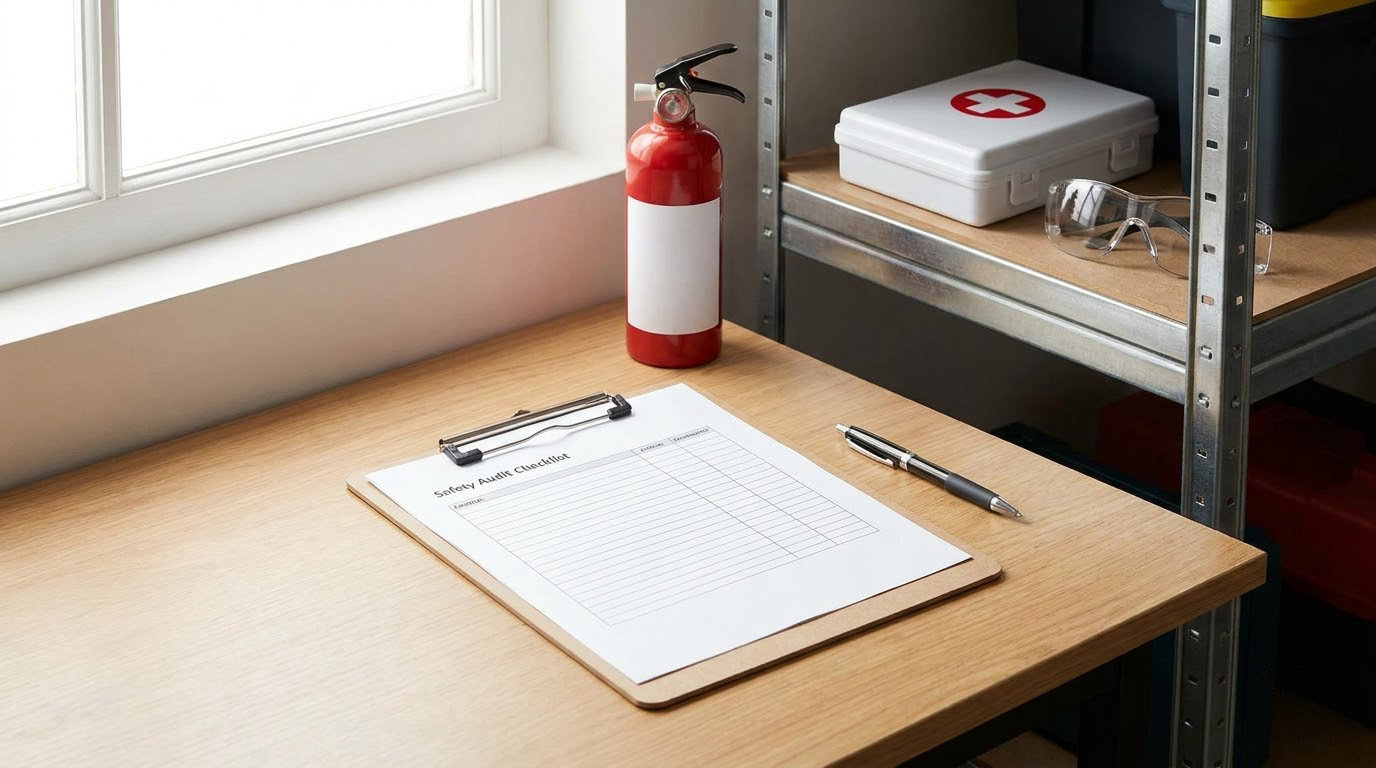
A safety audit checklist for a small business is a written, repeatable list of the areas, hazards and records you inspect to confirm you are meeting your own safety policy and your legal duties. You walk the site with it, mark each line pass, fail or not applicable, attach evidence, rate what failed, and assign the fix. It is a management tool, not a legal requirement for most small employers, and for a team of five or fifteen it takes about two to four hours the first time and far less once the route is familiar.
Most small firms I know already do safety informally. Someone sweeps the aisle, someone checks the forklift at start of shift, someone keeps the first aid kit stocked. What breaks is not the practice but the proof. When a client, an insurer or an inspector asks what you found last quarter and what you changed, a habit does not answer.
Small businesses with fewer than 10 workers account for more than 75% of OSHA citations, and they have the least capacity to respond. That gap between doing the work and being able to show the work is exactly what a documented audit closes.
Below is the process I would hand a new operations manager: what to gather, eight steps in order, how to rate what you find, and what to do on the days you find something bad.
Table of Contents
- What You Need
- Step-by-Step
- Use the Safety Audit Checklist for a Small Business
- Create a Walk-Through Route
- Check Walking Surfaces and Access
- Inspect Equipment, Tools, and Maintenance
- Review Hazardous Chemicals and Exposure Controls
- Verify Emergency and Administrative Controls
- Classify and Record Each Finding
- Build and Verify the Corrective Action Plan
- Common Mistakes
- Frequently Asked Questions
- Conclusion: Start With the Highest-Risk Areas
What You Need
Gather the paperwork and access first, then the measuring tools, so the walk-through itself stays short. Most of the preparation is things you already have lying around.
- A form. A one-page checklist works better than a 20-page manual. A spreadsheet with columns for check item, pass or fail, evidence, risk rating, corrective action, owner and due date is fine.
- Checklists matched to your hazards. Start from OSHA-aligned guidance for the hazards you actually have: walking surfaces, emergency action, hazard communication, machine guarding, exit routes. Generic templates miss the floor-level problems that hurt people.
- Floor plan or area list. Break the site into zones so nothing gets skipped. An equipment list for anything with a serial number is worth more than a floor plan.
- Access to every work area. Including storage, roof access, the loading dock, vehicles, and the parts of the building staff avoid.
- Prior records. Incident reports, near-miss log, previous corrective actions and their closure evidence, training records, inspection logs.
- Simple measuring and testing gear. A flashlight, a tape measure, a voltage tester if you are qualified to use one, a sound meter for noise exposure questions, an airflow check for ventilation.
- People who can verify findings. The maintenance lead on machine questions, the shift lead on how work actually happens, and a worker from the area being inspected. Workers usually know where the real risk is.
Two boundaries worth stating plainly. In the United States, a dozen or so states and territories run their own OSHA-approved state plans, which can be stricter than federal rules, so check your state plan rather than assuming the federal standard is the only one. And where the audit touches regulated or technical risk, such as electrical work, fall protection anchorage, confined space entry, asbestos, or respirator fit, bring in a qualified person rather than recording your own opinion.
If you do not have a written policy yet, start with how to write a workplace health and safety policy and audit against it. A checklist with no policy behind it turns into a list of complaints.
Step-by-Step
Eight steps, in this order. The first three are planning, steps four through six are the walk-through itself, and the last two are what make the audit worth doing.
Use the Safety Audit Checklist for a Small Business
Start by fixing the scope on paper: which areas, which shift, which date, and who is walking.
Pick a representative day. The Tuesday before a big delivery is more useful than a quiet Sunday, because that is when the work is actually done. Then divide the site into manageable areas, no larger than you can look at properly in 20 minutes.
Do not let the scope quietly shrink to the main room. Temporary work, renovation, remote and hybrid staff, delivery vehicles, contractor operations and any home-working setup are part of the workplace, and they are exactly where owners forget. If a truck driver or a cleaning contractor works on your site, their hazards are in your walk-through too.
Pull the last 12 months of incident reports and near misses before you start walking. A pattern in that pile tells you where to look hardest, and it keeps the audit from being a tour of the parts of the building that are already fine. Verification for this step is simple: you have a one-page scope sheet listing areas, date, auditor and shift, signed by the person who owns the site.
Create a Walk-Through Route

Plan the route in a loop from the entrance, so you finish where you started and can compare notes immediately.
Order it like this: entrances and emergency exits first, then receiving and storage, then production or service areas, then offices and welfare facilities, then vehicles, then the yard or dock. Exit routes get inspected early because you want to know about a blocked exit before you are deep in the building.
Then add the part most checklists miss. Walk at least one quieter period, or the shift staffed by your newest and least experienced people. Hazards hide in the early morning, at handover, and on the night shift nobody visits. Ask a worker to walk the route with you once. You will be pointed at things a printed checklist would never name.
Complete when your route is a loop on paper with the areas numbered and a rough time budget per area, so a 40-minute job does not quietly become an afternoon.
Check Walking Surfaces and Access
Floors, stairs, ramps, doorways, lighting, railings, cables and spills cause more lost time injuries than anything else in a small workplace, and they are the cheapest problems to fix.
Look for frayed or missing handrails, stair treads worn smooth, threshold lips at loading doors, cables taped along a walking route or draped across a doorway, and mats that curl at the corner. Check that lighting is on in every area people stand and work in, including the edges of racks and the back of a workbench, not just the ceiling centre.
For every defect, write down five things: exact location, condition, likely source, how bad it is, and what you did right now. Location matters more than description. “Trip hazard, receiving area” is actionable. “Floor is bad” is not.
Also confirm that access routes to exits, fire equipment, electrical panels and washrooms stay clear and stay clear. This step is complete when every walking surface in the route has a pass or fail mark and every fail has a photo showing where it is.
Inspect Equipment, Tools, and Maintenance
This is the step where you separate a visual observation from a technical failure, and the line matters.
Check machine guards are present, secured and complete. Press a test on emergency stops where the manufacturer allows it. Look for exposed drive belts, unguarded rotating parts, missing blade guards on saws, frayed cords, missing ground pins, damaged plugs, ladders with broken rungs or feet that do not sit flat, and vehicles with cracked mirrors, bald tyres or fluid leaks.
Ask for the maintenance schedule and the last three service records. A machine that is not on any schedule is itself a finding.
Know where your own competence ends. A cracked guard, a missing guard screw, a chewed cord, a ladder with a broken rung or a tyre you can see is visual. Anything involving guarding adequacy, machine safety, structural anchorage, electrical work beyond a simple check, or a vehicle brake or steering fault belongs with a qualified inspector or service provider. Write the finding as “guard integrity not verified, referred to service provider on this date” rather than guessing.
Review Hazardous Chemicals and Exposure Controls
For chemicals, the check is mostly about whether information and storage are correct, not about testing anyone’s lungs.
Confirm every chemical in the building is identified and labelled, and that the label matches the container. Check that safety data sheets are current and reachable where the chemical is used, not in a filing cabinet in another room. Then check storage: acids away from bases, flammables in an approved cabinet, oxidisers separated, no food or drink in a chemical area, and containers closed and upright.
Look at how exposure is actually controlled. Is there local exhaust at the source, or only a room fan pushing air around? Is the eyewash or emergency rinse reachable within seconds of where the chemical is used, and is it plumbed or inspected? If respirators are used, is there a written program with medical evaluation, fit testing and training behind it? A mask in a cupboard is not a program.
Check that the people handling chemicals were trained on the hazards specific to what they use, and that the training is recorded. Leave medical decisions, respirator selection and fit testing to qualified providers. The step is complete when each chemical has a current safety data sheet on file, a correct label, compatible storage and a named person responsible.
Verify Emergency and Administrative Controls
Emergency readiness is the easiest area to check badly, because testing things can create the hazard you were looking for.
Test only what is safe to test. Activate a fire alarm if the system is designed for monthly testing and you are authorised. Do not pull a fire extinguisher, break a fire door or block an exit to see what happens. Walk exit routes instead of stress-testing them: are they lit, unlocked from the inside without a key, free of stored goods, and leading somewhere sensible?
Check first aid supplies against the number of people on site and whether anyone is trained, and confirm emergency contact numbers are posted and current. Verify required posters are up and legible, exit signage matches the layout, and any permits or licences for the work you do are current.
On the administrative side, review the written procedures against what you saw on the floor, then check the training records actually cover the people who do the work. A toolbox talk with no sign-in sheet is a talk, not a record.
Document drills with date, who took part and what was found. A drill that revealed a broken alarm or a door that stuck is worth more than a drill that went smoothly, and both are worth writing down. Once your safety meetings are running monthly, our 15 safety meeting topics list gives you something to rotate instead of repeating the same ten minutes.
Classify and Record Each Finding
Rate every finding on likelihood times consequence, so the list sorts itself by what to do first.
| Tier | What it meansWhat happens next | |
|---|---|---|
| Immediate danger | Serious injury or death is likely and imminent | Stop the work, isolate the area, notify the owner the same day |
| Serious potential harm | Could cause serious harm, or the same hazard has already caused harm | Interim control now, fix scheduled within days |
| Moderate risk | Real harm possible but unlikely or lower consequence | Fix on the corrective action plan with a named owner and date |
| Low-risk improvement | Comfort, consistency or future-proofing rather than a hazard today | List it, schedule it when capacity allows |
Two rules make the record useful months later. First, evidence beats conclusion. Attach a photo, a measurement, a serial number, a date, a policy reference or a witness name. “Worker reports the guard is missing” is weaker than a photo of the unguarded side with today’s date on it. Second, a recurring hazard outranks a one-off severe-looking defect, because a hazard that has already got a history is telling you something the checklist cannot.
Do not close a finding as fixed on the strength of an email saying it was handled. Verification is the next step.
Build and Verify the Corrective Action Plan
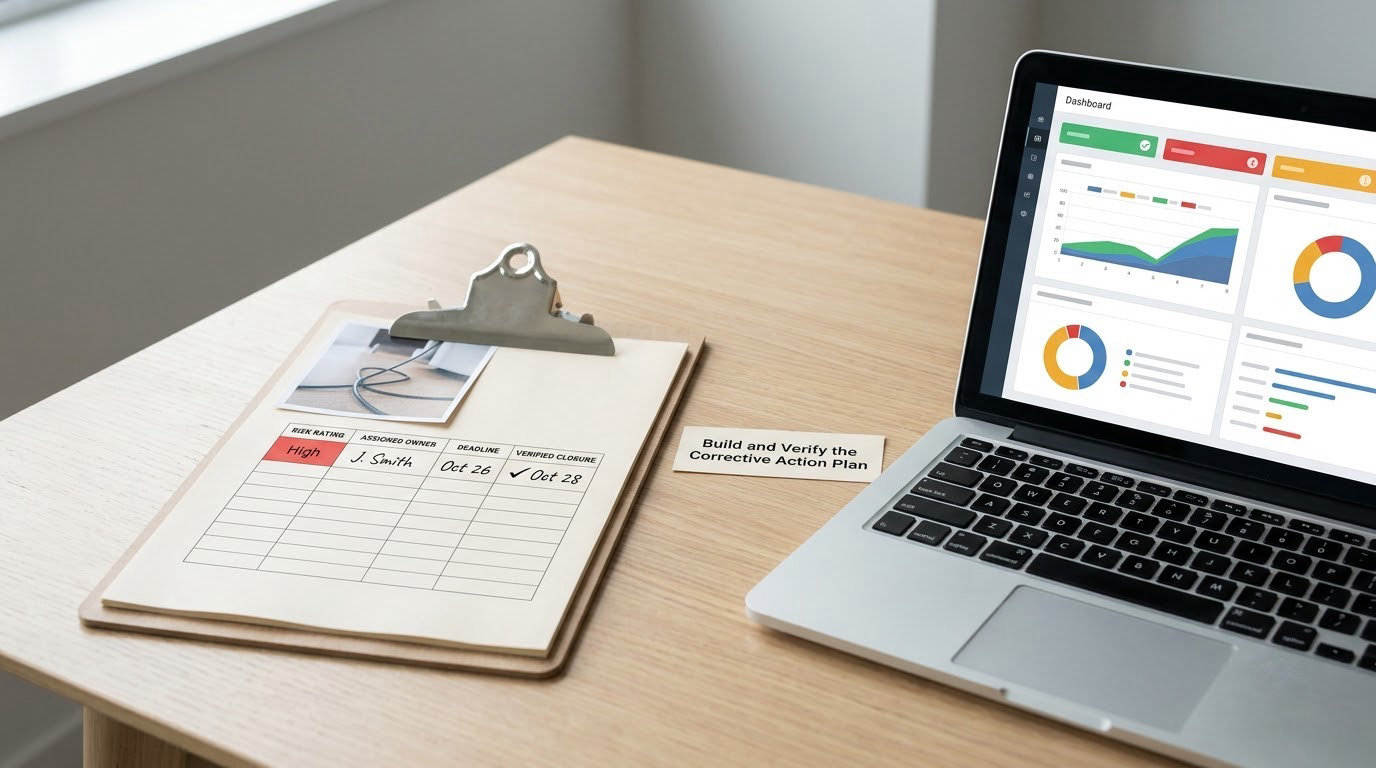
Every actionable finding gets five fields: an owner, a priority, a deadline, an interim control, and a verification method. A finding without a named person attached to it is a complaint.
“Operations” is not an owner. A name is. Assign by who controls the fix, not by who found the hazard, and give the owner the authority and budget to actually make the change. Set the deadline from the risk tier, not from how busy the calendar looks.
Where the fix takes longer than a day, write the interim control: close the area, tape off the route, move the task to a safer station, hand the task to a trained person only, or take the equipment out of service. This is the step most audits miss, and it is the one that turns a document into actual risk reduction.
Then verify closure with fresh evidence. Re-walk the spot, take a new photo, confirm the new procedure is in the training record. A verbal assurance from the owner is not closure.
Escalate rather than absorb two things: anything in the immediate-danger tier, and any hazard that has been raised twice and fixed twice and is still there. A repeat finding is usually not a worker behaviour problem. It is a sign that the control being relied on does not work, and that the hierarchy of controls has been skipped somewhere in favour of a poster and a toolbox talk. For anything serial or recurring, ask what physically prevents the harm, not what reminds people to be careful.
The step is complete when every finding above moderate risk has a closed loop with dated evidence, and the plan itself is a document someone else could pick up and follow without you in the room.
Common Mistakes
Six mistakes show up repeatedly in small business audits, and each has a straightforward fix.
Auditing only the main workspace. Storage, the dock, vehicles, stairwells and remote staff get skipped because they are inconvenient. Fix it by writing the zones into the scope sheet in step 1 and refusing to start until every zone has a pass or fail mark.
Walking the site with no records. You cannot check compliance with a policy, a training requirement or a previous corrective action if you left the folder behind. Fix it by pulling the last year of incidents, near misses, training records and open actions into one folder before you leave the office.
Treating training as a substitute for engineering controls. A toolbox talk is the weakest control in the hierarchy, and it sits at the bottom. If a finding is closed by retraining, ask what physically changed about the task. If the answer is nothing, the hazard is still there and you have only added a document.
Assigning vague owners. “Facilities,” “management” or “the team” means nobody. Fix it with a person’s name, a date and the authority to spend or change something.
Failing to isolate an immediate hazard on the spot. A finding that waits for a spreadsheet is a hazard that is still live while the spreadsheet loads. Fix it by stopping the task, isolating or barricading, and reporting it before you write the record.
Closing findings without verification. Fix it by requiring a photo or re-inspection date for every closed item, and by reviewing the open list at the start of the next audit rather than at the end of this one.
Owners tell me the most common failure is treating the audit as an annual paperwork event instead of a repeating monthly walkthrough. Shorter and regular beats thorough and annual, and the artefact people actually keep is one printable page a staff member can carry, not a manual behind a form.
For scheduling: run a short monthly walkthrough of the highest-risk areas, a fuller annual audit across every zone, and a targeted re-audit whenever something changes. New equipment, a remodel or move, a new chemical, an incident or near miss, a new contractor, a client vendor onboarding review and an insurance renewal are all legitimate triggers for a focused pass. Rotate who walks with you so the audit is not dependent on one person’s memory, and if culture is the real problem, that is a different fix from a checklist problem, covered in how to build a safety culture at work.
Frequently Asked Questions
How often should a small business conduct a safety audit?
Most small businesses do well with a short monthly walkthrough of high-risk areas and a full audit of every zone once a year. Audit again whenever something changes: new equipment, a remodel or move, a new chemical, a new contractor, an incident or near miss, an insurance renewal or a client onboarding review. The annual audit is the formal record; the monthly walk is what keeps the record honest.
What should be included in a completed safety audit checklist?
A completed checklist shows the date, auditor, areas covered and shift inspected, with every line marked pass, fail or not applicable. Each failure carries a location, evidence such as a photo or measurement, a risk rating, an owner, a due date and an interim control. The closing page lists verification evidence for fixed items and open items still outstanding, signed and dated by the person who owns the site.
Is OSHA compliance required for every small business?
OSHA covers nearly all US employers, but its standards are mostly written for larger workplaces, and several commonly cited duties only kick in at ten or more employees. Note that a safety audit itself is generally not legally required for small employers. You are still responsible for a safe workplace under the general duty clause, and state-plan states can be stricter than federal rules, so check your state requirements rather than assuming the loosest standard applies.
How quickly should safety audit findings be corrected?
Immediate dangers get isolated the same day and corrected before the work restarts. Serious risks with a history of causing harm should be fixed within days, with an interim control in place meanwhile. Moderate risks get a scheduled date with a named owner, usually within 30 days. Low-risk improvements go on a list for when there is capacity. What matters most is that no finding sits in a spreadsheet with no owner and no date.
How do we prioritize hazards in a workplace safety audit?
Rate each finding on likelihood times consequence, then sort by tier: immediate danger, serious potential harm, moderate risk, low-risk improvement. Where two findings score the same, put the one that has already caused harm or a near miss first, because it has a proven history. Also fix the cheap ones early when they are on your route, because a closed guard or a taped cable builds the habit of closing findings.
Conclusion: Start With the Highest-Risk Areas
Pick a workday in the next two weeks, block two hours, and walk the route from step 2 with a one-page form and a camera.
Document every material hazard you find with a location and a photo, rate each one on the four tiers, and give the highest-risk findings a named owner and a date today rather than tomorrow. Everything else in this process is refinement. That first list is the thing that changes the workplace.