
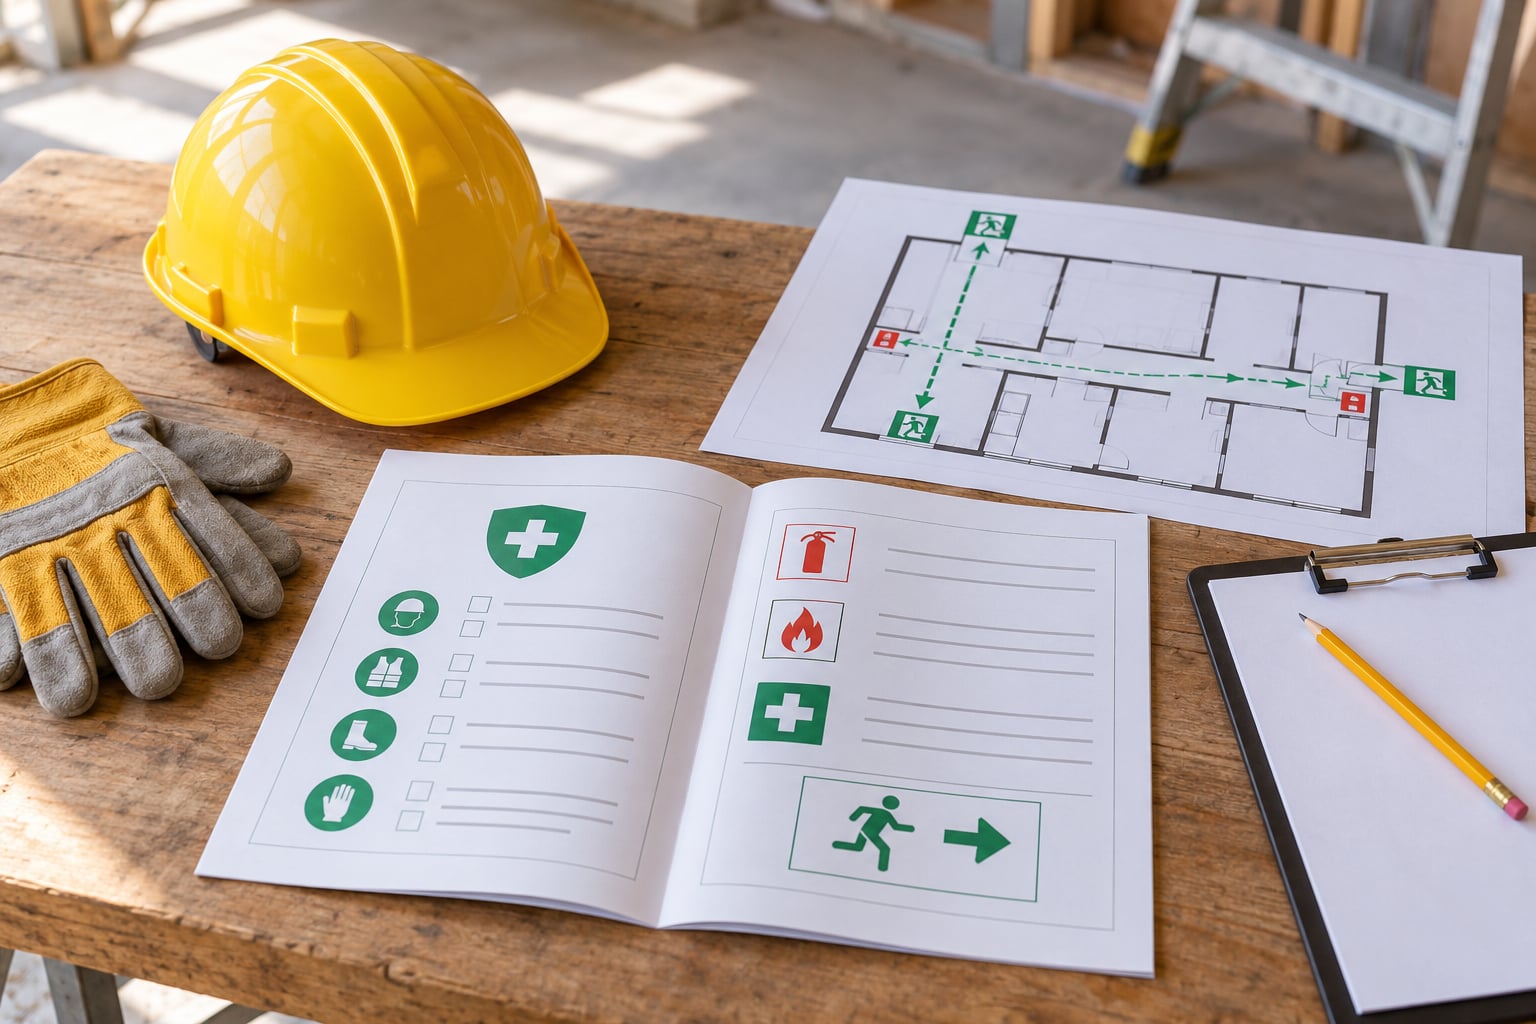
A site specific safety plan template is a fill-in document that lists the hazards found at one particular workplace or job site, attaches a control and an owner to each hazard, and records the emergency steps, PPE rules and training that go with them. You fill it in before work starts, then revise it when the site changes. Most versions work fine in Microsoft Word, Google Docs or Excel, and the copy below is printable as-is.
The template only works if you change it. A generic plan that arrives with a blank hazards section and a generic emergency paragraph tells a worker nothing about the conveyor they are standing next to.
Every site specific safety plan template carries the same core components, whatever the industry:
- Project and contact information: site address, dates, client, general contractor, and the phone numbers of the people who make decisions.
- Scope of work: the tasks, areas, shifts and equipment covered, plus the boundaries of the plan.
- Roles and responsibilities: who writes the plan, who enforces it, and who has stop-work authority.
- Hazard identification and controls: each hazard tied to a specific control using the hierarchy of controls.
- Personal protective equipment: the PPE required by task, not a general list.
- Emergency response: evacuation routes, muster point, first aid location, and who calls for help.
- Communication and training: orientation, toolbox talks, how hazards get reported, and the sign-off record.
Table of Contents
- What You Need
- Step-by-Step: How to Create a Site Specific Safety Plan
- 1. Define the Site, Scope, and Safety Goals
- 2. Identify Site-Specific Hazards and Tasks
- 3. Evaluate Risk and Existing Controls
- 4. Select Controls and Write Action Steps
- 5. Assign Roles, Training, and Communication
- 6. Add Emergency, Monitoring, and Review Procedures
- 7. Approve, Publish, and Maintain the Plan
- Common Mistakes
- Frequently Asked Questions
- What is a site specific safety plan template?
- Do small businesses need a site specific safety plan?
- How often should a site specific safety plan be reviewed?
- Should contractors and temporary workers be included?
- What is the difference between a site specific safety plan and an emergency action plan?
- How can an employer customize a generic safety plan template?
- Conclusion
What You Need
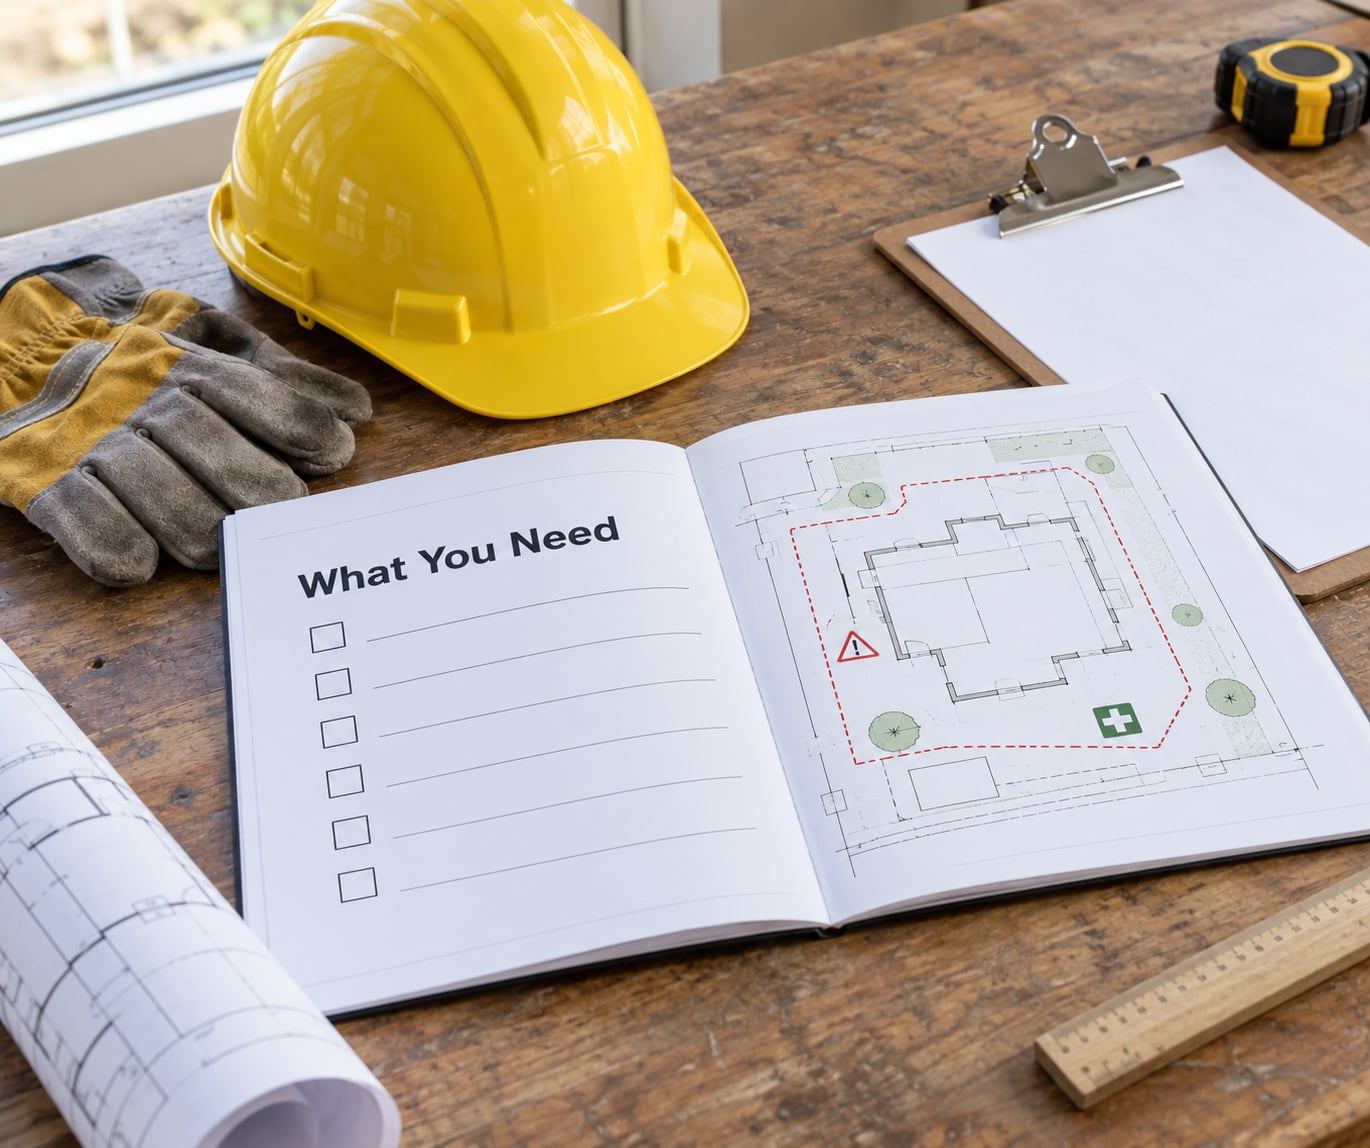
You cannot fill in a hazard section you have not walked. Before you open the template, gather what describes this site and nobody else.
- A walk of the site itself. Walk every area the plan covers, including the corners people shortcut, the parking and delivery routes, and any storage that only exists this month.
- Drawings or a site map. Mark the location of utilities, overhead lines, restricted zones, fire extinguishers, first aid kit, exits and the muster point. If nothing exists, a phone photo and a sketch is better than a blank page.
- Scope of work and schedule. Phases, start and finish dates, working hours, night shifts, and which crews are on site when.
- Who works there. Employees, subcontractors, temporary labour, visitors, and the competent person you have named plus a backup.
- Equipment and chemical information. Manufacturer manuals, safety data sheets for anything on site, and the machine list for the area being planned.
- Existing procedures. Your company safety manual, any written plans you already hold for hot work, confined space, lockout, respiratory protection or fall protection, and your emergency action plan.
- Client and insurer requirements. Prime contractors and carriers often ask for things OSHA does not. Ask for their list up front rather than discovering it at a pre-start meeting.
- The legal requirements for your state and industry. Rules vary by state and change over time, so confirm the current text with your state plan or your safety adviser before you publish.
If you work from a generic company program rather than starting from nothing, read the hazard identification section of that program first. It gives you a checklist to walk the site against instead of a blank list to stare at.
Two more guides help at this stage: our safety audit checklist for small businesses is a good way to spot what is already broken before you start writing, and how to write a standard operating procedure for safety covers the tasks that turn into job safety analyses.
Step-by-Step: How to Create a Site Specific Safety Plan
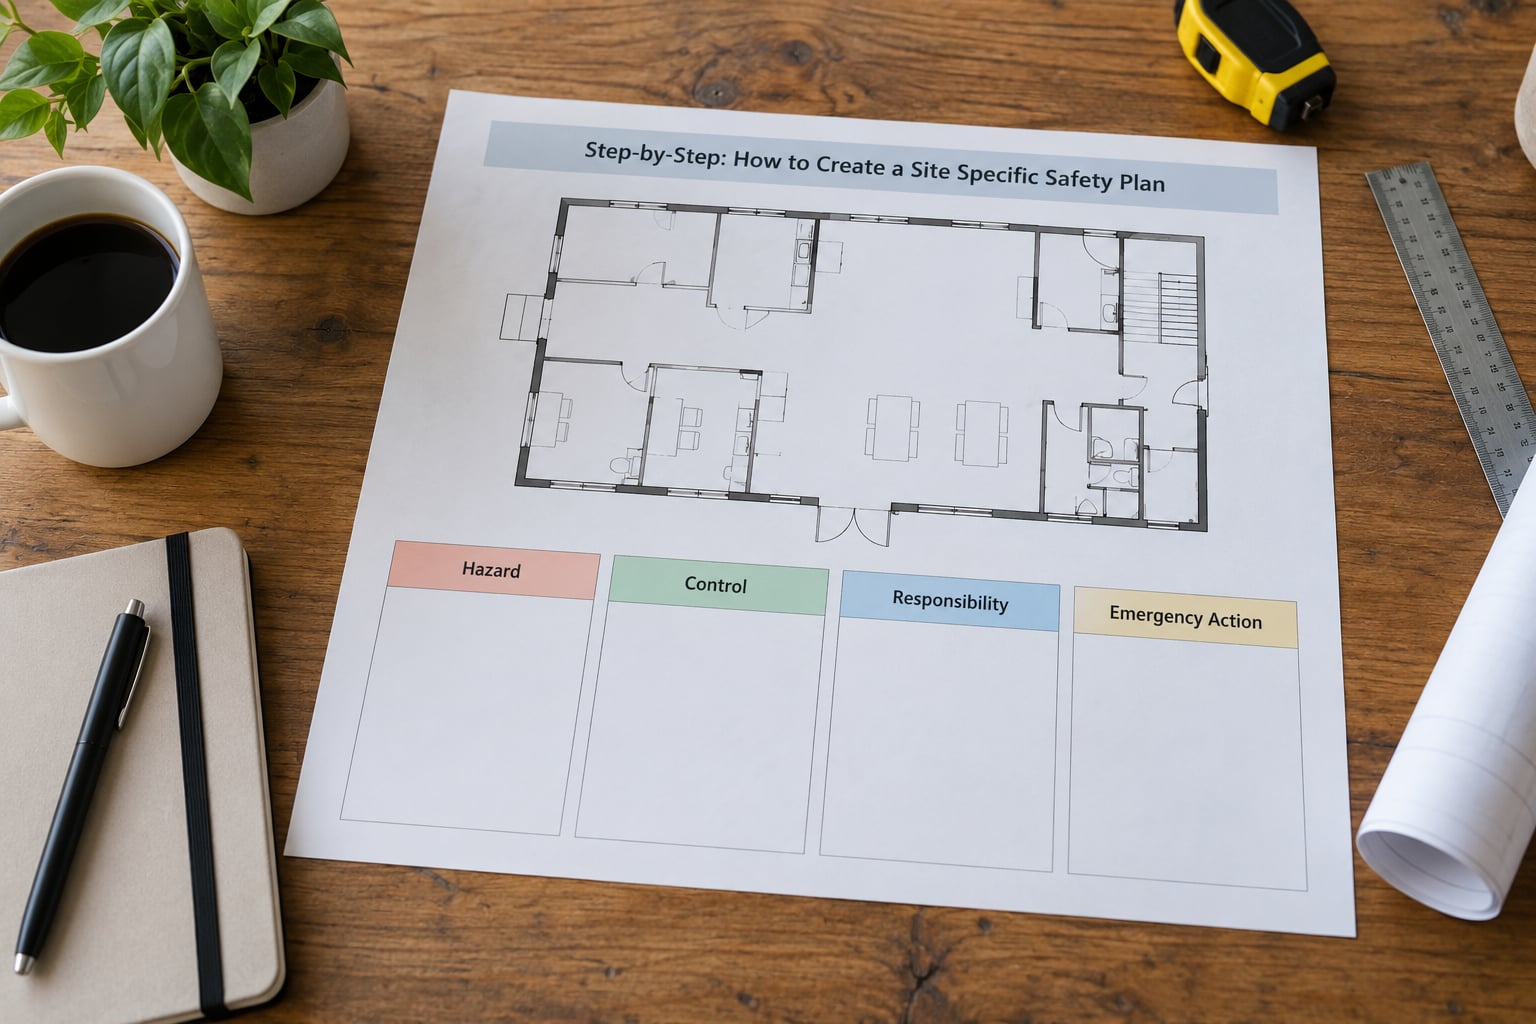
The drafting process takes one working day for a small site and about a week for a large or phased one. Most of the time goes into the walk and the hazard list, not the typing.
1. Define the Site, Scope, and Safety Goals
Start by writing down exactly where this plan applies. Give the physical address, the building or area names, and the dates it covers.
Then write the scope: which tasks, which shifts, which areas, which people. A plan that says “the entire facility” without naming an area is the same as no plan, because nobody knows whether the roof access or the battery room falls inside it.
Set three or four measurable goals. Zero lost-time injuries in the phase is standard. Add something about what you will actively do, such as a documented pre-task plan for every confined space entry or 100 percent of subcontractors oriented before their first shift. You will measure these later in the monitoring section.
2. Identify Site-Specific Hazards and Tasks
Walk the site with the scope in hand and list hazards by location and by task. Location matters because it tells a worker where the problem is; task matters because it tells them what to do about it.
Cover the categories that apply to your site:
- Physical: falls from height, trips and slips, struck-by, manual handling, sharp edges, uneven ground.
- Chemical: cleaning products, solvents, fuels, dust, welding fume, lead paint, anything with a safety data sheet.
- Biological: sewage, blood and body fluids, mould, animal waste, laboratory cultures.
- Ergonomic and psychosocial: repetitive lifting, awkward postures, long shifts, lone working, bullying, workload pressure.
- Vehicle and equipment: forklifts, delivery vehicles reversing, excavators, hoists, power tools, defective plant.
- Energy: electricity, lockout and tagout, stored pressure, overhead lines, confined space entry.
- Environmental: heat, cold, wind, lightning, noise, poor lighting, working near water.
- Emergency-related: blocked exits, no muster point, remote first aid, delayed emergency services.
Ask the people who work the area. A worker doing the task daily will name a hazard in ten minutes that a manager walking through on a tour misses all week. Then rank the list: the hazards that kill and maim go to the top, not the ones that are easiest to write about.
3. Evaluate Risk and Existing Controls
For each hazard, estimate how likely harm is and how bad it would be. Most sites use a simple three-by-three grid: how likely, and how severe. Multiply the two to get a priority, then write it down.
Now list the controls already in place. This part gets skipped and it should not, because it tells you whether you are documenting real protection or imaginary protection.
| Hazard | Existing control | Gap | Priority |
|---|---|---|---|
| Unprotected edge, third floor | Guardrail on two sides | Open end, no fall protection | High |
| Forklift and pedestrian crossing | Marked walkway | No physical separation, no sight line | High |
| Solvent storage | Safety data sheets on file | No secondary containment | Medium |
Anything rated high gets a control and a deadline before the plan is published. That is not negotiable, because a high hazard with no control documented is the exact thing an investigator looks for after an incident.
4. Select Controls and Write Action Steps
Work down the hierarchy of controls rather than jumping straight to PPE. Elimination comes first, then substitution, then engineering controls such as guarding, ventilation or interlocked covers, then administrative controls such as procedures, training and signage, and personal protective equipment last.
For each high hazard, write an action step with four fields: what will be done, who owns it, when it is due, and what evidence closes it out. A photo of the installed guardrail closes it. “Attention to safety” does not.
| Action | Owner | Due | Evidence |
|---|---|---|---|
| Install guardrail on the open third-floor edge | Site supervisor | Before framing starts | Photo on file, tagged in log |
| Post heat stoppage thresholds on the site board | Project manager | Before first hot week | Board photo, briefing record |
Keep the full action log inside the plan. It is the section that proves the plan is real, and it is the first place to look when a control was planned but never built.
5. Assign Roles, Training, and Communication
Every role in the plan needs a name and a backup, not a job title alone. Titles change, people leave, and a plan that names only roles becomes unowned the week someone resigns.
| Role | Responsibility in the plan |
|---|---|
| Project manager | Owns the plan, approves revisions, chairs the review, signs the subcontractor review |
| Site supervisor or foreman | Runs toolbox talks, inspections and daily briefings, enforces stop-work |
| Competent person | Inspects fall protection, scaffolds, excavations and plant; has a named backup |
| Workers and subcontractors | Follow controls, wear PPE, report hazards and near misses, may stop work |
| Safety manager or committee | Audits, tracks corrective actions, trends incident data |
| Leadership and legal | Resources the controls and reviews exposure |
Write the training side in the same section. Site orientation before the first shift, a job safety analysis for each high-risk task, toolbox talks on a fixed cadence, and a signed acknowledgement for every subcontractor. Name the channel too: a text alert group, a physical board at the entrance, or both.
Say plainly that any worker can stop work they believe is unsafe, and that reporting a hazard or near miss never results in discipline. That sentence does more for safety culture than any control you can buy, and it belongs in the plan, not just in a handbook.
6. Add Emergency, Monitoring, and Review Procedures
Emergency response needs to work for someone who arrives at the plan for the first time during an incident. Give the address in full, two or three exit routes, the muster point, the first aid kit and AED locations, the nearest hospital with its address, and the emergency number. Put the site address on the outside of the site office so ambulance crews can be guided in.
Most plans stop at that paragraph. A good one keeps going with an incident procedure: who is authorised to call 911, who preserves the scene, who notifies the family, where the report goes and how quickly, and how near misses get reported. Our guide to writing a workplace emergency action plan covers that document in full, since it is the natural companion to this one.
Then add monitoring: inspection frequency for each area, who performs it, what gets recorded, the corrective action turnaround, and a handful of numbers you will actually watch. Total recordable incident rate, near-miss reports per month, inspections completed against inspections planned, and overdue corrective actions. A metric nobody looks at is decoration.
Write the review triggers: after an incident, when scope or crew changes, when new equipment or chemicals arrive, when a regulation changes, at a fixed interval, and at the end of each phase. A site that changes daily needs a plan that changes with it.
7. Approve, Publish, and Maintain the Plan
Send the draft to the people who will be held to it: the project manager, the competent person, the client or prime contractor, and your insurer if they review safety documentation. Fix the comments, then record the approval with names and dates.
Publish it where the work happens. Print and laminate a copy for the site office, put a full copy in the site folder, and keep one in the vehicle of every supervisor. Nobody should need a login to read the rules for the job they are standing in.
Then run the orientation and collect signatures. A version history block at the top of the document, with revision number, date, author and a one-line summary of what changed, is the cheapest thing you can add and the one that saves you the most confusion later.
Keep a controlled master in one place. When it changes, everyone holding a copy is notified in the same message that carries the change summary.
Common Mistakes
Using the template unmodified. A plan with unfilled fields is a liability, not a plan. Fill every field with something from your site before it goes near a worker.
Listing hazards without controls. Every hazard line needs a control and an owner. If you cannot name a control, you have found the first action item.
Vague ownership. “Management will ensure compliance” belongs to nobody. Put a person’s name and a backup next to every high-risk item.
Skipping the people doing the work. A tour misses what a shift finds daily. Ask, then write down what they told you.
No review record. If there is no revision history, nobody can tell which version is current. Add the block and date every change.
Treating it as a one-time project. Plans fail because conditions changed and the document did not. Tie reviews to triggers and to a fixed date.
Leaving weather out. Heat, lightning, wind and ice protocols belong in the plan with numeric stop-work thresholds, not in someone’s judgement on the day.
For crews under about 20 workers, you can compress this into a single page: site and scope, top ten hazards with controls, PPE by task, emergency contacts and muster point, orientation and sign-off. Keep the revision block and the action log even on the one-pager.
Frequently Asked Questions
What is a site specific safety plan template?
It is a fill-in document that lists the hazards at one particular workplace or job site, attaches a control and a responsible person to each hazard, and records the PPE, emergency arrangements, training and communication that support those controls. You complete it before work starts, publish it on site, collect worker acknowledgements, and revise it whenever conditions, scope or personnel change.
Do small businesses need a site specific safety plan?
There is no federal rule that names a site specific safety plan, so no one is cited for lacking a document by that title. What regulators and clients do check is whether hazards were identified and controlled, and whether required written programmes exist for specific hazards. A small crew can run a one-page version covering scope, top hazards with controls, PPE by task, emergency contacts and sign-off.
How often should a site specific safety plan be reviewed?
Review it after any incident or near miss, whenever scope, crew, equipment or chemicals change, when a regulation changes, and at a fixed interval such as monthly for high-risk work and at least once per phase otherwise. At the end of each phase, either reissue the plan or record why no change was needed.
Should contractors and temporary workers be included?
Yes, everyone working at the location is covered, including subcontractors and agency staff. Give each subcontractor a review of the plan before mobilisation, collect a signed acknowledgement, and document any site-specific requirement that differs from their own company programme. A contractor arriving without a plan review is one of the most common gaps on a live site.
What is the difference between a site specific safety plan and an emergency action plan?
A site specific safety plan covers the whole job: hazards, controls, roles, PPE, training and records. An emergency action plan covers only what to do when something goes wrong: alarm method, evacuation routes, muster point, first aid and medical treatment, and who calls emergency services. Plans often reference each other, and the emergency section of a site plan usually points to a separate emergency action plan for the detail.
How can an employer customize a generic safety plan template?
Walk the site and rewrite the scope, hazard list, controls, PPE matrix and emergency details so they match what is physically there. Keep the structure of the template and replace the content, rather than keeping the content and swapping the headings. Remove every field you cannot fill and add whatever your client, prime contractor or insurer requires on top.
Conclusion
Pick one real site and one real work area rather than the whole company. Walk it this week, list the hazards that could actually hurt someone there, attach a control and a named owner to the worst ones with a deadline, then put the date in the diary for the first review. That sequence turns a blank template into a document people on site will actually use.