
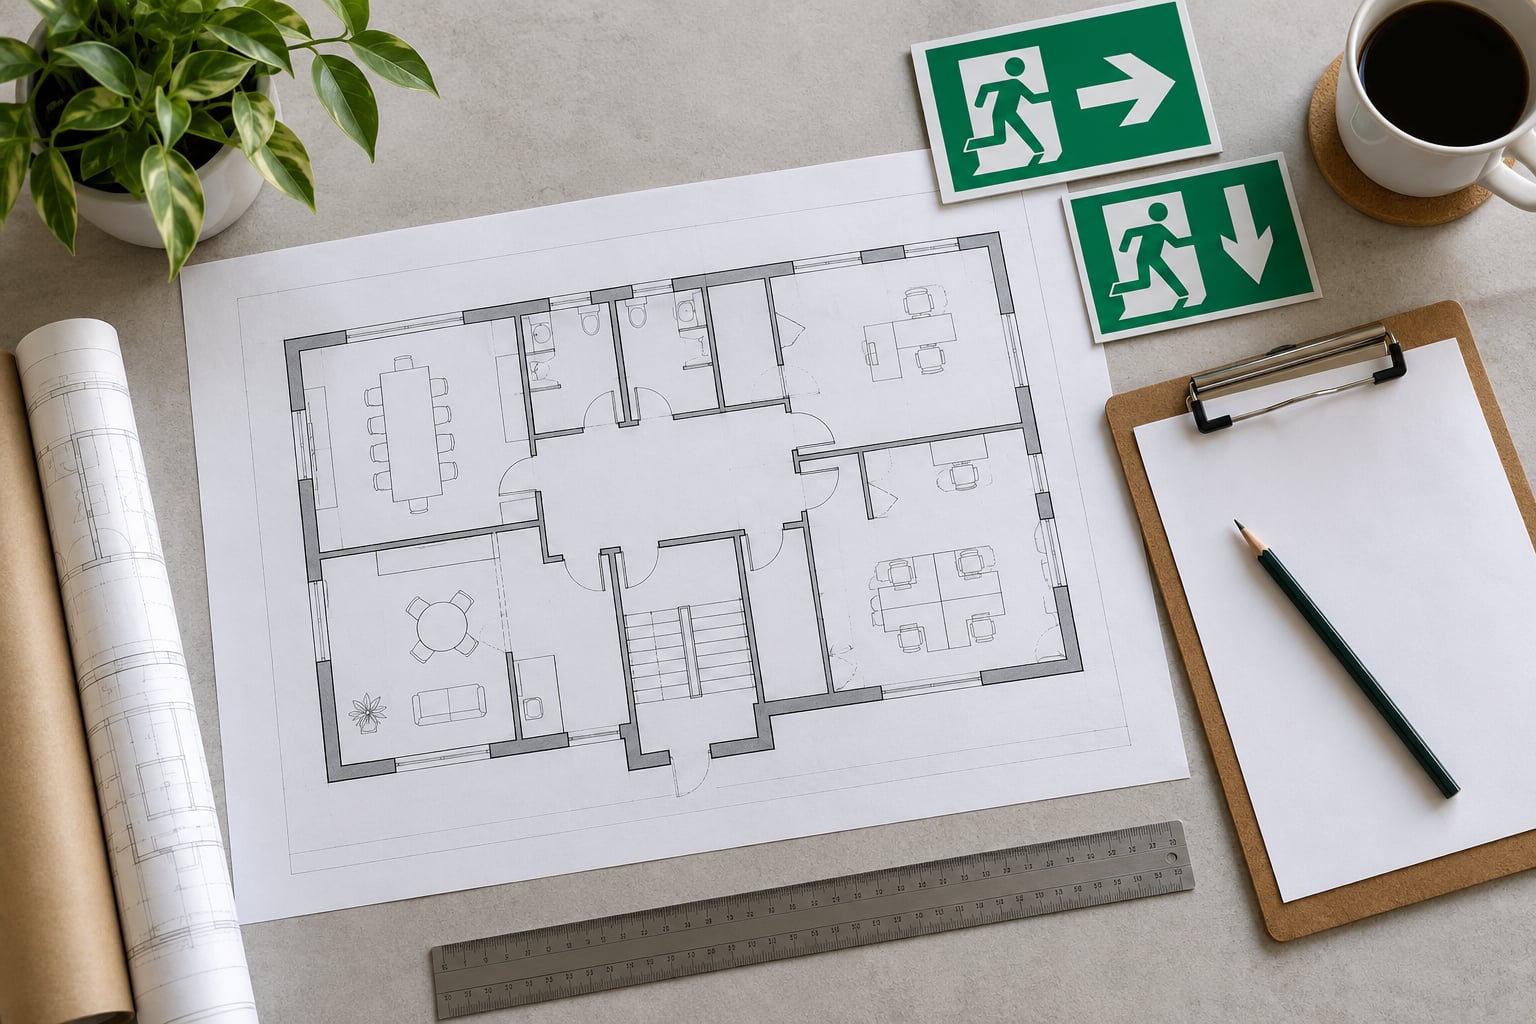
To make an evacuation map for your building, start with an accurate floor plan, verify it by walking the space, then mark every exit, stairwell, hazard, extinguisher, AED and alarm pull station, add a You Are Here marker and the outside assembly point, and print it large enough to read from across the room. A small office can do this in an afternoon; a multi-floor building takes a few days and one reviewer from facilities, safety and accessibility.
The hard part is almost never the drawing software. It is getting a plan that matches the building as it exists today, especially in a space you rent where the landlord holds the CAD file and nobody has seen it since the last renovation.
Table of Contents
- What You Need
- How to Make an Evacuation Map for Your Building: Step-by-Step
- 1. Establish the map’s scope and authority
- 2. Gather and verify the building information
- 3. Mark primary and alternate exits
- 4. Add emergency equipment and hazard locations
- 5. Design the map for fast reading
- 6. Review, post, and distribute the evacuation map for your building
- 7. Train occupants and update the map
- Common Mistakes
- Frequently Asked Questions
- Are evacuation maps required by OSHA?
- How can I create an evacuation map online for free?
- Who is responsible for keeping the evacuation map current, the landlord or the tenant?
- What must an evacuation map show in a multi-floor building?
- What triggers a redraw of the evacuation map?
- Should employees be told how to use the evacuation map during drills?
- Start With a Walk-Through and a Current Floor Plan
What You Need
Collect these before you open any drawing software. Missing one of them is what turns a careful map into a wall poster nobody trusts.
- A current floor plan. In this order of preference: the architect’s as-built set, a lease exhibit or base-building drawing from the landlord, your building management system records, then a measured scan you take yourself as a last resort.
- Building records. The current emergency action plan, fire alarm and sprinkler as-built drawings, and any permit or inspection paperwork showing when exits or stair doors were last changed.
- Your emergency procedures. Alarm instructions, the evacuation coordinator’s name, the assembly point address, and the emergency phone numbers you want printed on the sheet.
- Signage standards. ISO 7010 for exit signs and safety symbols, and ANSI Z535 for safety markings. They decide which symbols you are allowed to use, so check them before you draw anything.
- Walk-through gear. A clipboard, a tape measure, a phone camera, a floor marking tape, and a colleague who knows where the seldom-used doors are.
- Print capability. A large-format printer or a print shop, plus the mounting hardware for the spots where the map will hang.
- Named reviewers. Facilities, the fire safety lead, an accessibility contact, and whoever represents your landlord if you are a tenant.
Facilities and maintenance staff are usually the ones holding this list together, and in my experience they are also the ones who know which door on the drawing has been chained open since the last renovation. Put them in the room early.
How to Make an Evacuation Map for Your Building: Step-by-Step
1. Establish the map’s scope and authority
Decide what the map covers before drawing anything: which floors, which rooms, which hazards, and which emergencies. A four-panel board with one plan per floor for a 30,000 square foot building is a different job from a single sheet for a ten-person office suite.
Then name the person who can approve the finished map, usually the fire safety lead or the person named in your emergency action plan. Without a named approver, reviews stall and the sheet sits in a drawer.
How to verify: you can name one person who will sign off on the final version, and one date it will be reviewed next.
2. Gather and verify the building information
Put the floor plan side by side with the actual space. Walk it room by room and confirm the things drawings lie about most often: which doors swing which way, which openings have been filled in, where the fire-rated stair doors are, and where equipment has been stored since the last update.
Confirm room uses too, because a space labeled Storage on the plan may now be full of lithium battery racks. Check that stairways are unobstructed, that elevators are identified, and that accessible routes from the ground floor to occupied floors still exist as drawn.
Where you cannot get a digital plan, measure. A rough scan or a hand-measured sketch is far better than a plan that is confidently wrong, and it becomes a usable base layer once you trace the walls into drawing software.
How to verify: count the doors on your walk-through and count them on the plan. Any mismatch tells you exactly where the drawing has drifted from the building.
3. Mark primary and alternate exits
From every occupied area, trace the route a person would actually take to a safe exit, then trace a second, different route. Both matter, because the primary path is sometimes blocked by whatever was staged in the corridor that morning.
Use one consistent arrow style for the primary route and a second style, usually a dashed line, for the alternate. Mark every stairwell you are permitted to use and label stairs and elevators explicitly as not part of the evacuation route unless your local fire marshal has told you otherwise.
Keep travel distances readable rather than exact. An occupant needs to see direction and destination, not survey precision.
How to verify: pick any three rooms at random, including the one furthest from a door and the one behind a locked storage cage, and confirm you can trace two ways out of each.
4. Add emergency equipment and hazard locations
Plot the fire alarm pull stations, extinguishers, fire department connections, first-aid kits, emergency phones, AEDs, and main electrical or gas shutoffs. Mark hazard areas such as chemical storage, fuel, compressed gas, or a battery room so occupants know to stay clear of those doors.
Show equipment as symbols with a legend, not as words printed across the plan. And keep operational detail off the sheet: the map tells people where the shutoff is, not how to use it.
| Symbol on the sheet | What it tells an occupant |
|---|---|
| Solid directional arrow | Primary route to the nearest safe exit |
| Dashed arrow | Alternate route when the primary path is blocked |
| Running figure with arrow | Emergency exit, per ISO 7010 |
| Stair outline marked NOT AN EXIT | Stair that is not part of the evacuation route |
| Elevator symbol with cross or X | Elevator is not to be used during a fire |
| You Are Here dot | Exact location of the person reading the map |
| Extinguisher or AED pictogram | Location of that equipment |
| Hatched area | Hazard zone, keep clear |
| Assembly point symbol with address | Where to gather and be counted |
| Refuge area marker | Protected area and emergency call point for assisted egress |
How to verify: hand the printed draft to someone who has never worked in the building and ask them to point to the nearest extinguisher and the AED. If they hesitate, the symbols are too small.
5. Design the map for fast reading
People read this sheet in smoke, low light, and mild panic. That argues for large labels, high contrast, minimal color coding, and no decorative graphics. Black on white or white on a dark background both work; washed-out pastel palettes do not.
Give the sheet a visible title that includes the floor, keep room labels legible at two feet away, and place a You Are Here dot on every copy so nobody has to guess where they are standing. Add a north or street orientation arrow on multi-tenant floors where people enter from more than one direction.
Print one map per floor and stack them in the same order on the board so a reader turning a page finds the next floor in the same direction. That small consistency saves real seconds.
How to verify: stand six feet from the posted sheet at an angle and read the nearest exit label, the You Are Here dot, and the assembly address without moving.
6. Review, post, and distribute the evacuation map for your building
Circulate the draft to facilities, the fire safety lead, an accessibility contact, and your landlord if you are in leased space. Each reviewer checks a different layer: facilities knows the physical building, the safety lead knows the plan, accessibility knows the assisted-egress story, and the landlord knows the base building.
When reviews come back, log each correction and where it came from. That log becomes your update trigger list and answers the question of who signed off on what, on what date.
Post the map where people will pass it on the way out rather than where it looks tidy in a lobby. Near stair doors, near elevator lobbies, near the main entrance, and in break areas works better than a single central display. Keep the bottom edge about eye level and the sheet out of the path of a swinging door.
Also distribute a digital or large-print version for people who cannot read the posted sheet quickly, and keep a copy with the emergency action plan so the written document references the sheet by location.
How to verify: each posted copy matches the approved version, dated on the sheet, and someone who has not seen it before can find it within a minute of deciding to look.
7. Train occupants and update the map
A posted map nobody has been shown will be read slowly or not at all. Walk new hires through it during orientation, name the evacuation coordinator and floor leads in your procedures, and run a drill that uses it. In a multi-tenant building, a combined drill is the only way to learn how your route interacts with the neighbors’ routes.
Put the map on a review cycle tied to events rather than the calendar alone. Redraw it after any renovation, new partition wall, added or sealed exit, elevator or stair change, new hazard storage, re-leasing of adjacent space, or a headcount jump that changes the plan’s occupancy.
Assign the update to a named person with a date, not to a role. Roles change, names get delegated, and the map quietly goes stale in between.
How to verify: your update log has a date, a trigger, and a name against the most recent revision.
Common Mistakes
Drawing from an old plan. This is the most common failure and the hardest to spot, because the map still looks professional. Walk the space and reconcile door counts before anything else.
Unclear or inconsistent symbols. A red dashed line on one floor and a black solid line on the next wastes seconds. Pick ISO 7010 and ANSI Z535 conventions, keep them identical across floors, and include a legend on every sheet.
Missing accessibility information. Show accessible egress routes, refuge areas, and emergency call points, and confirm the plan matches how people with mobility, hearing, or cognitive needs actually move through the space. An area of refuge only helps if it is labeled and has a working call point.
Unmarked hazards. Storage, fuel, gas cylinders, and battery rooms belong on the map with a clear keep-clear indication.
Assuming elevators are safe. Most buildings must mark elevators as not to be used during a fire unless fire service directs otherwise. If your elevator has a firefighter service key, note that it is for responders, not occupants.
Crowding the sheet with procedures. A map that also explains alarm codes, reporting steps, and shutdown instructions stops being readable. The map shows where to go; the written emergency action plan carries the procedure.
Two habits keep the finished sheet healthy: date and version every posted copy so anyone can tell which is current, and review it during the same walk-through where you notice the first-aid kit is empty or a corridor is being used for staging.
Frequently Asked Questions
Are evacuation maps required by OSHA?
Partly. OSHA does not use the exact phrase evacuation map, but 29 CFR 1910.38 requires an emergency action plan with a procedure for evacuation, and 29 CFR 1910.37 requires a written exit route map for workplaces with three or more rooms an employee could reasonably be expected to enter. Local fire codes and NFPA 101 often add their own posting and marking rules on top.
How can I create an evacuation map online for free?
Yes for most single-floor offices. Free diagramming tools handle rectangles, arrows, and labels well enough for a printed evacuation sheet, and free floor plan viewers or PDF editors work when all you need is to add symbols over an existing plan. For multi-floor buildings or maps that must be updated repeatedly, a vendor tool with floor stacking and revision history usually pays for itself.
Who is responsible for keeping the evacuation map current, the landlord or the tenant?
The employer is responsible for the safety of its own people, and most authorities treat the posted map as part of the employer’s emergency action plan. That obligation does not transfer when you rent the space. In practice the landlord supplies base building information and maintains common-area maps, while the tenant maintains the map for its own occupied space, and both should confirm the division in writing.
What must an evacuation map show in a multi-floor building?
One plan per floor, stacked in the same order on a single board, each showing that floor’s exits, stairwells, hazards, equipment, You Are Here marker, and the routes to the exits for that floor. All floors should name the same outside assembly point, and every sheet should repeat the emergency phone numbers. Stairwells and elevators must be labeled according to whether occupants may use them.
What triggers a redraw of the evacuation map?
Any change that alters the layout or the routes: a renovation, a new partition wall, an added or sealed exit, a relocated or modified stair door, new hazard storage, a change in the assembly point, or a re-lease of adjacent space. Headcount changes matter too when they push an area past its occupant load. Log each trigger with a date and a responsible name.
Should employees be told how to use the evacuation map during drills?
Yes. Cover the map in new-hire orientation, name the evacuation coordinator and floor leads, then run a drill that actually uses it and record where people slowed down or took a wrong turn. Repeat after any layout change, and for multi-tenant buildings coordinate with the landlord so routes from neighboring spaces do not conflict with yours.
Start With a Walk-Through and a Current Floor Plan
Do the walk-through first. Get the most current plan you can, compare door by door against the real space, and fix the drawing before a single symbol goes on it. Everything after that, the exits, the routes, the equipment, the posting, is fast work on top of a foundation you trust.
Bring facilities in, name who approves the sheet, and put a review date and an update trigger on the calendar before you print the first copy. A dated, signed map that gets redrawn when the building changes is worth far more than a beautiful plan that was wrong within a month.