
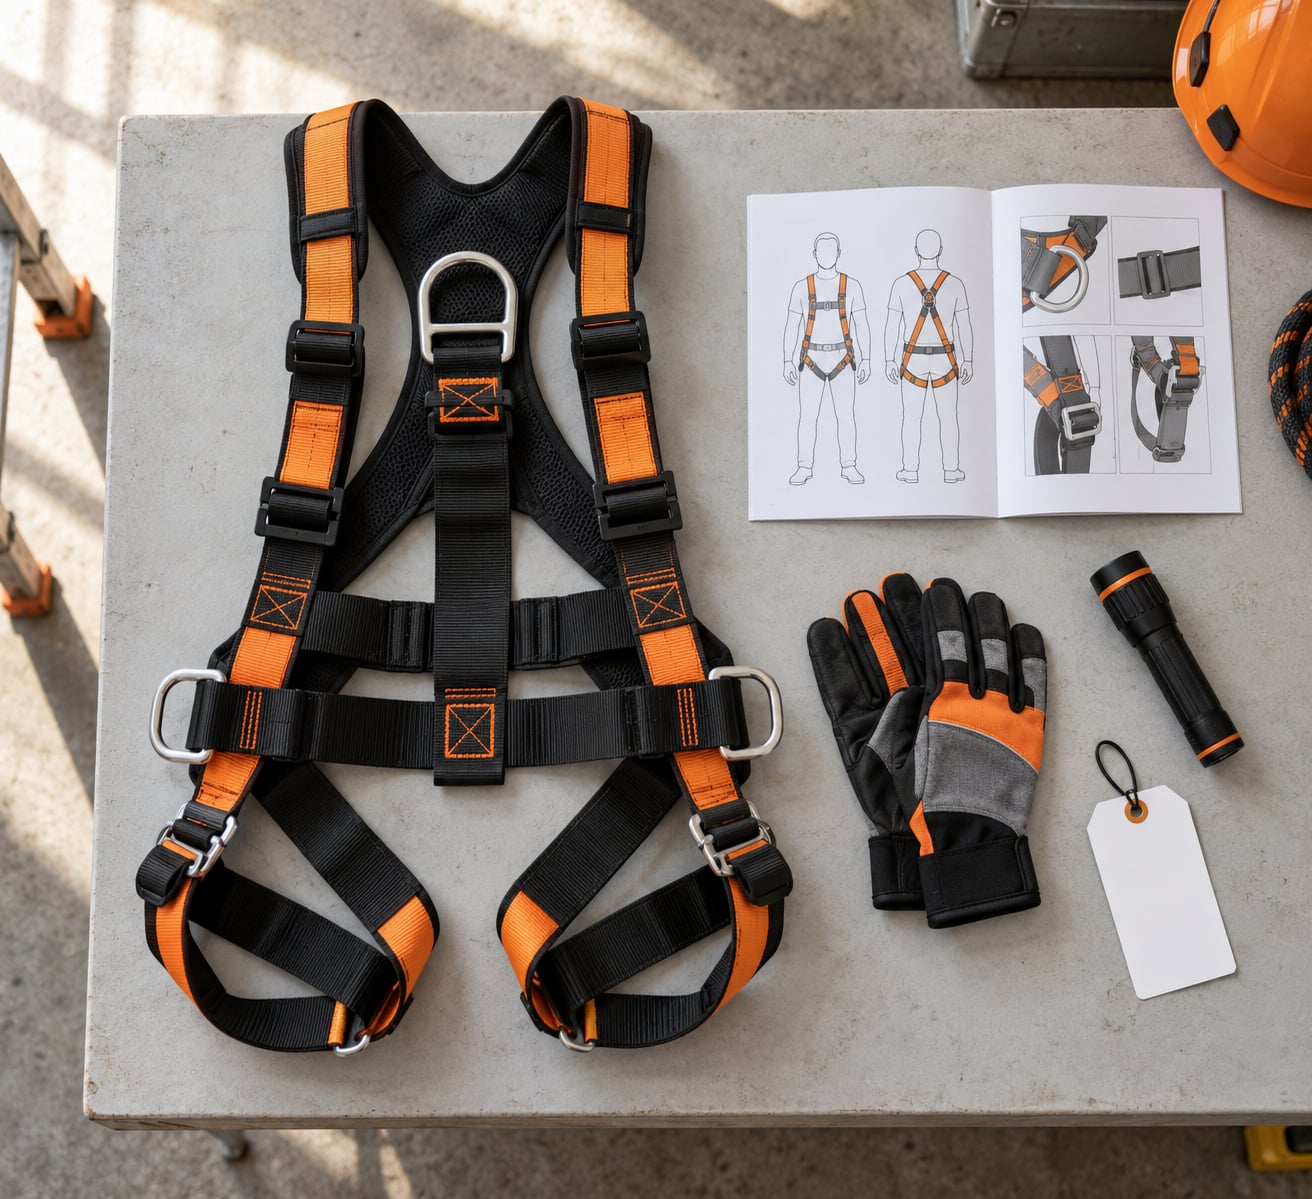
To inspect a fall protection harness, the worker checks every component before putting it on, and a designated competent person performs and records a formal inspection at least once a year, plus after any fall. That two-layer system is what OSHA expects, and it is the difference between a harness that protects you and one that tears the first time it is loaded.
A full body harness can look perfect at 6 a.m. and fail by noon. A nick in the webbing, a stitch that has started to pull, a D-ring with corrosion hiding under the plating, a buckle roller that no longer catches. None of that shows up until the harness takes a load, and a fall arrest is a very bad moment to find out.
This guide walks through how to inspect a fall protection harness in the order the check should actually happen, with pass-or-fail criteria you can apply without guessing. It also covers the paperwork side, since an inspection nobody recorded is an inspection an auditor will treat as an inspection that never occurred.
One note before you start: this is general guidance, and the manufacturer’s instructions for your specific harness always govern. Where the maker’s manual is stricter than the standard, follow the manual.
Table of Contents
- What You Need
- Step-by-Step: How to Inspect a Fall Protection Harness
- Check the Harness Label and Manufacturer Instructions First
- Inspect the Webbing for Damage or Contamination
- Examine Stitching and Protective Covers
- Check D-Rings, Buckles, and Connectors
- Test Adjustment and Positioning Functions
- Decide Whether the Harness Is Safe to Use
- Inspect After Every Use, Fall, or Storage Period
- Inspection Frequency: Who Inspects and How Often
- Common Mistakes
- Frequently Asked Questions
- Conclusion
What You Need
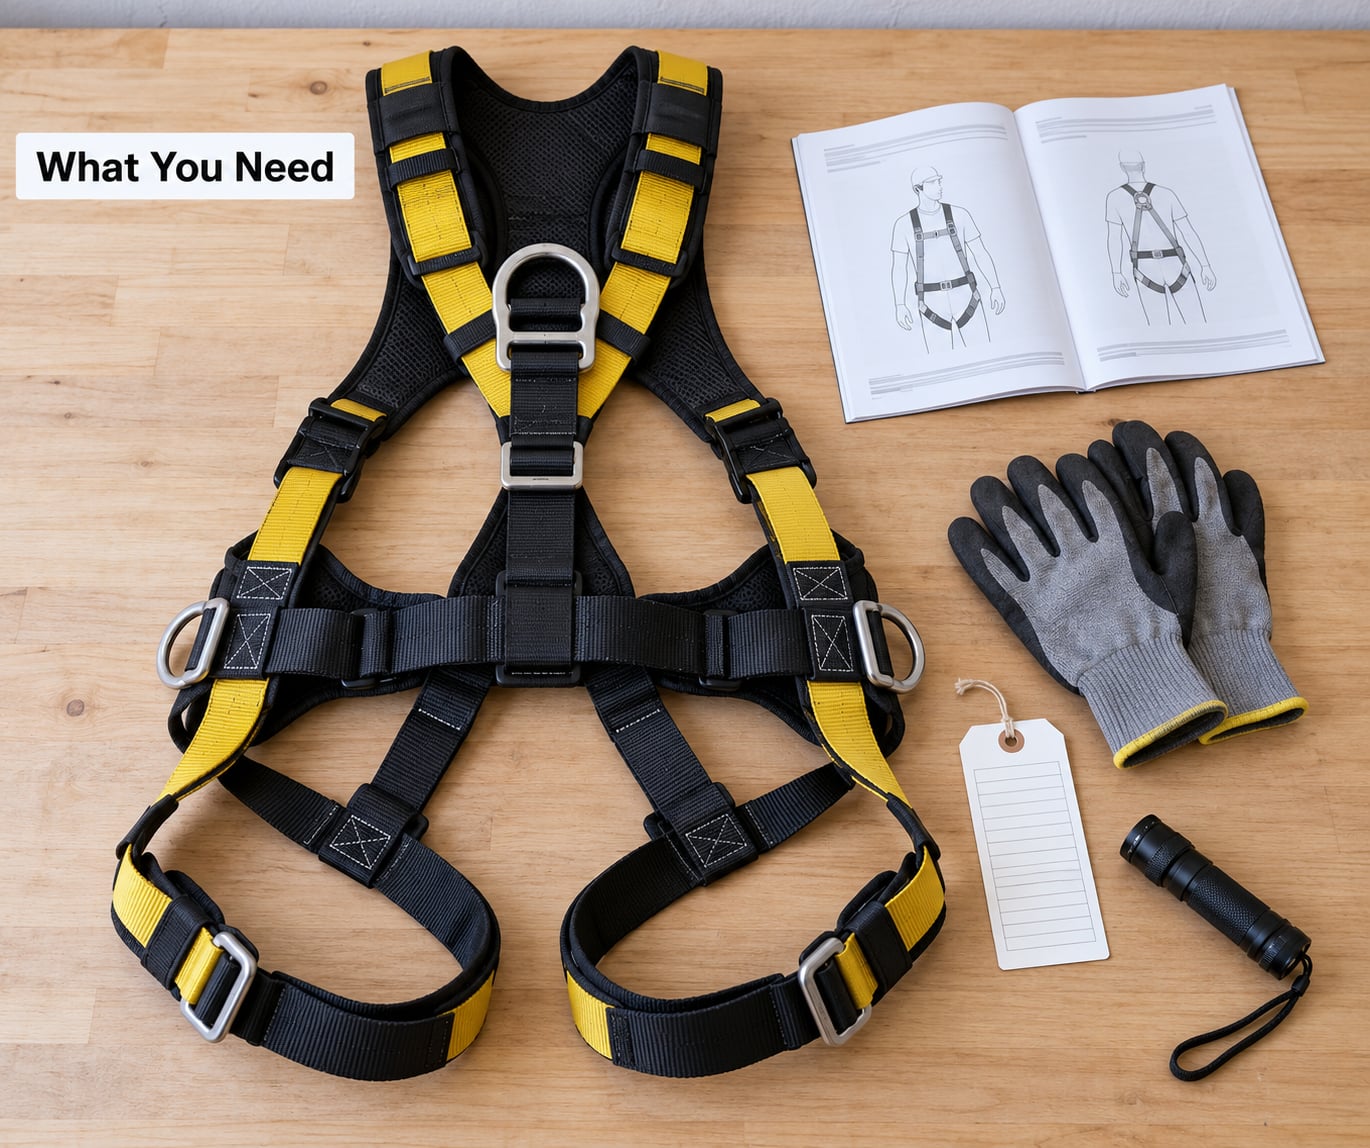
Most harness inspections fail because people do them in bad light, in a truck bed at dawn, with cold hands. Set up a small surface where the harness can lie flat and you can see both sides of every strap.
You need the manufacturer’s instructions for that specific model, the harness itself with all of its components attached, bright even lighting, a clean flat surface, and cut-resistant gloves so you can feel the webbing without getting cut yourself.
A tagging system matters more than people expect. Keep status tags or a tag-out log with your inspection records, because a harness that fails needs to be physically marked and segregated, not just remembered.
Lay the harness out in the shape you would wear it. Untangle every strap first, because a twisted leg strap hides the exact stitching you need to inspect.
Step-by-Step: How to Inspect a Fall Protection Harness
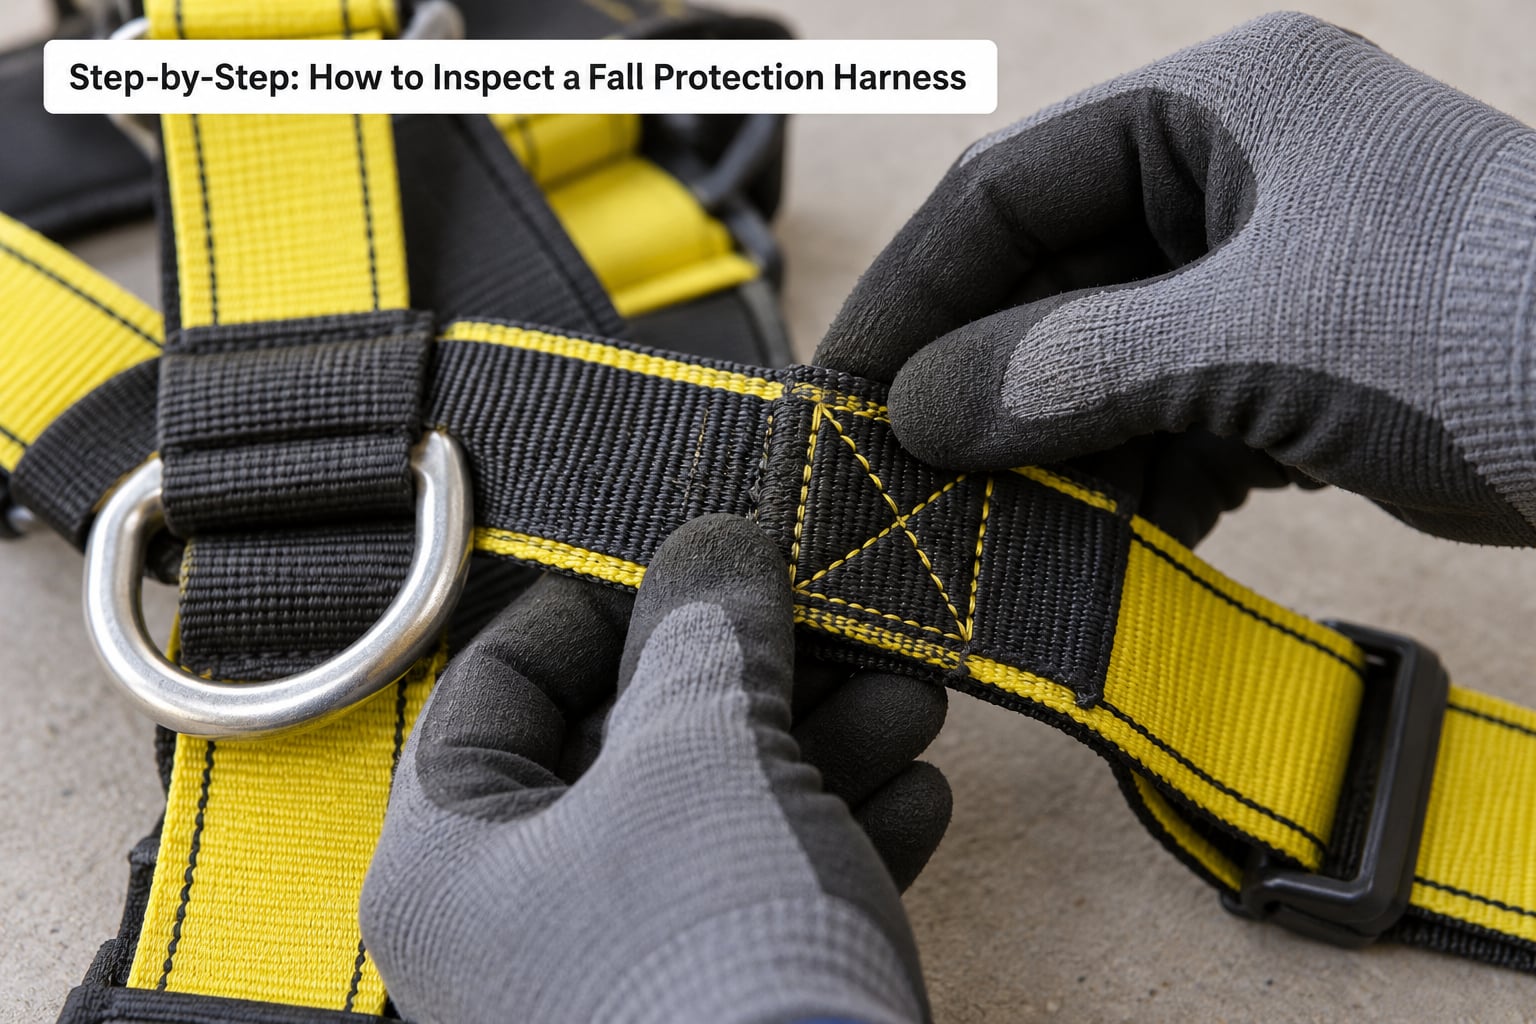
Run the check in the same order every time. Consistency is what makes an inspection catch something, because you end up comparing today’s harness to yesterday’s harness instead of guessing from memory.
This table is the short version. The steps that follow explain the reasoning behind each row.
| Component | What to look for | Action if found |
|---|---|---|
| Webbing | Cuts, frays, abrasions, burns, hard shiny spots, chemical attack, UV fading, embedded dirt or grit | Remove from service immediately |
| Stitching | Pulled, loose, cut, worn or missing stitches; broken seams; damaged protective sleeves or keeper loops | Remove from service immediately |
| Hardware | D-rings, buckles, adjusters and snap hooks with cracks, sharp edges, burrs, corrosion, distortion, or parts that do not operate smoothly | Remove from service immediately |
| Labels | Missing, illegible or altered identification, manufacture date, standards marking or inspection instructions | Remove from service immediately |
| Impact indicators | Stitched or folded deployment indicator showing deployment, or any sign of a fall event | Remove from service immediately |
Check the Harness Label and Manufacturer Instructions First
Start at the label. A full body harness must carry legible identification showing the manufacturer, model, serial number, date of manufacture, and the standards it was built to.
If the label is missing or too faded to read, the harness has no verifiable service life. Retire it. That is the rule regardless of how little it appears to be used, and it is the single fastest way to remove an argument about whether a harness is serviceable.
Note the manufacture date and compare it to the maker’s stated service life. Some manufacturers set service life from first use rather than from the date on the label, which is why you want the manual in hand. Then read the type marking: a Class I harness is for dorsal and sternal fall arrest, Class II adds D-ring positioning, and Class III is for ladder climbing and rescue.
If the manual specifies an inspection interval, written record or manufacturer-only repair, that instruction controls. Check whether the harness has ever been loaded beyond its rating, and whether the anchor system it was used with matched the intended application.
Inspect the Webbing for Damage or Contamination
Webbing carries the entire arrest force, so this is where a missed defect does the most damage. Run your hands slowly along every strap, including the shoulder, thigh, sub-pelvic and dorsal straps, and look and feel at the same time.
Look for cuts, frays, abrasions and scuffs, especially along edges where webbing rubs against a structure. Find burns and melted or hardened spots from welding, grinding or heat. Heat-damaged webbing often shows up as a hard, shiny, slightly discolored area that feels stiff or stiffened compared with the rest of the strap.
Then check for chemical attack and UV degradation. Chemical damage can look like fading, staining, roughness or a change in texture, and it may not show until the fibers have lost most of their strength. Faded or chalky webbing that was stored outdoors has likely been weakened by sunlight even without a single cut.
Do the tactile test: bend the webbing sharply back on itself. It should feel supple and uniform. A spot that feels stiff, gritty, thin or brittle fails, even if it looks acceptable.
Embedded dirt and grit matter too. Soil hides cuts and abrasion, and a strap with dirt worked into the weave can abrade faster under load. Check for mold, and for webbing that has been contaminated by solvents, paint or battery acid.
Examine Stitching and Protective Covers
Stitching is where load transfers between webbing and hardware, so treat every seam as a load-bearing element. Look for pulled, loose, cut, worn or missing stitches, and for any seam that has begun to separate.
Turn the harness over. Stitching that looks fine on the front face can be pulled on the back, and box-X patterns can loosen at the corners before anything shows on the outside.
Check protective covers and sleeves over hardware, keeper loops that hold strap tails, and the adjustment limit stitch-stop that prevents a strap from being run past its safe range. A harness adjusted past that stitch-stop can put the shoulder strap under tension it was never rated for.
Impact indicator stitching deserves its own look. Those load-bearing stitches are designed to fray or deploy visibly when they take an arrest load. A deployed indicator means the harness was loaded and comes out of service.
Check D-Rings, Buckles, and Connectors
Hardware fails in ways webbing does not. Check every D-ring, buckle, adjuster and snap hook for cracks, sharp edges, burrs, corrosion and distortion.
A D-ring should sit flat and open and close cleanly. Corrosion often hides on the inner face and at the attachment point where the ring meets webbing, so rotate it and look at the full loop. Deep gouges or a ring that has been bent open and re-formed is a removal condition.
Work each buckle and adjuster. Buckles should engage fully with a distinct click and release cleanly, and the tongue buckle roller should rotate freely and seat in the frame. Adjusters should lock firmly when loaded and not slip under a tug test.
On snap hooks and carabiners, check that the gate closes completely, that the locking mechanism engages, and that the nose shows no wear or gouging. A gate that does not close on its own is not usable.
Test Adjustment and Positioning Functions
Put the harness on and adjust it. Buckles should adjust smoothly, leg straps should tighten evenly, and shoulder straps should sit where the manufacturer intends.
Confirm the sub-pelvic strap prevents the worker from sliding out of the harness. Check that positioning D-rings at the hips can hold a positioning strap or a rescue line, and that positioning features cannot create an entanglement or separation hazard during a fall.
Loosen everything and re-adjust from scratch once. If any buckle is hard to thread or fights the strap, or if a strap end will not stay inside its keeper loop, that harness is a poor fit for the job and should not go back into service.
Decide Whether the Harness Is Safe to Use
The decision is simple: every component passes, or it does not go back on the rack. There is no conditional pass and no use-it-anyway category.
Remove from service immediately and tag out if the webbing shows any damage, the stitching is compromised, hardware is deformed or corroded, the label is missing or illegible, an impact indicator has deployed, the harness has been involved in a fall, or you are simply not certain.
Uncertainty is a removal condition, not a judgment call. If you cannot tell whether a mark is damage or ordinary wear, quarantine the harness and ask the manufacturer’s technical services team or your competent person to evaluate it.
Write down what you found. Record the serial number, the date, the defect, the inspector and the disposition: pass, flag or fail. Three-state dispositions are useful because a flag lets you monitor a component without condemning the whole harness on a hunch, provided the flag has a defined resolution date.
Then physically separate failed gear from usable gear. A red tag or a lock-out on a bin is far better than a memory-based system, because the next person to reach for a harness will not read your log.
Inspect After Every Use, Fall, or Storage Period
A pre-use check is only half the requirement. Inspect the harness after every use as well, and clean and store it correctly so the next inspection is accurate.
Clean with mild soap or a manufacturer-approved detergent and lukewarm water, then air dry. Never use a bleach-based cleaner, harsh solvent, pressure washer or heat source, and never machine wash a harness unless the manufacturer explicitly permits it. A harness dried on a heater or hung on a hot exhaust pipe has been heat damaged by its own storage.
Store it out of direct sunlight, high humidity and contact with chemicals, in a way that lets air circulate. Compression and sharp bends during storage create the same kind of damage as work use. Before returning it to service, check the storage area for rodent damage, water exposure or contamination.
After any fall, treat the harness as evidence. Tag it out immediately and send it to the manufacturer or a qualified laboratory for evaluation. Never reissue a harness that has arrested a fall, even when it looks undamaged, because internal and load-bearing damage does not always appear on the surface.
Inspect companion equipment on the same cadence: energy absorbers, lanyards, self-retracting lifelines, D-ring extenders, connectors and synthetic rope. Lanyard and SRL damage tells you something about the harness, because a shock-loaded system often damages the parts that loaded.
Inspection Frequency: Who Inspects and How Often
Two roles, two different jobs. The worker inspects before every use; the competent person inspects and documents on a schedule and after events.
| When | Who performs it | What it produces |
|---|---|---|
| Before every use | The worker using it | A tactile check of webbing, stitching, hardware, labels and fit |
| After any fall or abnormal event | Competent person, then manufacturer or lab | Removal from service; evaluation before any reuse decision |
| At least annually | Designated competent person | A formal documented inspection under OSHA 1910.140 and 1926.502 |
| After cleaning, storage or any event involving the equipment | Competent person | Confirmation that storage or contamination did not degrade the system |
| At manufacturer service life | Competent person | Retirement and replacement, regardless of condition |
OSHA 1910.140 in general industry and 1926.502 in construction both require fall protection equipment to be inspected before use by the user, and require the employer to designate a competent person to inspect personal fall arrest systems at the intervals the manufacturer specifies, which must be at least annually. ANSI Z359.2 adds the written record expectation: the record identifies the manufacturer and model, the serial number, the inspection date, the inspector, and the disposition.
A competent person is someone the employer has designated because they have the training, experience and knowledge to perform the inspection correctly. It is a designation, not a job title. On a small crew, someone has to be named in writing, because the assumption that the foreman handles it is the most common gap safety professionals report.
Secondhand and inherited equipment deserves special attention. A harness with no legible label, an unknown manufacture date and no service history cannot be verified as serviceable, so treat it as unserviceable until the manufacturer can document it.
Common Mistakes
Here are the errors that show up most often, each with the correction that closes it.
Inspecting by appearance alone in poor light. You will miss subsurface webbing damage. Fix: lay the harness flat under even light, turn it over, and run your hands along every strap with gloves on.
Skipping the label. A harness without legible identification has no verifiable service life or rating. Fix: read the label every inspection and retire anything unreadable.
Ignoring hidden components. Keeper loops, adjustment limit stitch-stops, protective sleeves and the inner faces of D-rings rarely get looked at. Fix: check the underside of the harness and rotate every ring.
Treating a post-fall harness as serviceable. Loading damage is frequently invisible. Fix: tag it out, treat it as evidence, and route it to the manufacturer or a qualified lab for evaluation.
Rubber-stamping the form. Workers tell us the daily signature habit is the fastest way to destroy the value of an inspection: the same form gets signed whether or not anyone looked. Fix: rotate who signs, inspect at a random point rather than only at shift start, and have the competent person re-check a random sample each cycle.
Confusing normal wear with a defect, or the reverse. Surface fuzz from normal handling is not fraying, while a small cut at a strap end is not cosmetic. Fix: pull the webbing taut and feel it; when in doubt, quarantine and ask.
Repairing damage locally. Users routinely ask whether a frayed strap can be re-stitched or a worn D-ring replaced on site. The consistent answer from manufacturers and safety professionals is no. Damaged components are replaced under manufacturer guidance, not patched.
Failing to document. Record-keeping is the last thing anyone builds and the first thing an investigator asks for. Fix: capture serial number, date, inspector, findings and disposition, and keep the record.
Frequently Asked Questions
How often do fall harnesses need to be inspected?
Inspect a full body harness before every use by the worker who will wear it, and have a designated competent person perform and document a formal inspection at least annually, plus after any fall, abnormal event, cleaning, or storage period. OSHA 1910.140 and 1926.502 set the minimum; the manufacturer’s instructions set the actual interval and control when they are stricter.
What should you check when inspecting a harness?
Check four component groups: webbing and straps for cuts, frays, abrasions, burns, chemical attack, UV fading and hard shiny spots; stitching for pulled, loose, cut or missing stitches; hardware such as D-rings, buckles, adjusters and snap hooks for cracks, sharp edges, corrosion and distortion; and labels and impact indicators for legibility and deployment. Any defect means remove from service.
What are the OSHA requirements for fall protection harness inspection?
OSHA requires that personal fall arrest equipment be inspected before use by the user, and that the employer designate a competent person to inspect it at intervals set by the manufacturer, which must be at least annually. Equipment involved in a fall must be removed from service until the manufacturer or a qualified person determines it is undamaged. Written records should identify the serial number, date, inspector and disposition.
Can you tell if a harness has hidden damage?
Partly. Surface cuts, pulled stitches and corrosion are visible, but heat damage, chemical attack and UV degradation weaken fibers from the inside and may only show as stiffness, discoloration or a change in texture. Bending the webbing back on itself catches stiffness that looks normal, which is why a tactile feel test matters as much as looking. When you are not certain, quarantine the harness.
Who is allowed to sign off on a harness inspection?
The worker using the equipment performs the pre-use check. The formal documented inspection must be done by a competent person, meaning someone the employer has formally designated as having the training, experience and knowledge to inspect fall protection equipment properly. It is a designation rather than a job title, so on any crew someone must be named in writing.
Conclusion
Follow the manufacturer’s instructions, inspect every component before you put the harness on, and treat any uncertainty as a removal condition rather than a judgment call.
The habit that matters most is running the same check in the same order every time, under good light, with your hands on the webbing. If you are building a program around this rather than reacting to one inspection, work through our guide to writing a fall protection plan first, then build the training, tagging and record-keeping around it.