
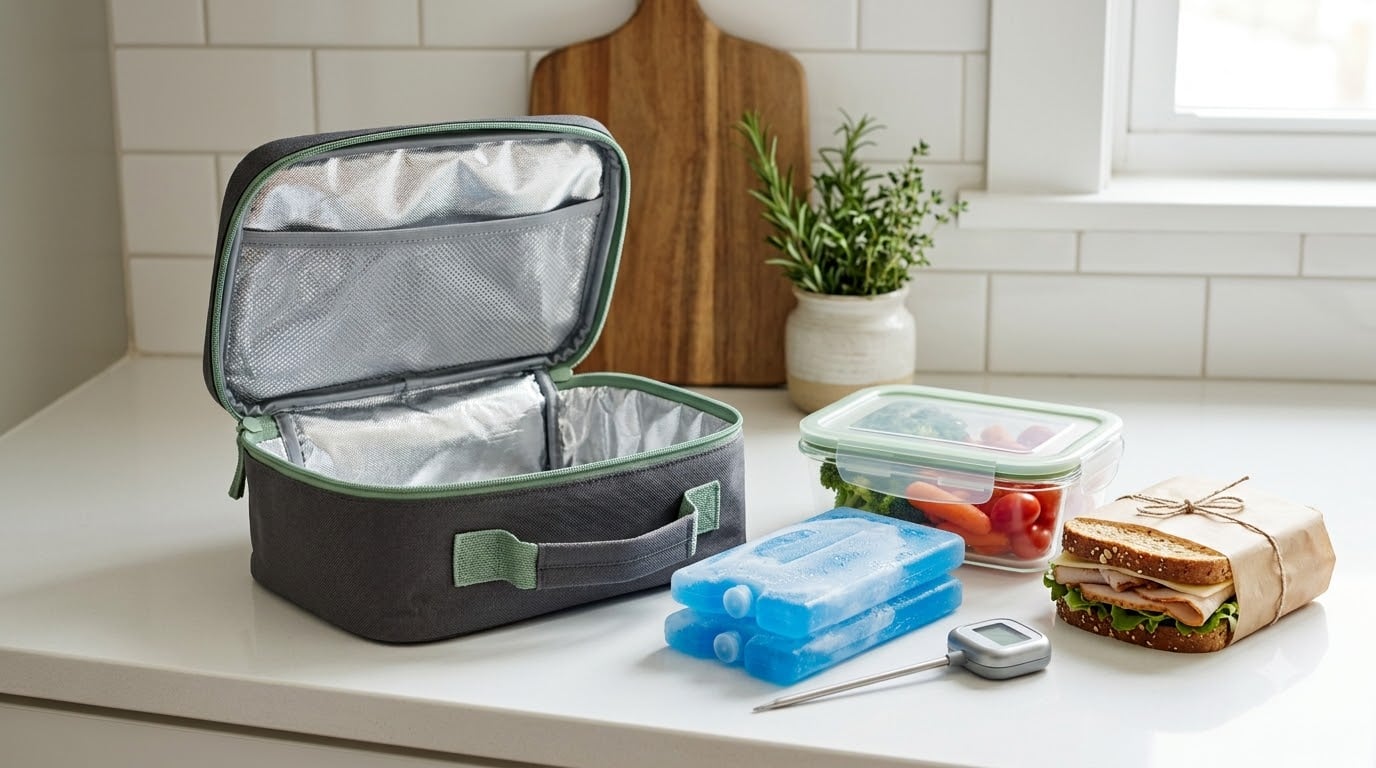
To pack a lunch that stays cold all day, chill the food and the bag the night before, then surround it with two cold sources inside an insulated bag so nothing sits above 40°F until lunch. The whole routine takes about 10 minutes in the morning once the freezer work is done the night before.
Bacteria multiply fast in the temperature danger zone, the 40°F to 140°F band where a packed lunch happily sits for six hours. USDA guidance for lunches carried without refrigeration is simple: use an insulated bag and at least two cold sources, and keep perishable food at or below 40°F the entire time.
Most soggy, lukewarm lunches fail on the same three points. Warm food went in, one cold source was used instead of two, or the bag sat in a hot car all morning. Fix those and the rest of this guide is detail.
Table of Contents
- What You Need
- Step-by-Step: How to Keep Your Lunch Cold
- How Long Does Each Cold Source Keep Food Cold?
- Cold Sources That Work Without Store-Bought Ice Packs
- Packing for Extreme Heat and 12-Hour Shifts
- Room-Temperature Lunch Foods That Skip the Cold Chain
- How to Keep a Lunch From Getting Soggy
- Common Mistakes
- Frequently Asked Questions
- Conclusion
What You Need
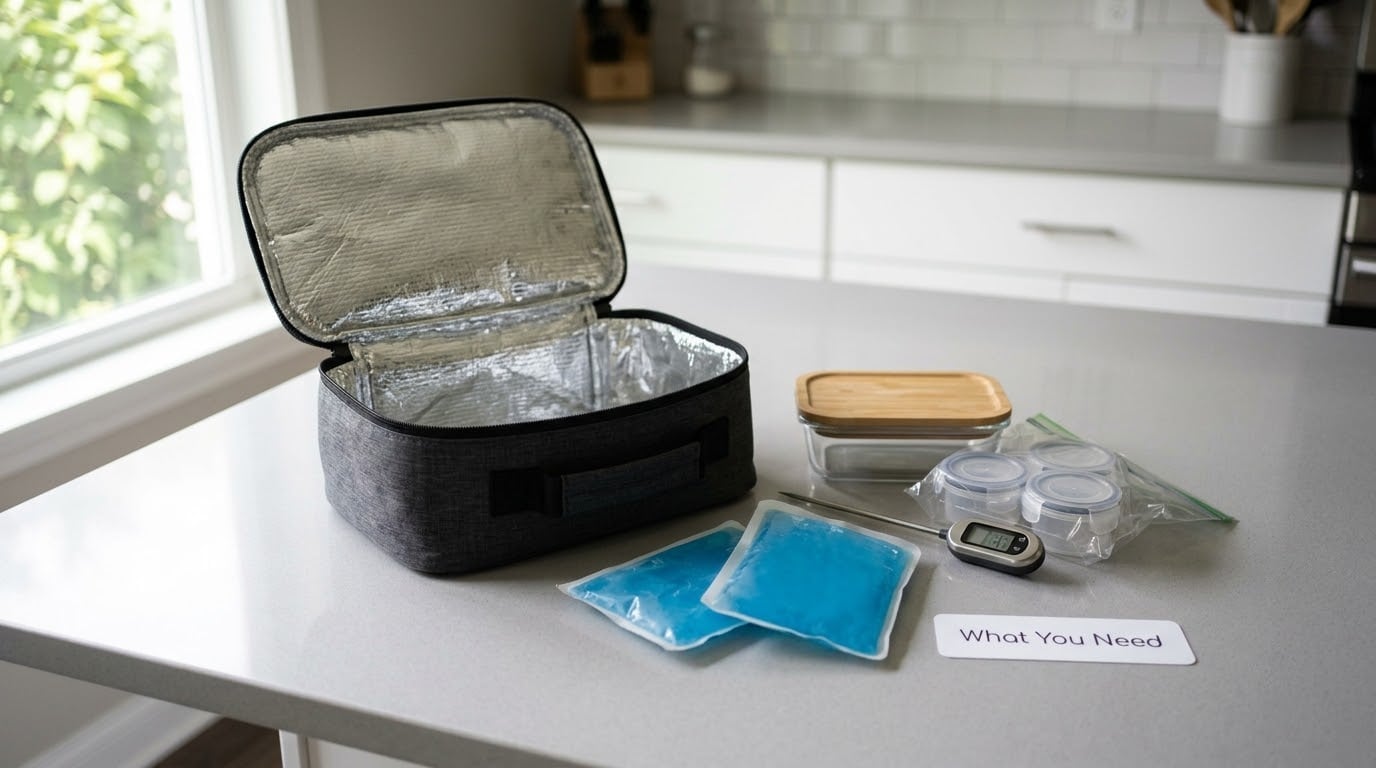
The equipment is short, and most people already own most of it. What matters is that you have two separate cold sources and something insulated to hold them.
- An insulated bag or box. A soft-sided tote with thick foam or reflective lining is the everyday choice. A hard-sided cooler holds cold noticeably longer but will not fit in a backpack.
- Two cold sources. Two frozen gel packs, or one gel pack plus a frozen water bottle or juice box. USDA guidance is two, not one.
- A food thermometer. A cheap instant-read dial thermometer is enough. This is the only way to know instead of guessing.
- Leakproof containers. Leakproof secondary containers matter more than most people expect. Yogurt, grapes, and cut fruit will not keep the whole bag dry overnight in a cooler.
- A tight-fitting lid or zipper closure. An open or loosely closed bag loses cold air every time you move it.
- Prep basics. Paper towels or a salad spinner for washed produce, and small sauce cups for dressing and dips.
If you want to spend effort on exactly one item, make it the insulated bag. People on forums who switched from a thin fabric tote to a real insulated model report the biggest change, and cheap unlined bags are the single most common disappointment in the no-fridge crowd.
Step-by-Step: How to Keep Your Lunch Cold
Six steps, in order, cover the routine that keeps a lunch safely below 40°F from the fridge to the break room. Start the night before, finish in ten minutes in the morning.
1. Chill Perishable Food Before Packing
Food that goes into the bag warm has already started using up your cooling capacity. Cool cooked or thawed food promptly in shallow containers in the refrigerator, and let steam escape before you lid it up.
Start with ingredients that are already cold. If you are packing chicken, rice, and vegetables, refrigerate all three the night before so they go in at refrigerator temperature rather than at room temperature.
You can also freeze what will not suffer from it. A water bottle, a juice box, and even a small container of cooked grain or chopped vegetables can go into the freezer overnight and act as a cold source you eat later.
2. Choose the Right Insulated Bag and Containers
Insulation level, size, and closure all change the result. A bag that is much larger than your food lets warm air circulate around it, which wastes the cold sources. A well-matched bag packed tight runs colder for longer.
For an eight-hour workday with no refrigerator, a soft-sided insulated tote with a zip closure and at least two cold sources is the realistic choice. A hard cooler is worth it if you have a locker or a vehicle and you are away for twelve hours or more.
A bento box with dividers has one genuine advantage: it separates wet foods from dry ones and keeps delicate items from being crushed. Rigid containers also stack neatly so nothing gets crushed on the bottom.
Whatever the container, seal every perishable item in its own leakproof box with a tight lid. Cross-contamination is the other half of food safety, and it happens mostly through leaks.
3. Pre-Chill the Ice Packs
Freeze gel packs flat and fully solid, ideally overnight. A half-frozen pack is the most common reason a lunch warms up early, because it starts the day with half its capacity already gone.
If the manufacturer allows it, you can also chill a rigid container in the freezer overnight. A frozen stainless steel bottle or a plastic container that handles freezing can serve as a cold source with no purchase at all.
Pre-chill the bag itself if it is the freezable type. That style of bag is designed to be frozen and then acts as one of your two sources, which removes the need to pack loose ice or extra gel packs.
4. Put Coldest Items Next to the Ice Packs
Pack in a deliberate order: cold sources at the bottom and along the sides, perishable foods touching or nearly touching them, then sturdy items, then delicate items on top where nothing sits on them.
Heat travels inward, so the food closest to the cold source stays coldest. Sandwiches, yogurt, and cut fruit belong in that inner layer. Apples and unopened drinks can go on top because they care far less about temperature.
Isolate anything wet or leaky. Grapes, berries, yogurt, and marinated items go in sealed secondary containers with a towel around them, so one puncture does not soak the whole bag.
5. Fill Empty Space and Seal the Bag
A bag packed tight holds its temperature better because there is less air moving around inside. Fill gaps with a rolled towel, a folded cloth, or a small spare container.
Zip the bag fully and, if you carry it in a backpack or a tote, put the closed lunch bag inside another bag. The trapped dead air in that outer layer works as extra insulation, and it also protects the bag from rain and crushing.
Open the bag as briefly as possible. Every time you unzip it for a snack at 10 a.m., you let warm office air in around the food, and you do not get it back until you re-chill everything.
6. Check the Temperature and Eat Safely
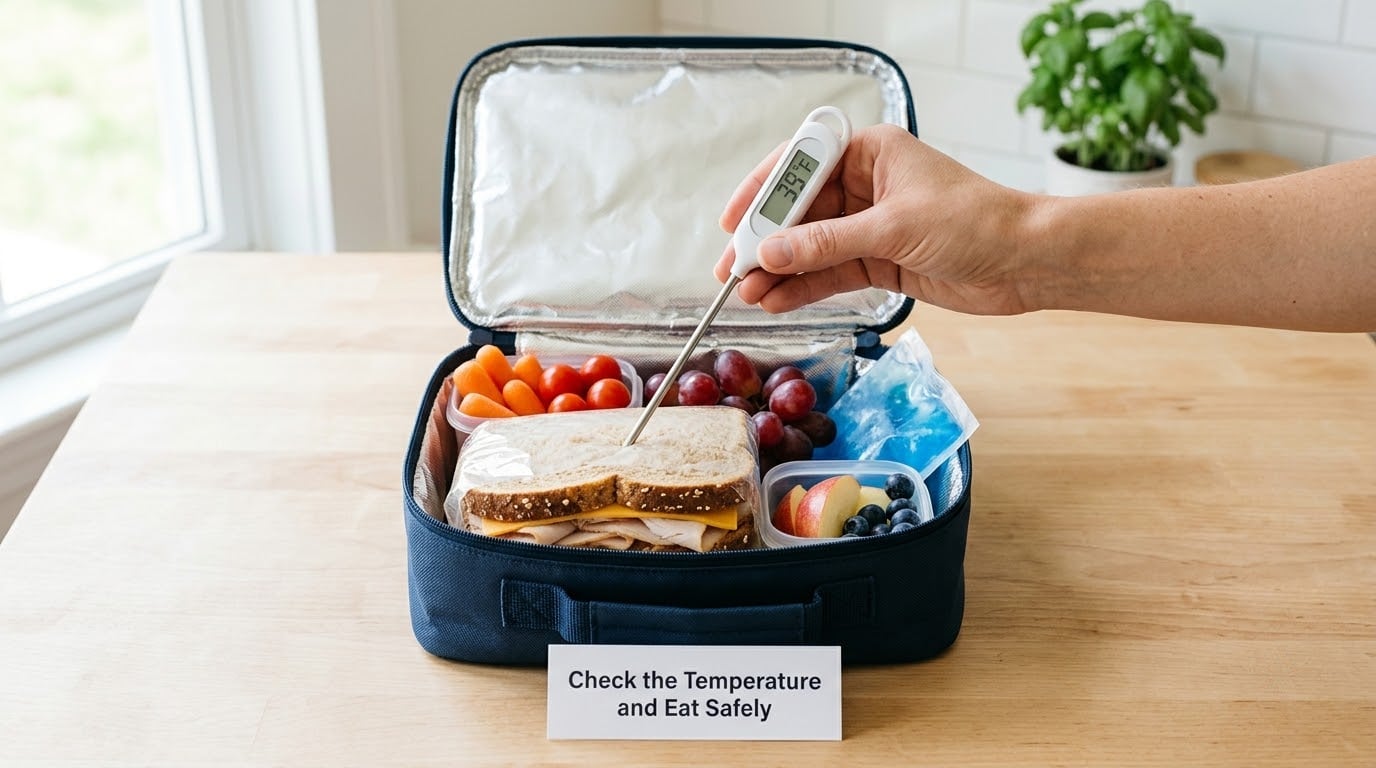
Wipe the probe clean, push it into the thickest part of the food, and read it. Perishable food should be at or below 40°F when you are ready to eat it.
If the reading is above 40°F, use the two-hour rule. Perishable food that has been between 40°F and 140°F for more than two hours should be thrown away, and that limit drops to one hour when the air temperature is above 90°F.
Reheat leftovers to 165°F, and hold hot food at 140°F or above. Hot lunches have the same rule in reverse: preheat the thermos, keep it above 140°F, and eat within about four to six hours.
How Long Does Each Cold Source Keep Food Cold?
Nobody publishes honest hour-by-hour numbers for these methods, so treat the table below as realistic ranges rather than guarantees. Bag insulation, starting temperature, ambient heat, and how full the bag is will move every one of these numbers.
| Cold source | Typical cold retention | Best for |
|---|---|---|
| One frozen gel pack in a soft tote | About 3 to 5 hours | Short commute or half-day |
| Two frozen gel packs | About 6 to 8 hours | A standard eight-hour workday |
| Frozen water bottle alone | About 5 to 7 hours | No-cost option, and you drink it at lunch |
| Two frozen drinks | About 7 to 9 hours | Where carrying a drink is fine |
| Frozen yogurt tube or juice box | About 4 to 6 hours | Kids’ lunches and beginner packers |
| Loose ice in a hard cooler | About 8 to 12 hours | Long shifts and outdoor work |
| Salt-water brine pack | Often beyond a full workday | Heat, and anyone tired of buying gel packs |
| Freezable insulated bag, frozen solid | About 8 to 12 hours | Travel where bag space is tight |
Two points stand out. First, one gel pack is a half-day tool, not an all-day tool. Second, in real heat the difference between the top rows and the bottom rows widens, because water-based cold sources lose contact with the food sooner when everything around them is hot.
If you cannot get a reading below 40°F by lunchtime, the honest answer is that the food is not safe to eat. Fix the pack rather than gambling on it.
Cold Sources That Work Without Store-Bought Ice Packs
People have come up with good answers here, mostly on frugal-living and cooking forums. All of them rely on the same physics: a frozen item absorbs heat as it thaws, and the more frozen mass you pack, the longer the food stays cold.
- Frozen water bottle. Fill a reusable bottle about two-thirds full, freeze it solid, and put it straight into the bag. It works like a gel pack and becomes a cold drink at lunch. Someone doing twelve-hour van routes reported this as their everyday solution.
- Frozen juice box or frozen yogurt tube. The classic school-lunch trick, and it needs no extra container. Eat or drink it at lunch, so it costs nothing extra.
- Salt-water brine packs. A roughly 20% salt solution by weight freezes at about 2.4°F instead of 32°F. Because it starts colder than plain ice, it stays frozen far longer in a warm bag. One forum user fills small up-cycled bottles with this brine and reports all-day performance that plain water never gave him. Beyond about 23% salt the solution will not fully dissolve, and a home freezer bottoms out near 0°F, so 20% is the practical ceiling.
- Frozen food as its own cold source. A frozen burrito, a frozen meal, or a portion of cooked rice that you will eat after it thaws works exactly like an ice pack. Freeze it flat in a leakproof container.
- The freezable lunch bag. You freeze the bag itself, so it becomes the cold source. No loose ice, no wet bag, nothing to dispose of.
- Nested cooler. In extreme conditions, put your packed lunch inside a larger cooler with air trapped in between. Dead air is insulation, and it costs nothing.
Packing for Extreme Heat and 12-Hour Shifts
Ordinary advice quietly assumes a reasonable temperature. A van sitting in summer sun, an outdoor job site, or a twelve-hour shift in a hot vehicle breaks all of it, and that is a real gap in most lunch-safety guidance.
If the vehicle interior reaches 120°F or more, a soft bag alone will not hold. The fixes that matter: move the bag off the seat and onto the floor, keep it in the shade, never leave it in direct sun, and add a third cold source. A hard cooler nested inside a larger insulated tote is the setup that survives these conditions.
Without a fridge and without a microwave, plan for foods that are safe cold or safe at room temperature, and pack utensils rather than relying on a kitchen. If your shift runs past the two-hour mark above 40°F, buy a second insulated bag so you can split perishable food across two cold sources.
Paper bags and unlined totes have no chance in this weather. The insulating layer is not a luxury when ambient heat is above 90°F.
Room-Temperature Lunch Foods That Skip the Cold Chain
Sometimes the answer is not better equipment but food that never needed the cold chain. If you are packing for a hike, a flight, or a site with no cooling at all, these are the safer choices.
- Whole fruit with peel on, such as apples, oranges, and bananas
- Unopened shelf-stable items: nut butter packets, canned tuna or salmon pouches, dried fruit
- Roasted nuts, trail mix made with no chocolate or candy pieces
- Crackers, pretzels, rice cakes, and other dry snacks
- Whole-grain bread, bagels, and tortillas
- Hard-boiled eggs kept in their shell
- Shelf-stable milk in a UHT carton
- Butter, margarine, and olive oil in small sealed cups
Everything with meat, dairy, eggs, cut fruit, or cut vegetables still needs to stay at or below 40°F. Whole fruit does not need refrigeration for a workday; sliced fruit does.
How to Keep a Lunch From Getting Soggy
Condensation is the complaint that comes up most often on forums, and it is a physics problem rather than a packing failure. Cold air holds less moisture, so when warm humid air touches a cold container, that moisture forms on the surface and drips onto your food.
A few habits fix most of it:
- Dry everything thoroughly. Spin washed lettuce and berries in a salad spinner, and pat everything else with a paper towel before it goes in the bag.
- Pack dressings and dips in small sealed cups rather than pouring them on. Nobody wants a wet sandwich at noon.
- Add a paper towel or a small absorbent cloth at the bottom of the bag. It costs nothing and catches the drips.
- Do not seal hot food. Let it cool with the lid cracked so steam escapes instead of condensing inside the container.
- Use sealed secondary containers for anything juicy. Grapes and yogurt in a bag without a box will water your lunch by 11 a.m.
- Open the bag once to let moisture out, then close it again. That works better than people expect.
Common Mistakes
- Packing food that is still warm. Warm food burns through the cold sources before you even leave home. Fix: refrigerate it the night before and let steam escape.
- Using one cold source. This is the most common and most damaging error. One gel pack is a half-day tool. Fix: pack two, per USDA guidance.
- Using a thin or unlined bag. A fabric tote with no insulation performs like an open box. Fix: use a lined or foam-insulated tote, or a hard cooler for long days.
- Adding too little cold mass. A small pack for a large bag fails fast. Fix: fill the void, use more frozen mass, or choose a smaller bag.
- Putting delicate food under heavy items. A sandwich under a lunch box turns into a crushed sandwich. Fix: heavy and sturdy items low, delicate items on top.
- Leaving the bag open or half-zipped. Every opening lets warm air in. Fix: close it fully, and carry it inside an outer bag.
- Leaving it in a hot car. Direct sun and a 120°F interior defeat any packed lunch. Fix: floorboard, shade, and extra cold sources.
- Assuming it is fine without checking. A sealed bag can be warm inside. Fix: check with a thermometer before eating.
- Not cleaning the bag. Reusable bags and box compartments hold moisture and bacteria. Fix: wash with hot soapy water after every use and let it dry open.
- Reusing single-use plastic baggies. Bags designed for one use are hard to wash and can harbor bacteria. Fix: switch to containers you can run in the dishwasher.
Frequently Asked Questions
How long will a packed lunch stay cold without a refrigerator?
With an insulated bag and two frozen cold sources, most packed lunches stay at or below 40°F for roughly six to eight hours in normal indoor conditions. One gel pack alone usually manages only three to five hours. In a hot car or outdoor heat, expect less unless you use a hard cooler. Check with a food thermometer before eating, and discard perishable food that has been above 40°F for more than two hours.
Do I need dry ice to keep lunch cold for 12 hours?
Usually not. Dry ice is overkill for a lunch and needs careful handling because it can cause cold burns and carbon dioxide buildup in a sealed space. For a twelve-hour day, use two frozen gel packs plus a frozen water bottle in a hard cooler, or a brine pack in a well-insulated tote. Reserve dry ice for nothing smaller than an overnight shift or a genuine expedition.
Should I put an ice pack directly on my food?
It is fine for frozen items to touch a frozen cold source, and it improves cooling because heat transfers across contact. But avoid direct contact with delicate or dry food, since ice or gel can leave it wet or cause freezer burn on bread. Put a layer of container or a paper towel between the pack and anything that gets soggy, and keep cold sources to the bottom and sides.
How do I keep a sandwich from getting soggy or crushed?
Keep wet ingredients out of it. Pack lettuce and tomato in a separate sealed container and add them just before eating, and put mayonnaise or other spreads on the bread rather than on the filling. For crushing, put sturdy items at the bottom of the bag, sandwiches in the middle, and soft fruit or bread on top. A rigid container with dividers solves both problems at once.
What should I do if my lunch has been warm for more than two hours?
Throw away perishable food such as meat, poultry, fish, dairy, eggs, cooked rice, and cut fruit. The two-hour rule applies between 40°F and 140°F, and it shortens to one hour when the air temperature is above 90°F. Whole fruit, unopened shelf-stable items, crackers, and nut butter are safe. Do not rely on smell or taste to judge whether food is safe.
Conclusion
Start tonight: put the food, the bag, and both cold sources in the fridge or freezer, and tomorrow morning you are ten minutes from a lunch that stays cold all day. The full routine is chill, pre-chill, pack cold to the outside, fill the gaps, seal it, and verify with a thermometer before you eat.
One quick decision rule covers most cases. If you have an insulated bag and two cold sources and food went in already refrigerated, you are set for a standard workday. If either cold source is missing, the bag is unlined, or the lunch is riding in a hot vehicle, add cold mass or switch to room-temperature safe foods instead.