
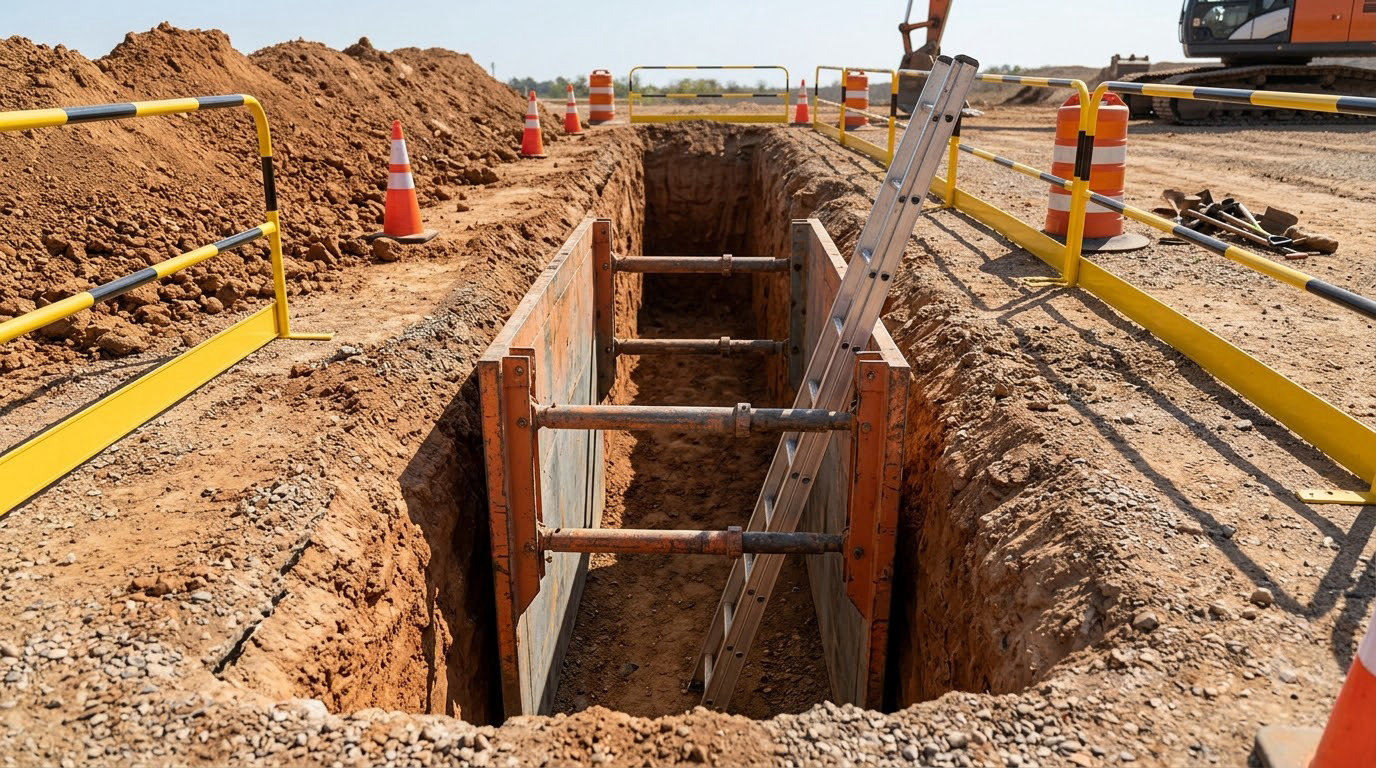
Most trench collapse deaths happen in trenches that are only 5 to 15 feet deep, and a large share of them are people who entered a failed trench to pull a coworker out. Trench safety basics for excavation crews come down to a short chain of decisions made before the first bucket moves: locate the utilities, classify the soil, install the right protective system, build a safe way in and out, and have a designated competent person inspect the cut that shift and again after anything changes.
Everything in this guide traces back to 29 CFR 1926 Subpart P, the OSHA excavation standard. State-plan states and some union or local rules go further than the federal minimum, so check what applies where you are digging.
Table of Contents
- What Is Trench Safety and Why Does It Matter?
- Before Excavation Begins: Trench Safety Basics for Excavation Crews
- Which Protective Systems Are Used for Trenches?
- How Do Crews Inspect Trenches and Work Areas?
- How Should Crews Manage Access, Materials, and Nearby Hazards?
- What Weather and Environmental Conditions Require Extra Controls?
- How Do Crews Respond to a Trench Emergency?
- How Can Employers Build a Trench Safety Program?
- Frequently Asked Questions
- What is the 5 4 3 2 1 rule for trenching?
- At what depth do I need trench protection?
- What are the three main protection methods against cave-ins in OSHA?
- How often does OSHA require a competent person to inspect a trench?
- What are the 5 P’s of safe excavation?
- What should you do if a trench collapses on someone?
- Conclusion
What Is Trench Safety and Why Does It Matter?
Trench safety is the set of controls that keep an excavation from killing the people working in it: finding underground utilities, testing and classifying the soil, installing a protective system matched to the depth and soil, providing safe access and egress, keeping spoil and equipment back from the edge, and inspecting the excavation daily and after any event that changes conditions.
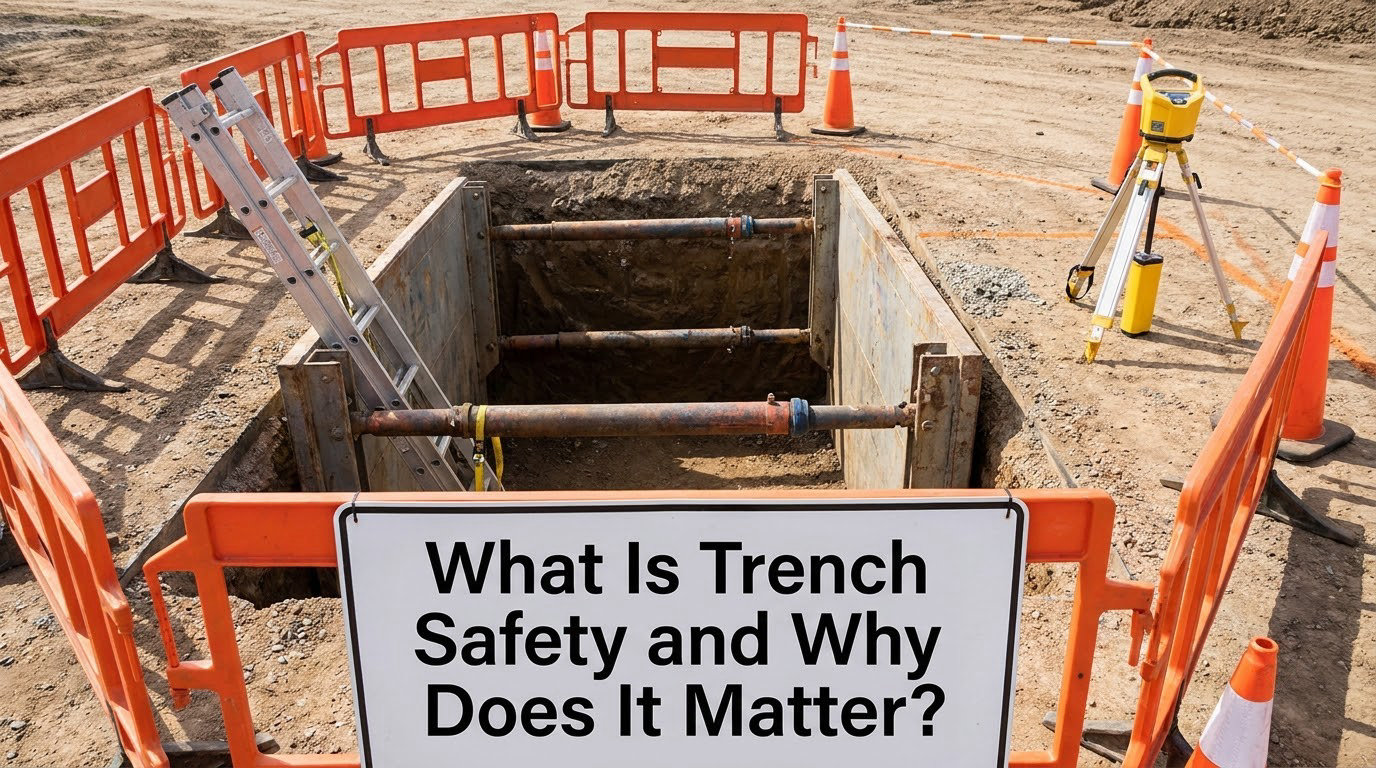
Soil does not warn you. A wall that stood through four days of sun and a couple of showers can let go on a warm afternoon with nothing more than a passing truck on the road above it. A worker buried in wet soil can be pinned in under two minutes, and a rescuer who goes in after them is added to the same rescue.
That is why the depth numbers feel small. Yes, a 6-foot cut feels ankle-deep next to a 20-foot basement dig. It is also inside the band where most people die.
The other thing worth saying out loud: the shortcuts crews take are almost never about not knowing the rule. The 5-foot trigger, the 2-foot spoil setback, the 25-foot ladder rule — these get repeated correctly on job sites all the time. The failure is usually schedule pressure, or a foreman who skips the inspection because the crew is already mobilized.
Give the crew a number they can check themselves, and a named person with the authority to stop work, and most of the risk goes away.
Before Excavation Begins: Trench Safety Basics for Excavation Crews
Every excavation should have a written plan before the machine is delivered, and the plan should be short enough that a new laborer can read it in five minutes. These trench safety basics for excavation crews start with the job hazard analysis, the utility locate, the spoil plan, the egress plan, and the name of the competent person on the sign-in sheet.
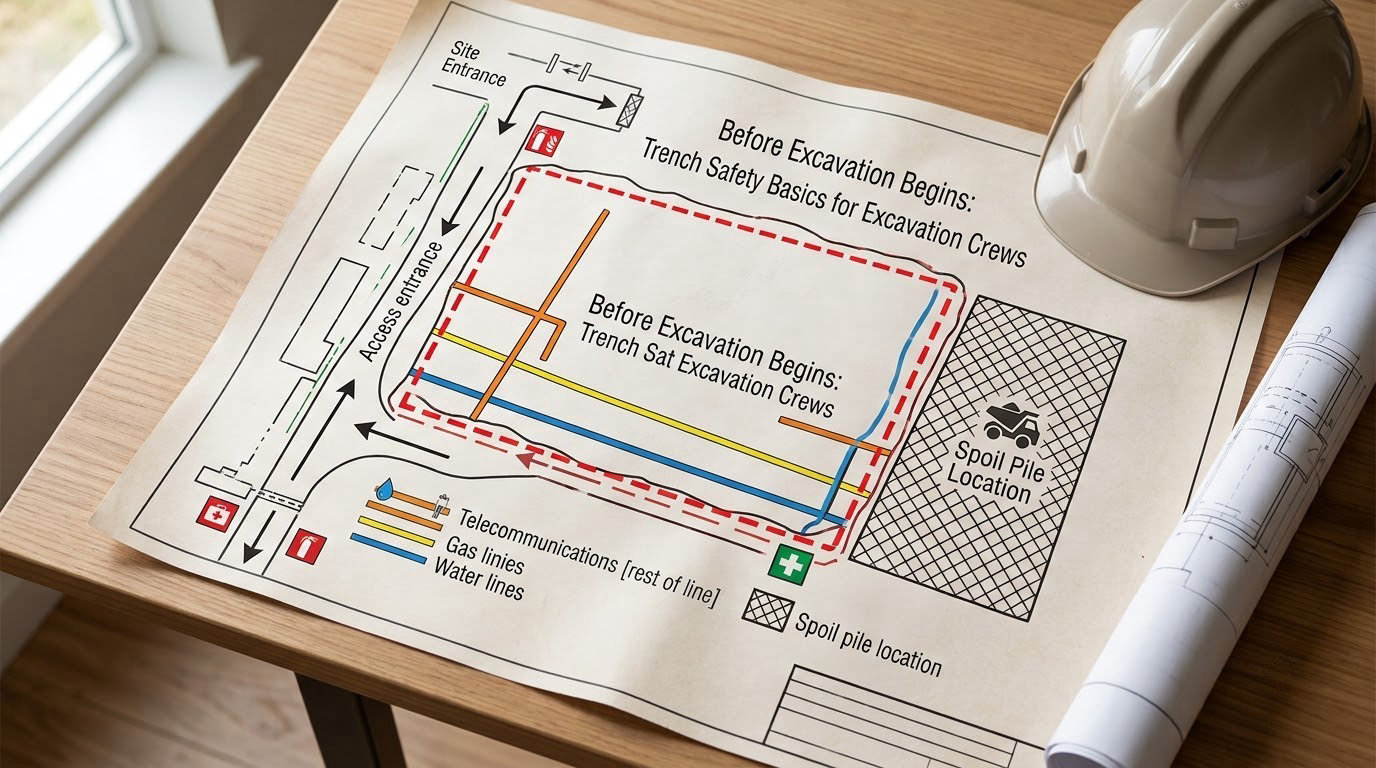
- Run the job hazard analysis. Walk the area and identify every surface load, every adjacent structure, every access route, and every service that runs through or near the cut.
- Pull the drawings and locate the utilities. Call 811 several business days out, and locate private lines yourself. Public locates are not a search warrant, and they stop at the public right of way.
- Establish the tolerance zone and hand-dig near conflicts. Utility markers give a tolerance zone that is wider than the line itself. Inside it, expose the line by hand, in the correct direction, with a spotter present.
- Plan the spoil pile and equipment positions before the first pass. Decide where material goes and where the excavator, trucks, and pumps will park, because none of it belongs at the edge.
- Plan the egress. Decide how workers get down and back up, at both the start of the dig and at full depth, and install the ladder before the trench gets deep enough to need it.
- Confirm permits and notifications. Many jurisdictions and many owners require a permit, a utility notification, or a soils report before the cut opens.
- Name the competent person in writing. One person, qualified, with the authority to stop work and to change the protective system on the spot. Everyone on site should know who that is.
- Post emergency contacts and plan the rescue. Site address, access gate, nearest cross street, hospital, and a written non-entry rescue plan before the first worker steps down.
Two narrower cases are worth knowing. Trenches 2 feet deep or less with no adverse soil conditions do not require a protective system, though access and utility rules still apply. Bell-bottom pier holes and deep footings 7 feet or more deep have their own provision: nobody goes in unless the hole is shored, sheeted, braced, or cased with a concrete casing extending at least 6 feet below the bottom, and a manned lifeline is available for retrieval.
Which Protective Systems Are Used for Trenches?
There are four ways to keep the wall from coming in, and they are not interchangeable: sloping, benching, shoring, and shielding. The right choice depends on the depth, the soil class, the loads on the surface, the water in the hole, and what is next door. None of them is chosen by the operator on the spot; they are selected by a qualified person before the cut reaches working depth.
At what depth do you need trench protection?
Below 5 feet of depth, a protective system is required whenever the excavation is 5 feet or deeper, and it is required at any depth when the soil or the conditions are hazardous. Access and egress must be in place once the trench is 4 feet deep.
| Depth or condition | What is required | Where it comes from |
|---|---|---|
| Under 2 ft, no adverse soil conditions | No protective system required; access and utility rules still apply | 1926.652(c)(1) |
| 4 ft deep | Safe access and egress in place, so no worker is more than 25 ft of lateral travel from a ladder | 1926.652(c)(2) |
| 5 ft or deeper | Protective system installed unless the excavation is entirely in stable rock that will not be undermined or subject to shifting | 1926.652(c)(1) |
| Any depth, hazardous conditions present | Protective system required — water accumulation, vibration, sudden material change, unstable walls, surface encumbrances, nearby structures | 1926.652(c)(2) and (e)(2) |
| 20 ft or deeper | Protective system designed by a registered professional engineer, or an option in Appendix A using equivalent data | 1926.652(c)(2) |
| Method | What it is | Best fit | Watch out for |
|---|---|---|---|
| Sloping | The wall is cut back to a stable angle, no support installed | Shallow to medium depth in Type B soil, open sites, no surface encumbrances | Takes real footprint away from the work; you cannot put a spoil pile, scaffold, or parked truck at the top of the slope |
| Benching | Stepped faces cut into the wall instead of a single steep face | Deep cuts in Type B and Type C soil where the crew cannot fit or reset a shield | No one works on a bench; the vertical rise between benches is limited by soil class |
| Shoring | Supports such as timber, hydraulic shores, or sheet piling hold the wall | Tight footprint, deep cuts, Type C soil, sites where the soil will not stand long enough to cut a slope | Installation and removal are the highest-risk moments of the whole job |
| Shielding | A rigid box, sheet, or plate that keeps the soil from reaching the worker inside it | Utility work in Type C soil, the standard choice for pipe and conduit crews | It does not stop the ground from moving. The shield must extend at least 18 in above the trench face, and nobody is inside the trench while it is installed, removed, or relocated |
Soil classification decides the slope, not the operator’s confidence
Subpart P Appendix A sorts ground into Stable Rock, Type A, Type B, and Type C by unconfined compressive strength and by what the material looks like when you cut it. The classification sets the maximum allowable slope.
| Class | Unconfined compressive strength | Typical material | Maximum allowable slope (H:V) |
|---|---|---|---|
| Stable Rock | Not applicable | Intact, unfractured rock, such as granite or sandstone | Vertical |
| Type A | 2,000 psf (144 kPa) or greater | Well-cemented granular material, clay, slate, shale; no fissures, no prior disturbance, not saturated | 3/4 : 1 |
| Type B | 1,000 psf (72 kPa) to 2,000 psf | Granular cohesionless material, silt loam, sandy loam, some clay, fractured or previously disturbed rock | 1 : 1 |
| Type C | 700 psf (48 kPa) or less | Poorly cemented granular material, fissured material, gravel, submerged soil, unstable wall, material that has been disturbed or loaded | 1.5 : 1 |
When the classification is uncertain, treat the ground as the weaker class. The most common error in the field is excavating Type C ground and calling it Type A because the shovel went in cleanly, but ground that is fissured, previously disturbed, or saturated has already given up its Type A status no matter how it feels. If the ground is not what the plan assumed, the plan changes before the crew does.
What happens when the protection has to come back out?
Support systems come out as the trench fills, and backfilling is where a lot of crews take chances. Remove the protection in stages so the hole is never unprotected while material is being placed against the wall, and keep workers out of the trench while shoring or a shield is being installed, removed, or relocated.
Stacking portable trench boxes requires an attaching means. Drilling or welding on a shield defeats the certification the manufacturer built it with, so damaged plates and cut sidewalls are grounds to pull a box out of service. Trade forum crews report plenty of site boxes that are older, modified, or in poor condition, which is exactly why the pre-use check belongs on the daily form. Guardrail systems with a 42-inch top rail are required around tunnel shafts, bore pits, wells, pits, and similar openings that are not immediately covered.
How Do Crews Inspect Trenches and Work Areas?
A competent person inspects the excavation at the start of every shift, after any event that could change conditions, and after a hazard-producing event. The inspection is not a formality; it is a walk the edge and a decision to enter or not.
How often does OSHA require a competent person to inspect a trench?
OSHA requires inspection at the beginning of every shift, and again after any event that could change the conditions in the excavation. These inspections are in addition to, never instead of, the other required controls.
| Trigger | What the competent person looks for | Common action |
|---|---|---|
| Start of every shift | Protective system intact and correctly installed, ladder or ramp in place and usable, spoil setback maintained, no standing water, perimeter barriers complete | Enter the trench, or do not |
| Rain, flooding, or a burst line | Water level, sloughing at the face, softened soil, loss of material behind the wall, changed noise while excavating | Dewater, reclassify soil, upgrade protection before entry |
| Freeze and thaw | Raveling walls, ice lenses in the face, frozen crust over unfrozen saturated soil | Re-rate as Type C until the whole face has been checked |
| Vibration from equipment, generators, or traffic | Hairline cracks, a bulge below the bench, new seams at the top edge | Stop the source, re-inspect, upgrade if the ground has changed class |
| Any shock, nearby load change, or a new surface encumbrance | Wall movement, spalling, a change in the shape of the trench, movement in an adjacent structure or footing | Evacuate and re-inspect before anyone goes back down |
| Change of crew or supervision | Whether the new person knows the plan, the egress, and who the competent person is | Brief before entry |
The cues that show up first in practice are small and physical: hairline cracks, a slight bulge in the face below a bench, dirt that rolls onto the top of the bench instead of staying put, a sheen of water on the face, and a sound change when the machine hits something that used to be solid. Anyone on the crew should call any of those out, without waiting to be sure.
Document what was found and what was decided. A dated form naming the competent person, the conditions observed, and the outcome is what turns a judgment call into a record.
How Should Crews Manage Access, Materials, and Nearby Hazards?
A trench that cannot be exited quickly is the most common reason a survivable cave-in turns into a fatality. Access and egress have to work the whole time the trench is open, for every worker, no matter where they are standing inside it.
- Ladder within 25 feet of lateral travel. No worker in the trench can be more than 25 feet of lateral travel from a ladder, and when the trench is more than 4 feet deep the ladder has to be there at all times. Set it up at a 4:1 angle — a common field practice rather than a rule in the standard — and extend it about 3 feet above the landing so a person can climb out with both hands.
- Designed ramps and walkways. Runways, stairs, and ramps used for access must be designed by a qualified person for the intended load. A bridge or walkway over an excavation needs a guardrail system with a 42-inch top rail.
- Spoils 2 feet back minimum. Keep spoil piles, equipment, and materials at least 2 feet from the edge, and never suspend a load over a trench. Put the spoil where it cannot roll or be kicked back in, because a spoil pile at the edge is a surcharge load, and so is a truck parked 3 feet from the top of the cut.
- Surface encumbrances and neighbors. Do not undermine a foundation, footing, sidewalk, or retaining wall. If a structure sits within the zone of influence of the excavation, the plan needs to address it and usually needs a registered professional engineer.
- Pedestrian and vehicle routing. Barricades at the perimeter, designated walkways, and separation from public traffic, with a spotter where equipment operates near people.
- PPE that fits the task. Hard hat, high-visibility clothing, and ANSI-rated protective footwear at minimum, plus eye, hand, and hearing protection. Getting the hand protection right for wet, abrasive soil matters as much as the hard hat; our guide on choosing the right safety gloves for a job covers how to match glove material to the exposure.
One more habit helps: keep the surface around the trench clean and walkable. Slop, hose, and stacked material are what people trip over while rushing to the edge, and trips at the edge are how people end up in the hole.
What Weather and Environmental Conditions Require Extra Controls?
Weather does not just slow a job down. It changes the soil, and the protective system that was right at 8 a.m. may be wrong by 2 p.m. Every condition on this list is a re-inspection trigger.
- Rain and flooding. Water both erodes the face and adds weight to the wall. Water in the trench above ankle depth is treated as a hazard. Dewater from the surface with pumps and discharge lines that do not discharge straight back into the face.
- Snow and ice. Icy ladders and ramps are a fall hazard of their own, and freezing hides cracks in the wall. Clear treads, add salt or sand, and check the ladder on a schedule during the shift.
- Freeze and thaw. Frozen ground looks solid and behaves badly. As the outer face thaws and the interior stays frozen, the wall sloughs. Re-rate as Type C until the face has been assessed with a shovel and the whole depth examined.
- Drought and hard ground. Desiccation cracks, dust, and heat stress on the crew. Cracks may indicate shrink-swell soil that is not holding together, and dust means respiratory protection and moving people out of the exposure.
- Contaminated water and poor air. Water sheen or a chemical odor in the trench, or a migration path from a contaminated site, means do not enter. Test the atmosphere first. Some of those spaces also fall under the confined space standard, which needs a permit, a supervisor, and a trained attendant.
- Poor visibility. At night, in fog, or in heavy rain, edge markings, barriers, and high-visibility garments are what keep people from walking into a hole that cannot be seen.
The rule underneath all of it: if the crew cannot say for certain what the ground was doing yesterday, it gets treated as the worst condition the site has seen, not the best.
How Do Crews Respond to a Trench Emergency?
When a trench collapses, the instinct to jump in is what turns one death into two or three. The rule is simple and non-negotiable: do not enter the trench to attempt a rescue unless you are trained, equipped, and protected to do so, and even then only from the surface with a rescue system in place.
What to do in the first 60 seconds
- Call it out and stop the work. Shout, hit the emergency stop, shut down the excavator, generator, and pumps. Nothing keeps running.
- Call emergency services immediately. Give the site address, the nearest cross street, the depth of the trench, and what is trapped. Do not wait to see whether it is bad.
- Keep the surface load off the hole. Move people, machines, and material back. Every added load can trigger a second collapse, and the people running toward the edge are usually the next victims.
- Do not go in. Entering an unprotected or unshored trench puts you at the same burial depth as the victim, and the soil is now less stable than it was a minute ago.
- Talk to the victim. Stay in contact, keep them calm, and keep the rescue service coming. That communication matters to the responders and to the person trapped.
- Rescue only with the right capability. Shoring from the surface, a retrieval line, or a rescue team with proper equipment. Nobody goes below the level of protection they were rescued with.
- Account for secondary victims. Check everyone on site before the rescue starts, and keep bystanders back from the edge.
This section exists because rescue entries account for a meaningful share of excavation fatalities. A plan written before the job starts — address, gate, cross street, who calls, where the shoring equipment lives, and a no-entry rule that everyone has heard out loud — is what makes the first 60 seconds instinct instead of panic.
Enforcement follows the same logic. One widely reported federal case drew a penalty in the tens of thousands of dollars against a contractor cited for repeatedly violating the rules that protect workers from cave-ins, which are the rules described in this guide. Penalties are a poor reason to run a program, but they are a good reason to keep the paperwork.
How Can Employers Build a Trench Safety Program?
A program is what makes the basics repeatable instead of memorable. It needs a written plan per excavation, a named competent person, a training record, and a habit of documenting what was found. The program document itself should sit inside the same workplace health and safety policy that covers the rest of your site, so the excavation rules are enforceable rather than advisory.
- Write one packet per dig. Job hazard analysis, soil classification record, locate tickets, protective system plan, daily inspection forms, and a photo set taken from the surface. If something happens, this packet is the difference between a documented decision and an argument.
- Give the competent person real authority. Stop-work authority has to be stated in writing and backed by the employer, or it does not exist. The crew has to be told who holds it and that using it will not cost them the shift.
- Train the crew, not just the foreman. New laborers need to know the depth triggers, how to read a spoil pile for signs of movement, where the ladder is, and who the competent person is. Experienced trades get the site-specific toolbox talk on the day’s dig. Our list of safety meeting topics for monthly meetings has a few more subjects worth rotating in alongside this one.
- Coordinate multiple employers. On a job with an excavator operator, a pipe crew, a traffic control sub, and a concrete sub, decide in writing who owns the shield, who owns pumping, who owns the perimeter, and who inspects. Shared responsibility with no named owner is how the inspection gets skipped.
- Use the national observances. Trench Safety Stand Down Week is a free annual refresher with toolbox talk material, and it takes 10 minutes of a shift to run.
- Review after every change and every near miss. A near miss is a free lesson. Write down what changed in the ground, in the plan, or in the crew, and update the plan.
The trench safety basics for excavation crews every toolbox talk should cover
Ten minutes on the basics, in the crew’s own language, covers most of what protects them. Seven points matter more than the rest: the 811 locate is done and the tolerance zone is marked, the soil is classified, protection is installed before anyone goes past 5 feet, the ladder is within 25 feet of lateral travel and ready, the spoil and equipment are 2 feet back, the competent person has inspected today and after any change, and nobody enters a failed trench to pull somebody out.
Frequently Asked Questions
What is the 5 4 3 2 1 rule for trenching?
There is no 5-4-3-2-1 rule in OSHA or in any recognized standard. It is a memory aid that circulates on contractor checklists. The real numbers are these: access and egress at 4 feet of depth, a protective system at 5 feet or more, lateral travel of no more than 25 feet to a ladder, a 2 foot minimum spoil setback, and a competent person inspection at the start of every shift and after any event that changes conditions.
At what depth do I need trench protection?
At 5 feet of depth, and at any depth when the excavation is exposed to a hazardous condition such as standing water, vibration, unstable walls, or a nearby structure. Access and egress become mandatory at 4 feet, so no worker in the trench can be more than 25 feet of lateral travel from a ladder. Trenches under 2 feet with no adverse soil conditions are exempt from a protective system, but utility and access rules still apply.
What are the three main protection methods against cave-ins in OSHA?
The three primary methods are sloping, where the wall is cut back to a stable angle; shoring, where supports such as timber, hydraulic shores, or sheet piling hold the wall in place; and shielding, where a rigid box, sheet, or plate keeps the soil from reaching the worker. OSHA also recognizes benching, where the face is stepped rather than sloped. Any one of them satisfies the standard if it is matched to the depth and soil class.
How often does OSHA require a competent person to inspect a trench?
At the beginning of every shift, and again after any event that could change conditions, including rain, flooding, a burst line, freezing, vibration from equipment or traffic, a shock, or the arrival of a new surface load. Inspections are in addition to other controls, never a substitute. The competent person walks the edge, looks for cracks, bulging, sloughing, and water, and then decides whether anyone goes in.
What are the 5 P’s of safe excavation?
OSHA does not define a 5 P’s standard for safe excavation, so treat any list with that label as a company memory aid. A useful set for your own toolbox talk maps cleanly onto the regulation: Plan the dig, Permit and locate the utilities, Protect the excavation, Proceed only after the protection is in and inspected, and Proof in the daily inspection record. The substance is the same whichever letters you use.
What should you do if a trench collapses on someone?
Stop the work and the equipment, call emergency services with the site address and the depth of the trench, move people and machines back from the edge, and do not enter the trench to attempt a rescue. An unprotected collapse kills rescuers at the same rate as victims. Stay in contact with the trapped person, and rescue only through a trained team or a surface-based system such as shoring or a retrieval line, never by climbing in.
Conclusion
Six things have to be true before a crew goes into an excavation, and a foreman can verify all six in about two minutes. The competent person is named and on site. The dig is planned, with drawings, permits, and a completed utility locate. The soil is classified and the correct protective system is installed. Access is in place within 25 feet of lateral travel. Spoil and equipment are at least 2 feet back from the edge. And the competent person has inspected the excavation this shift, and again after anything that changed.
If any one of those is missing, the answer is the same, and it is not a hard one to give: not today.