
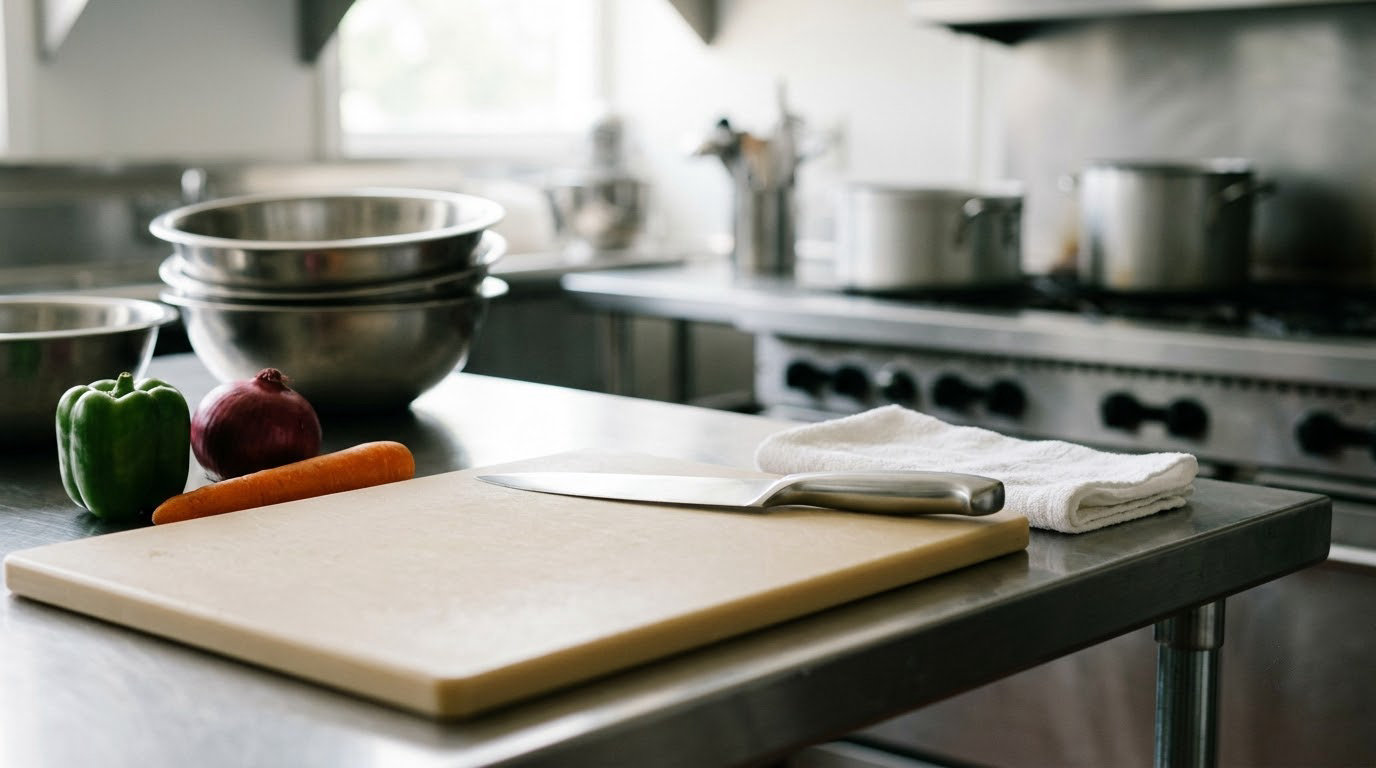
Knife safety for food service workers comes down to four control points: a sharp knife matched to the task, a stable board and a correct grip so the blade cannot slip, storage and washing routines where nobody reaches for a hidden blade, and fast reporting every time someone is cut. Get those right and most kitchen lacerations never happen.
The awkward part is that the injury usually lands on the hand that is not holding the knife. Experienced cooks describe this over and over: the blade slips, the food shoots sideways, and the support hand takes the cut across the knuckles or the fingertip. That single fact is why the grip rules in this guide matter more than any poster on the wall.
Below is a program you can actually run — a ten-minute orientation, a station setup, a storage rule, a washing rule, and a response plan for the first five minutes after a cut. It works in a two-person operation as well as in a fifty-person hotel kitchen. Budget an hour to set it up and about twenty minutes of training per new hire.
Table of Contents
- What You Need
- Step-by-Step: How to Practice Knife Safety for Food Service Workers
- Assess Cutting Tasks and Hazards
- How to Train Workers on Knife Safety for Food Service Workers
- Select the Right Knife for the Task
- Set Up Stable Cutting Workstations
- Use a Controlled Cutting Grip and Motion
- Carry, Pass, and Store Knives Safely
- Clean and Sanitize Knives Correctly
- Inspect, Sharpen, and Retire Damaged Tools
- Respond to Cuts and Near Misses
- Common Mistakes
- Frequently Asked Questions
- What knives should food service workers use?
- Should food service workers wear cut-resistant gloves?
- How should knives be washed and sanitized?
- Where should knives be stored in a commercial kitchen?
- What should a worker do if a knife handle or blade is damaged?
- What should I do after a small cut while working?
- Conclusion
What You Need
Before you change anything, gather the physical tools. Without them, a training session turns into a lecture nobody can follow.
- Knives matched to the work. At minimum a chef’s knife, a boning or slicing knife, a utility knife, and a paring knife. Each one inspected for a loose or cracked handle, a bent tip, and a blade that has been chipped or rolled.
- A cutting board that stays put. A thick board, ideally with a non-slip base or a damp towel underneath. Colour-code boards by task — one for raw poultry, one for raw beef, one for produce, one for bread and dairy — so a dirty board never becomes a cross-contamination problem.
- Storage that puts every blade out of sight. A knife block, an in-drawer insert with blade guards, a wall-mounted magnetic strip placed well away from the sink and pass-through, or a knife roll for transport only.
- Personal protective equipment that fits. Cut-resistant gloves rated under ANSI/EN 388 for boning, shucking, peeling and any knife washing, plus non-slip footwear and a first-aid kit stocked with sterile gauze, adhesive bandages, a roller bandage, gloves and a cold pack.
- A hand-wash sink that is not the dish sink. A dedicated hand-wash basin with soap and paper towels, and a written procedure for what happens to a knife that has contacted a surface or a person.
- Cleaning and sanitizing supplies approved by your local food code, with test strips or a monitoring method so staff can verify concentration rather than guess.
You also need paperwork and people, not just gear. Write a one-page knife safety SOP, an incident report form, and a near-miss log. Name the person on each shift who is authorised to pull a damaged knife out of service, because forum discussions among line cooks rarely end well when nobody owns that decision.
Finally, decide your personal-knife policy out loud. Staff bringing personal knives is common, and a silent policy is worse than a strict one. The FDA Food Code does not address employee-owned knives directly, so the rule belongs in your own SOP: what may be brought, how it is inspected, where it is stored, who sharpens it, and whether it can go through the dish pit at all.
Step-by-Step: How to Practice Knife Safety for Food Service Workers
Assess Cutting Tasks and Hazards
Watch each station during a full prep shift and write down what actually happens, not what the manual says happens. Which tasks does one person handle in the time available? Where do knives get set down mid-task? Which knife is used for a job it was never meant for?
Look specifically for the setup that produces slips: a wet or greasy board, a cutting surface at the wrong height, a bin or container too close to the cutting zone, an understaffed station where a single cook is trying to break down a whole case of product, and a pass window where a worker reaches across the counter while holding a blade.
Record what you find and check it again in three months. A hazard assessment that is never revisited becomes a filing cabinet document.
How to Train Workers on Knife Safety for Food Service Workers
New hires need instruction before they touch a blade on shift, not a signature after their first cut. Most kitchens train by imitation, which means the fastest line cook in the building sets the standard — sometimes badly.
Cover these topics in one sitting, with a knife in the worker’s hand: how to carry and pass, how to grip, how to set a knife down, how to wash it, how to spot damage, how to refuse an unsafe task, and who to report an injury to at any hour.
Finish with a competency check. Ask the worker to break down a case of product, clean up, and store the knife correctly, and record the date and the name of the person who signed off. If the person doing the sign-off has not been trained to teach it, the sign-off means nothing.
Select the Right Knife for the Task
Few injuries come from a knife doing something it was built for. A chef’s knife on frozen meat, a paring knife used like a cleaver, a utility knife cutting through produce into a cutting board edge — each one forces pressure where precision was needed.
- Chef’s knife, 8 to 10 inch for general prep, slicing and dicing. Keep a smaller blade for prep cooks who do not yet have the control for a longer blade.
- Boning knife for trimming meat and fish. This is the task where cut-resistant gloves earn their keep.
- Slicing knife for long, even slices of cooked meat and vegetables.
- Utility knife and paring knife for peeling, trimming, opening produce and detail work.
- Serrated bread knife for bread only. Serrated blades catch on cutting boards and dull unevenly when used on soft foods.
Test every handle before it goes back on the rack: a handle with a crack, a loose rivet, or a slippy surface is out of service until replaced. A two-dollar handle fix is cheaper than a lost-time claim.
Set Up Stable Cutting Workstations
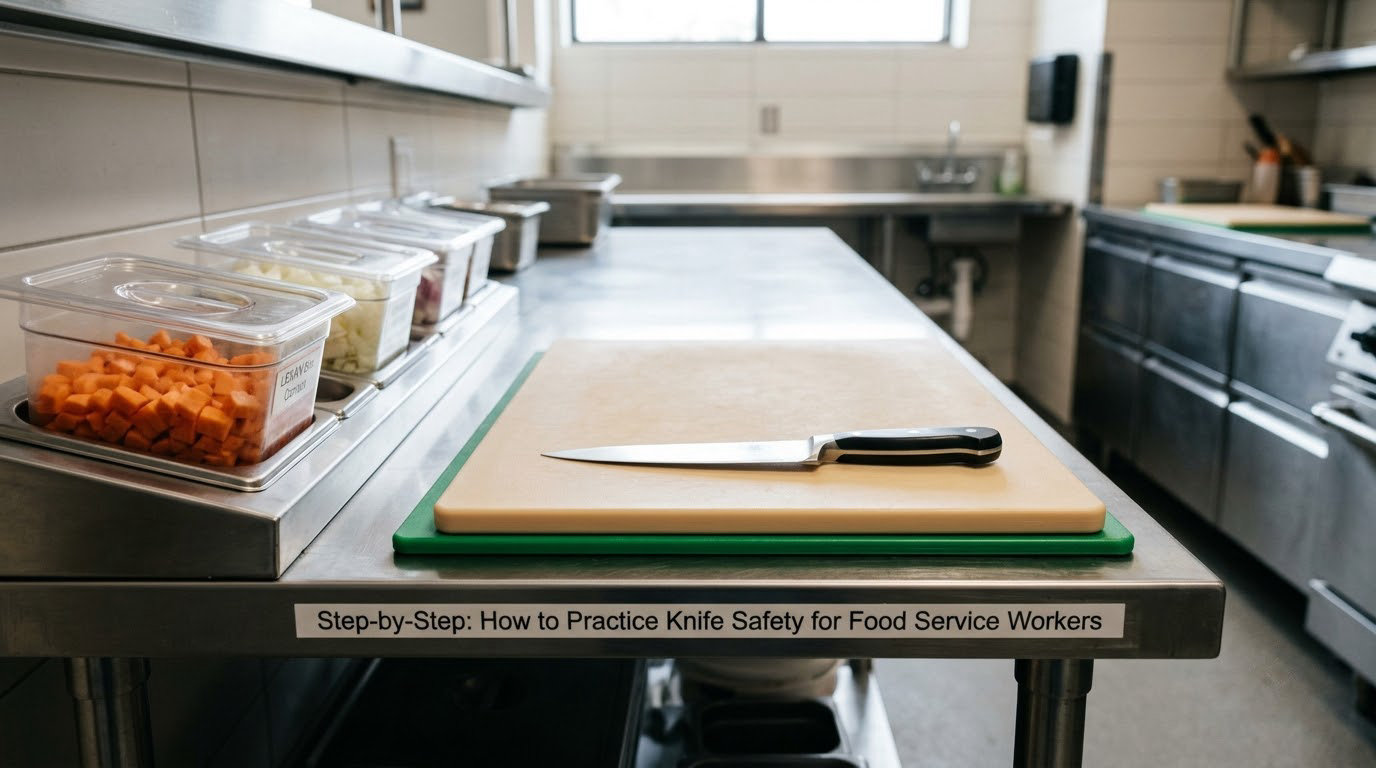
Every cut happens on a surface. If that surface moves, the knife moves with it. Put a damp towel or a non-slip mat under the board, and check it before every task rather than once a shift — a board that was dry at 8am is greasy at lunch.
Position the board so the cutting hand moves away from the body and away from the aisle behind the worker. Leave enough room that nobody has to reach over another person to set something down, and keep the waste bin out of the cutting zone so nobody stops mid-slice to reach it.
Lighting matters more than most managers expect. If a prep cook is leaning over the board to see the cut, the cut is happening close to the support hand and near the body.
Use a Controlled Cutting Grip and Motion
Grip the handle with all three fingers and your thumb, not a two-finger pinch. The extra fingers give you control when the blade catches on skin, a seed, or a bone.
Curl the fingers of your support hand into a claw, fingertips tucked under and knuckles forward, so the flat of the blade travels along your knuckles instead of across your fingertips. This one habit prevents the majority of the cuts described by line cooks.
Use the blade’s length and let the knife do the work — a single firm stroke beats several hesitant ones. Cut on a flat surface, keep the food stable, and slow down for round, wet, or slippery items like onions, potatoes and avocados. If a piece keeps rolling, flatten it into a face that will not move before you cut it.
Cut away from your body and away from anyone else at the station. When you need to turn the food, turn the board, not your body.
Carry, Pass, and Store Knives Safely
Blade down at your side, tip pointing toward the floor, away from your body. Walking through a busy kitchen with a blade at hip height is how a collision turns into a puncture wound.
Set a knife down flat on the board, or in a knife trough or designated drop-off spot. Never lay it on the edge of a counter, in a sink of soapy water, on an open shelf, or under a towel. Workers report finding more than one hidden blade in a busy sink during a single shift.
To pass a knife, set it on the counter with the handle toward the other person and say so out loud. Hand-to-hand passing is only acceptable when both people can see the blade the whole time.
Store knives in blocks, in-drawer guards, or on a magnetic strip mounted away from the sink. Never loose in a utensil drawer, where the blade sits under spoons and lids waiting to be grabbed by a hand that cannot see it.
Clean and Sanitize Knives Correctly
The dish pit is the most under-acknowledged injury site in most kitchens, and it deserves its own procedure. Washing a knife by hand in a sink full of soapy water is how fingers get sliced without anyone noticing until blood appears in the water.
Use one of these methods instead: a knife drop-off container at the dish window, a three-compartment sink with a designated knife bay used one at a time, or a warewashing machine that the manufacturer approves for knives. Some commercial dishwashers handle sharp knives fine; some dull them or damage the handle, so check before standardising on one.
Whatever the method, wash your hands before handling a used knife, clean and sanitize the blade immediately after use, and air-dry in a rack or upright holder rather than a loose pile. Never leave a knife soaking in standing water or in a chemical bath; pooled water dulls edges and hides blades.
Follow your local food code for the required cleaning and sanitizing steps and concentrations, and document the check. Food code rules on cutting surfaces are about preventing contamination, so the wiping-down and sanitizing steps in your SSOP need to be as consistent as the cutting itself.
Inspect, Sharpen, and Retire Damaged Tools
Check the knife at the start of every shift: handle tight, tip intact, edge free of chips, blade free of rust or discoloration. A damaged blade is a physical hazard, which is exactly the language your food safety plan already uses for anything that can contaminate or injure.
Honers and whetstones do different jobs. A honing steel realigns an edge that is still sound; a whetstone or a professional sharpener removes metal to create a new edge. A routine that only hones will not fix a genuinely dull knife, and workers will keep forcing cuts through product that fights the blade.
Set a schedule: a light hone several times a week during service, a professional sharpening on a set interval, and an immediate pull whenever a chip or a crack appears. Name who is allowed to pull a knife and who pays for sharpening, because one of the two avoids the whole conversation.
Retire any knife with a cracked handle, a loose tang, a bent tip, a blade that flexes, or a visible crack in the steel. Put it in a bin or a marked drawer so it cannot migrate back to the line. On ergonomic grounds, a knife that forces a worker to round their shoulders and twist is a safety tool failing at its job.
Respond to Cuts and Near Misses
Decide before the injury happens who does what. When the plan lives only in each worker’s memory, the response is improvised and the reporting gets skipped.
First minutes. Move to the hand-wash sink, rinse the cut under clean running water, apply firm direct pressure with clean gauze or a clean cloth for several minutes without lifting to check. Wounds that keep bleeding after ten minutes of steady pressure, cut deep enough to show fat or muscle, gaping open, or located over a joint need medical attention straight away. So does any cut caused by a knife that was used on dirty surfaces or on a person, and any wound where feeling or movement has changed.
Exposure and reporting. Report every cut, no matter how small, on the shift it happened. A small cut on a hand that went back to the line is an exposure concern, because bloodborne pathogens guidance turns on prompt first aid and reporting, not on severity. Fill in the incident report the same day, note the task, the tool, and the condition, and hand it to the manager on duty so the workers’ compensation process starts on time. Looping a cut hand through more hours of prep makes infection and lost-time injuries more likely.
Near misses. Log them, because a near miss is free information: a board that slipped, a blade found in the sink, a knife that snapped during a boning cut. Staff report near misses when the response is a fix. They stop reporting when the response is a lecture, and blame after an injury is the fastest way to lose the reporting culture a kitchen depends on.
Common Mistakes
Most kitchen injuries trace back to a small number of habits, and each one has a simple correction.
- Carrying a knife blade-up or tucked at hip height. Point the tip down at your side and keep it out of the traffic path.
- Pushing a dull knife. More force means more slip. Hone or sharpen it instead of leaning harder.
- Cutting toward the body. Turn the board, not your body, and keep the blade on the far side of the food.
- Using an open grip or a flat palm on the support hand. Curl to a claw and let the blade ride the knuckles.
- Washing knives by hand in a busy sink. Move to a drop-off container, a designated bay, or an approved machine.
- Storing knives loose in a drawer or sink. Use blocks, in-drawer guards, or a magnetic strip placed away from water.
- Using a knife to open boxes or packaging. Keep a separate box knife or safety cutter for that task.
- Leaving a knife soaking in standing water. Wash and dry it promptly and store it upright.
- Continuing to use a cracked or chipped knife. Pull it, tag it, and replace it.
- Ignoring near misses. Record them and change the task, or the same slip becomes somebody’s emergency visit.
- Understaffing a prep station during peak service. A rushed cook is the underlying cause of several injuries a shift. Staffing is a safety control.
- Letting personal knives sit undocumented. Write a policy covering inspection, storage, sharpening and washing, and put it in the orientation.
Two habits are worth adding on top of the corrections. Do a five-minute knife check at the start of every shift, and post the SOP where hands are wet and the lighting is bad — that is where behaviour is decided. Language barriers matter here too, so pair the written rule with a demonstration rather than relying on the posted sheet alone.
Frequently Asked Questions
What knives should food service workers use?
Use a small set of knives matched to the task: a chef’s knife for general prep, a boning knife for meat and fish, a utility or paring knife for produce and detail work, and a bread knife for bread only. Match the size to the worker’s control, and inspect handles, tips and edges before every shift. A knife with a cracked handle, bent tip or chipped blade comes out of service immediately, no matter how much the line depends on it.
Should food service workers wear cut-resistant gloves?
Not for every task, but yes for boning, shucking, peeling and washing knives. Gloves rated under ANSI/EN 388 reduce laceration severity in the cases they are designed for, and experienced cooks often object because they feel clumsy. The practical compromise is to make gloves standard for high-risk tasks and optional elsewhere, so the choice reflects the cut rather than a blanket policy nobody respects.
How should knives be washed and sanitized?
Wash hands first, then clean and sanitize the blade immediately after use, following your local food code steps and verifying concentration with test strips. Use a dish drop-off container, a designated knife bay at a three-compartment sink, or a machine the manufacturer approves for knives. Air-dry in a rack or upright holder. Never soak a knife in standing water, a chemical bath, or a sink of soapy water where a hidden blade can cut an unknown hand.
Where should knives be stored in a commercial kitchen?
Store them where the blade is covered and the handle is visible: a knife block, an in-drawer insert with guards, or a magnetic strip mounted well away from the sink and pass-through. Never leave a knife loose in a utensil drawer, hidden in a sink, or under a towel. A knife trough or marked drop-off spot for a knife in active use stops the habit of setting blades on wet counters and shelves.
What should a worker do if a knife handle or blade is damaged?
Stop using it immediately, tag it so nobody returns it to the line, and tell the shift lead or manager the same shift. A cracked handle, loose tang, bent tip, or blade that flexes is a physical hazard, and a chip discovered mid-boning is how a cut turns deep. If a knife failed during a cut and injured someone, keep the tool and report it with the incident report so the cause can be traced and the tool replaced.
What should I do after a small cut while working?
Rinse under clean running water, then apply firm direct pressure with clean gauze for several minutes without lifting to check, and cover it with a clean bandage. Report it on the same shift, fill in the incident report that day, and tell your manager so the workers’ compensation process starts on time. Seek medical care for cuts that keep bleeding after ten minutes, gape, cut deep, or cross a joint, and for any wound where feeling or movement has changed.
Conclusion
Start tomorrow morning with three things: inspect every knife and pull the damaged ones, set a standard station with a board that cannot slide, and write down the first-five-minutes response for a cut plus the reporting step. Then train it in twenty minutes at orientation and check it at the start of every shift.
Individual caution is the last line of defence, not the first. A kitchen that standardises its knives, its workstation, its washing routine, its storage and its incident reporting removes the conditions that make a cut likely in the first place — and when something does go wrong, the report gets filed instead of hidden.