
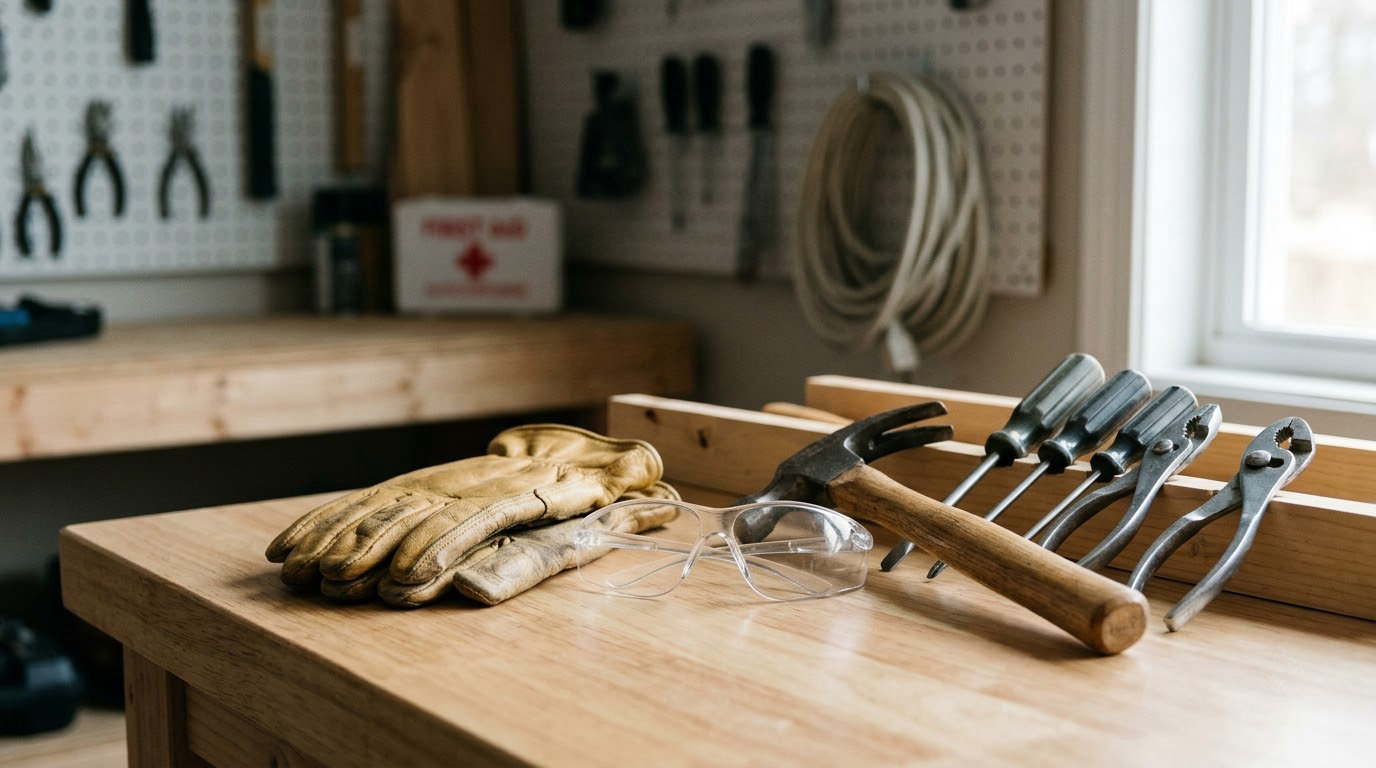
Hand tool injury prevention comes down to one thing: keeping a worker’s hand out of the line of fire. Most hand injuries happen because the wrong tool was used, a damaged tool stayed in service, a guard was bypassed, or the tool was gripped in a way that fatigues and slips.
The plan below turns that idea into ten steps you can run in any shop, site or maintenance bay. It takes a few weeks to set up properly, most of the cost is attention rather than equipment, and the payoff shows up in the near-miss reports that stop happening.
Table of Contents
- What You Need
- Step-by-Step Hand Tool Injury Prevention Plan
- 1. Identify Hand Tool Hazards
- 2. Assess Each Task and Work Area
- 3. Select Safer Tools and Accessories
- 4. Inspect Tools Before Use
- 5. Establish a Tool Maintenance and Removal System
- 6. Train Workers on Safe Tool Use
- 7. Use the Right Personal Protective Equipment
- 8. Control Work Areas and Material Handling
- 9. Monitor Work Practices and Investigate Incidents
- 10. Review and Improve the Program
- Common Mistakes
- Frequently Asked Questions
- What are the OSHA safety requirements for using hand tools?
- What are three safety rules to follow when using hand tools?
- Do I need to wear gloves when using a grinder or rotating equipment?
- How often should hand and power tools be inspected?
- What should a worker do with a damaged tool?
- How do you know if a hand tool safety program is working?
- Conclusion
What You Need
You do not need a consultant to start. You need a written inventory, a small set of documents, the right protection, and named people who own the work.
Before anything else, build a tool inventory: every hand and power tool in the area, where it lives, who uses it, and whether it is in service. Next come the documents — a pre-use inspection form, a damaged-tool removal tag, a maintenance log, and a short written safe-use procedure for each high-risk task. Keep them to one page each. A form nobody can read in twenty seconds at a workbench will not get filled in.
Then sort protection into three piles: eye protection, hand protection and hearing protection, each matched to the task rather than bought by the box. Finally, assign responsibility. One person owns the inventory, one owns inspections, one owns training records, and the supervisor on shift owns enforcement. If the name is not written down, the step does not happen.
Two more prerequisites matter. You need access to the actual injury and near-miss history for your area, and you need authority to pull a tool out of service without a fight. Supervisors who cannot do that will keep working around a bad tool, and the workers will learn that pulling tools is optional.
Step-by-Step Hand Tool Injury Prevention Plan
The sequence matters. Assess before you buy, buy before you train, and train on the equipment people actually have. Adapt each step to the tools, tasks and hazards in your own work area — a woodworking shop and an automotive bay share step one and nothing else.
1. Identify Hand Tool Hazards
Start by listing what your tools can do to a hand, not just what they are for. The recurring hazard categories are pinch points and crush zones where two moving surfaces meet, shear points where one part slides past another, sharp edges and cutting edges, rotating parts and flying fragments, kickback and stored energy, hot surfaces, vibration, electrical hazards, and slips caused by poor grip.
Walk the area with the inventory in hand and write down each one against a location. A bench grinder whose wheel guard has been bent back, a nail gun firing fasteners through a wall stud, a cut-off wheel with a cracked rim. You are building a list of conditions, not a policy document.
You know the list is working when a worker can name the pinch point on your highest-risk tool without being prompted.
2. Assess Each Task and Work Area
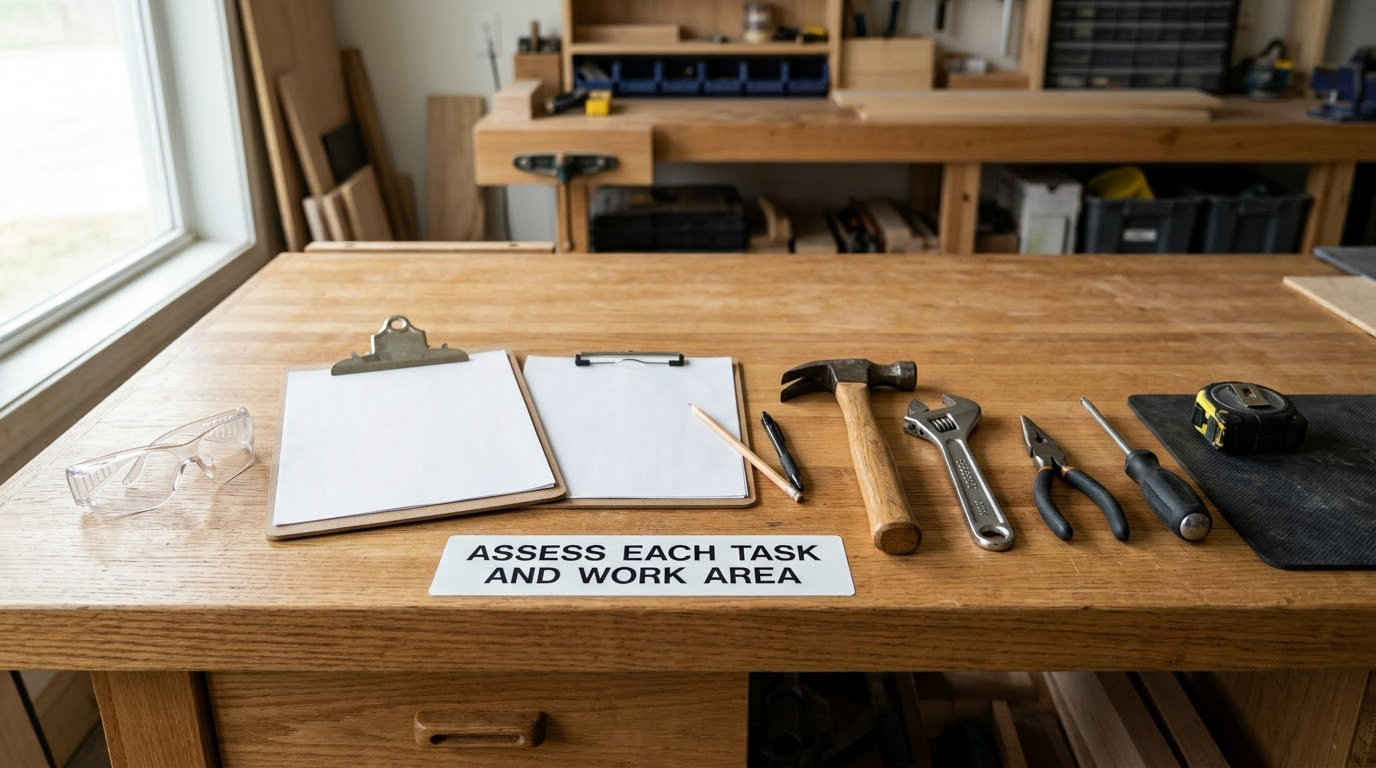
Observe real work rather than asking people what they do. Watch a full task from setup to cleanup and write down each step, including the awkward ones — reaching across a bench, holding stock with one hand, clearing chips with a fingertip, reaching into a guarded zone to check a cut.
Bring the people doing the task into the review. They will point out steps you would never see from across the room. Then rank the hazards on likelihood and severity, and deal with the ones that are both frequent and serious first.
You know it worked when the written task steps match what your best operator actually does, and the top three hazards have an assigned control.
3. Select Safer Tools and Accessories
Choose tools that physically keep hands away from hazards. Look for guards on rotating parts, kickback-reducing features on saws and nailers, tool-free or recessed blade changes, non-slip compliant grips, and lower weight and better balance so the tool stays controllable under load.
Pay attention to handles. A handle that supports the whole hand spreads grip force across the palm instead of concentrating it in the fingers, which cuts fatigue. Individual trigger switches, four-finger-operable controls, finger grooves sized to the hand and cushioned or vibration-absorbing grip material all reduce the load. So does picking the lightest tool that can still do the job.
For vibrating tools, weigh anti-vibration features and grip damping, and check whether a lower-vibration tool exists for the same job. Reject anything that arrives without a guard, or that a worker cannot operate without letting go of the workpiece.
You know it worked when a new tool passes the same hazard review as the old one, using the assessment from step 2.
4. Inspect Tools Before Use
A pre-use inspection takes about a minute and catches most failures before they happen. Check handles for cracks, looseness or splinters. Check guards for presence, fit and correct adjustment. Check cutting edges and points for chips and dulling. Check fasteners, cords, plugs, blades and abrasive wheels for visible damage, and look at the whole tool for corrosion or impact marks.
For power tools specifically, verify the plug and cord, the grounding or double-insulation arrangement, the guard interlock, and that an abrasive wheel is rated for or below the tool’s speed rating and free of cracks. For pneumatic and hydraulic tools, check hose integrity and fittings.
Make it short and repeatable. Three or four questions on a card at the tool crib beat a two-page manual. You know it worked when damaged tools are being found at the bench instead of at the point of injury.
5. Establish a Tool Maintenance and Removal System
Inspection only pays off if there is a defined path out of service. Tag the tool, record it in a register, and make the tagging permanent until the repair is finished and verified. Never let a damaged tool go back on a rack informally or pass to another worker at shift change with no record.
Assign who repairs, who verifies the repair, and who authorises the return. Set a replacement threshold so nobody is pressured to keep a marginal tool running. For anything used near rotating parts, replace rather than repair when a guard or housing is cracked.
Before any maintenance on a power tool, isolate the energy. Lock out the plug or disconnect the battery, bleed pneumatic lines, block or restrain hydraulic pressure, and verify a zero-energy state before hands go near the mechanism. Our guide to what to do after a workplace injury covers what happens when a control fails.
You know it worked when the removal register shows tags being closed out, not just opened.
6. Train Workers on Safe Tool Use
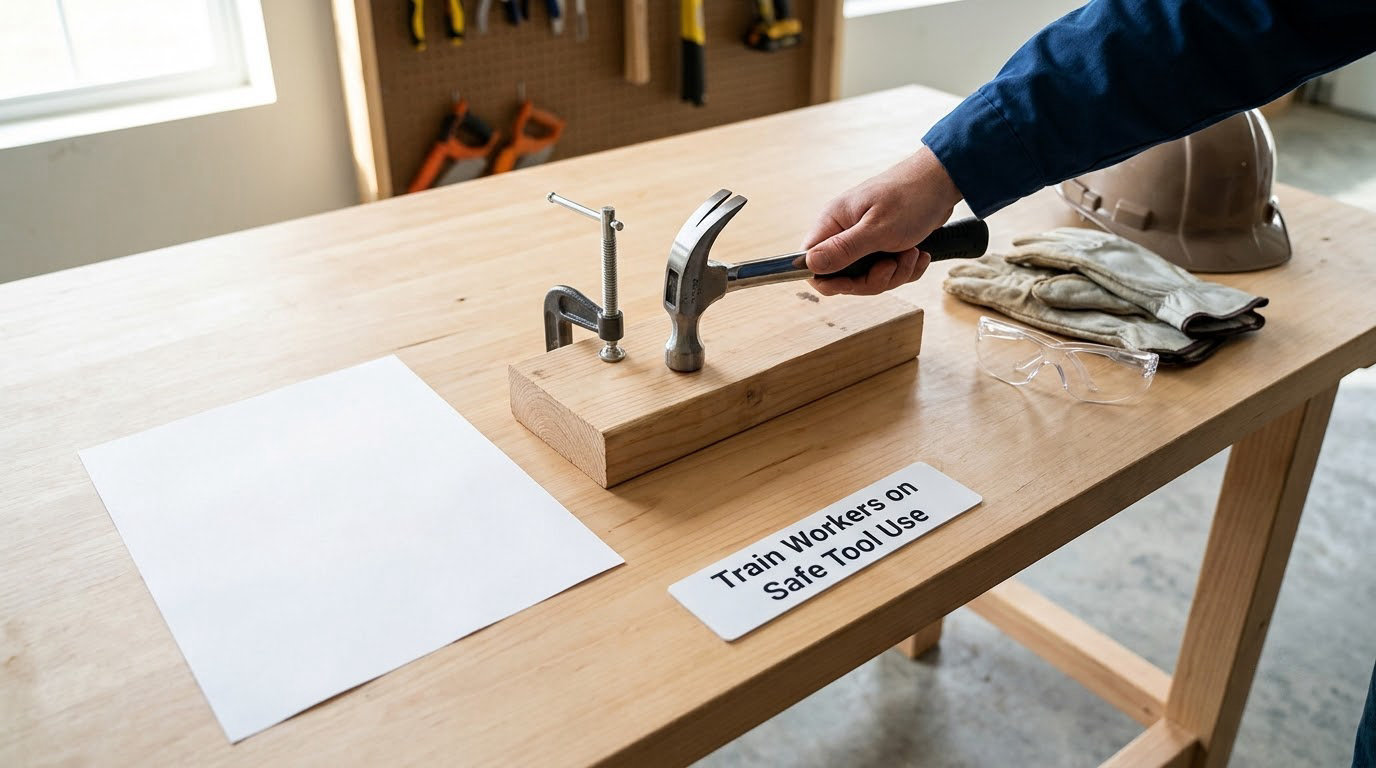
Training belongs on the actual equipment people use, with the actual materials they cut. Cover setup, work positioning, guarding, material control, tool changes, and what to do when a control gets in the way.
Show the neutral wrist position, sometimes called the handshake grip, and explain why a bent or offset handle keeps the wrist straight during a cut or a grind. Show how to hold stock with two hands or clamp it, how to position the tool so the line of fire points away from the body, and how to keep a neutral posture rather than twisting to reach.
Spend part of the session on why controls exist. Workers who understand that a guard stops a rotating part understand why they are not taking it off to make a cut faster. Finish with a five-minute talk at shift start, repeated, not a one-off video someone watches once.
You know it worked when you can watch a worker re-clamp the stock instead of holding it, and they can name the hazard the clamp removes.
7. Use the Right Personal Protective Equipment
Eye protection is the simplest win in this whole plan. Safety glasses or a face shield for grinding, chipping, drilling and hammering, fitted for the worker rather than picked off a shelf.
Hand protection needs judgement. Cut-resistant gloves suit handling sharp stock, blades and slivers. Insulated gloves suit electrical work. Vibration-absorbing gloves suit high-exposure tool use. Fit matters: gloves that are too tight create pressure and fatigue, gloves that are too loose slip and reduce control.
Here is the nuance most guidance leaves out: do not wear loose gloves, gloves with cuffs, or anything that can snag near rotating machinery, running belts, drill presses, lathes or augers. Entanglement can pull a hand into a machine faster than the original hazard would have cut you. Where you cannot eliminate the entanglement risk, use tooling that guards the work, keep hands out of the zone and control the process instead.
For repetitive work, also look at exposure rather than equipment. Long stretches of the same grip, cold conditions that reduce dexterity, and awkward postures all raise the risk of cumulative injury. Where controls allow, rotate tasks and shorten the session. Our steps on carpal tunnel prevention at work go deeper on that side of the problem.
You know it worked when you can see task-appropriate protection at every bench and no loose gloves near anything that spins.
8. Control Work Areas and Material Handling
Most hand injuries happen in the setup, not the cutting. Keep work surfaces stable and at a height that lets the worker keep a neutral posture, with the workpiece clamped or supported so no hand has to hold it. Provide adequate lighting; a poorly lit bench produces rushed, off-line cuts.
Housekeeping is a hand safety control, not a janitorial detail. Remove scrap, offcuts, protruding nails and fasteners, and clear the floor of hose, cord and debris. Set tools down in a fixed place rather than on edges, ladders or machine tops, and keep a dedicated rack for sharp tools waiting to be sharpened.
Where work happens near traffic, separate pedestrians from the work zone. If the task puts hands near knees or the floor, adjust the posture or the position rather than ignoring it — our piece on knee pain from kneeling at work covers the same setup logic.
You know it worked when a supervisor can walk the area without finding a bench that fails any of those three checks.
9. Monitor Work Practices and Investigate Incidents
Supervision is the step that decides whether the other nine are real. Watch tasks rather than hallways. Confirm that guards are on, that inspection cards are completed, that damaged tools are tagged, and that new workers are not being trained by osmosis beside an experienced operator.
Take near misses seriously. A near miss is free information: the same event with a worse outcome. Record what happened, what the controls were, and what changes. Investigate without blame. If people learn that reporting ends in discipline, the reporting stops and you lose the only early warning you have.
Make every corrective action have an owner, a due date and a sign-off. A hazard noted without a named follow-up is a hazard that stays.
You know it worked when corrective actions close on time and near-miss reports rise for a while before injuries fall. That rise is a good sign, not a bad one.
10. Review and Improve the Program
Set a review interval that suits your operation — monthly for high-risk tool work, quarterly otherwise — and put it in the calendar. Walk through the tool inventory, the training records, the inspection logs, the removal register, near-miss reports and worker feedback.
Then change the plan when the work changes. New tools, new materials, a new operator, a process change, or a near miss that the current controls did not address each trigger a review of the affected steps. Long vibration exposure deserves its own look, since it builds slowly and shows up as white or numb fingers in cold conditions.
You know it worked when the written procedure matches the tools on the floor, and workers can tell you what changed and when.
Common Mistakes
Almost every program I have seen go wrong does so in the same handful of ways, and each has a straightforward fix.
Using a damaged tool because the job is due. Fix: no deadline outranks a removal tag. Set a replacement threshold so nobody has to argue the point on the spot.
Removing or wedging a guard. Fix: treat a missing guard as a stop-work condition and check guard fit at purchase, not after the first complaint.
Wrong blade, wrong wheel, wrong speed rating. Fix: match the accessory to the tool’s rating every time, and keep incompatible parts out of the tool crib.
No gloves at all on a handling task. Fix: match protection to the hazard — cut-resistant for slivers and sharp stock, insulated for electrical work.
Loose gloves near rotating equipment. Fix: no gloves, no cuffs, no snagging material near anything that spins or pulls. Control the process instead.
Poor housekeeping around the bench. Fix: build scrap removal into the task, not into a weekly clean-up.
Training that is a video and a signature. Fix: hands-on practice on the real tool, with a short repeat talk at shift start.
Hazard notes with no follow-through. Fix: every note gets an owner, a date and a closing sign-off.
Frequently Asked Questions
What are the OSHA safety requirements for using hand tools?
OSHA covers hand and power tools in 29 CFR 1926.302 for construction and 1918.121 for general industry. The core duties are consistent across both: guard moving parts such as blade guards and point of operation, keep tools in safe working condition and remove damaged ones from service, inspect power tools and cords before use, and provide training on the specific tool and task. Employers must also enforce correct use and require eye protection where flying particles are expected.
What are three safety rules to follow when using hand tools?
Use the right tool for the job, and inspect it before every use. Keep your hands out of pinch points, cutting edges, rotating parts and the line of fire. Wear task-appropriate protection and never bypass, block or wedge a guard. If you only remember three, these are the three that most often stand between a worker and a serious hand injury.
Do I need to wear gloves when using a grinder or rotating equipment?
Usually not near anything that rotates or pulls. Loose gloves, cuffs and snagging fabric can be caught by a wheel, belt, drill bit or auger and draw the hand in faster than the cut ever would. For grinding and cutting, control the process instead: use guarded tooling, clamp the workpiece, keep a clear line of fire and remove loose gloves. Wear cut-resistant gloves for handling sharp stock between cuts, and insulated gloves for electrical work.
How often should hand and power tools be inspected?
Before every use, by the person using them. That pre-use check takes about a minute and covers handles, guards, cutting edges, fasteners, cords, plugs and wheels. Periodic detailed inspections by a competent person should follow the manufacturer schedule and the risk level, with formal records kept. The daily check finds the loose handle; the scheduled inspection finds the crack nobody noticed in week three.
What should a worker do with a damaged tool?
Stop using it, tag it, and take it out of service immediately. Record it in the removal register with the date and the fault, and hand it to the person authorised to repair or replace it. Never put a damaged tool back on the rack or pass it to another worker without a record. Only the person who verifies the repair can authorise a return to service.
How do you know if a hand tool safety program is working?
Watch three trends rather than one number. Near-miss reports should rise initially, because reporting means workers trust the system. Corrective actions should close on time. Injury and first-aid records, damaged-tool findings and repeat findings at inspection should all trend down. If near-miss reports sit at zero, that is not a clean record; it is silence.
Conclusion
If you act this week, do four things. Walk the work area and write down the top three hand hazards for the tasks people actually do. Tag and remove every damaged tool you find, and close the register entries. Run one hands-on training session on the real equipment with each high-risk task. Then put a short recurring inspection and a review date on the calendar.
Hand tool injury prevention is mostly ordinary work done consistently: the right tool, checked before use, guards in place, hands out of the line of fire, protection chosen for the task rather than the habit, and a supervisor who notices. Do those ten steps properly and the injuries have nowhere to happen.