
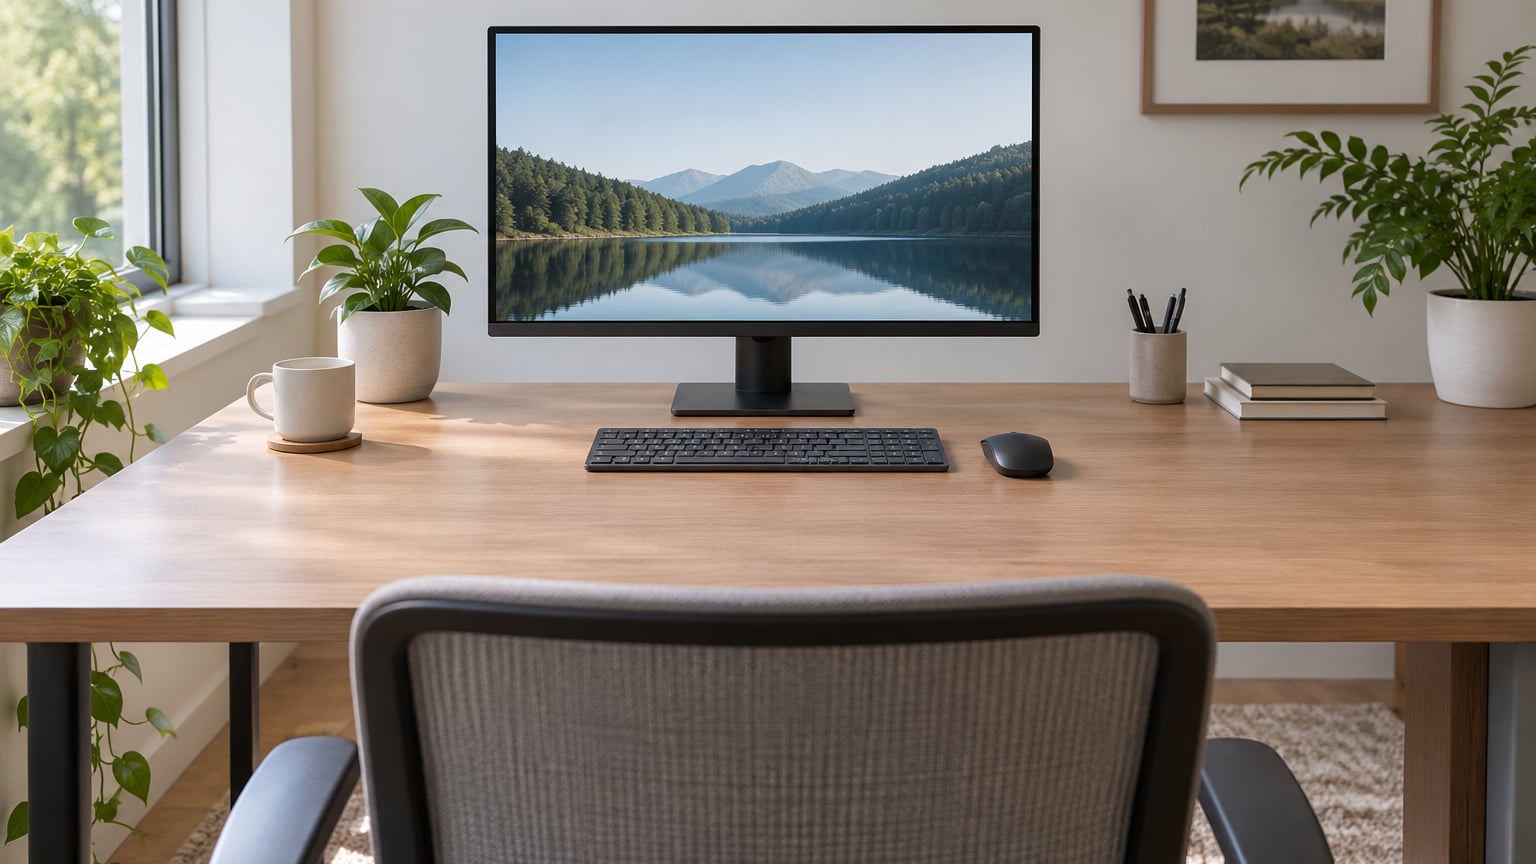
Good ergonomic keyboard and mouse placement comes down to four things: elbows bent near 90 degrees and close to your body, forearms resting flat and parallel to the floor, wrists held straight rather than bent up or sideways, and a mouse sitting at the same height as the keyboard and immediately beside it. The whole reset takes about 15 minutes and needs no new equipment.
That last part matters more than most guides admit. People spend months and real money chasing a new keyboard, when the single biggest fix reported on ergonomic forums is pulling the mouse a few inches closer to where their hands already sit.
This guide works through the order that actually matters, from chair height down to the mouse, then covers the mistakes that undo a good setup and the symptoms that tell you which one you have. It suits office workers, remote employees, programmers, students and anyone who has already felt the ache in their wrist or the tightness between their shoulder blades.
If you are setting up a team rather than just yourself, the same adjustments show up as one line item in a job hazard analysis, and the training side is covered in our young worker safety training tips for workplace teams.
Table of Contents
- What You Need
- Step-by-Step: Set Up Ergonomic Keyboard and Mouse Placement
- Common Mistakes
- Mouse pushed out to the side
- Keyboard centered on the spacebar
- Keyboard propped up on its feet
- Keyboard too far from the desk edge
- Wrist rest pressed into the desk while typing
- Hands hovering above the keys
- Adjusting for everyone else instead of your own proportions
- Treating the mouse as a separate problem
- Frequently Asked Questions
- Should the keyboard be flat or tilted?
- Where should the mouse be placed relative to the keyboard?
- How can I make a laptop workstation more ergonomic?
- Do I need a wrist rest to use a keyboard and mouse correctly?
- How do I choose the right keyboard and mouse for prolonged work?
- When should discomfort at my keyboard or mouse prompt medical advice?
- Conclusion
What You Need
You need a chair that adjusts, a desk you can measure, and the keyboard and mouse you already own. That is the whole shopping list.
Gather these before you start:
- A tape measure or ruler for the desk edge distance and monitor distance checks.
- Your chair, with the seat height lever and back support working.
- A clear patch of desk, roughly 15 cm (6 inches) deep in front of where the keyboard will sit, so your forearms have something to rest on.
- A book or small box to raise the laptop screen while you work.
- Optional: a footrest for shorter users, a wrist rest, a compact tenkeyless keyboard, or a vertical mouse.
Before you move anything, two quick readiness checks save you an hour of re-adjusting. Sit at the desk normally for two minutes and note where your feet land, because if they do not reach the floor flat you will chase that problem into the keyboard position later. Then watch yourself type for a minute: if your hands hover above the keys the whole time, you will need to consciously lower them once the height is right.
Clear the desk first. Clutter is the reason many people cannot get their forearms onto the surface, and it is also the reason the mouse ends up on top of a notebook.
Step-by-Step: Set Up Ergonomic Keyboard and Mouse Placement
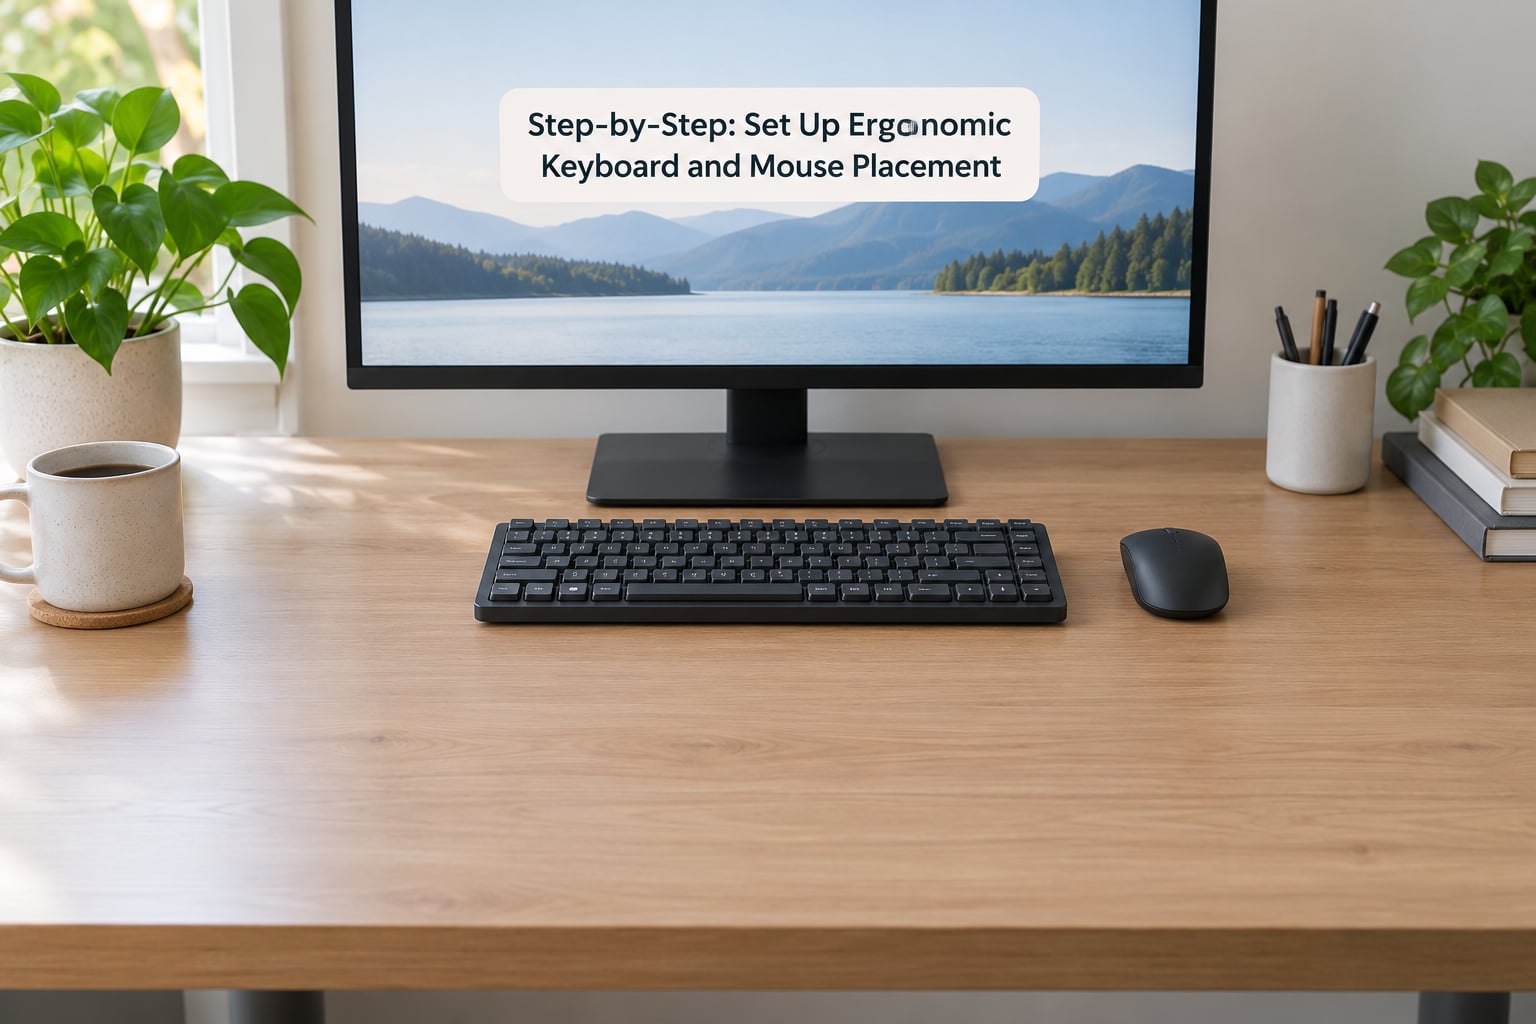
Cornell’s ergonomics program recommends a fixed order: chair, then monitor, then keyboard, then mouse. Each item sets the position of the next, so skipping ahead means going back twice.
Start With Chair and Desk Height
Sit back fully, feet flat on the floor or on a footrest, and adjust the seat height until your thighs are roughly parallel to the floor. Then bend your elbows. You are aiming for 90 to 100 degrees, forearms horizontal or angled very slightly down toward the hands.
That elbow angle sets your keyboard height. If the keyboard is higher than your elbows, your shoulders will lift to meet it. If it is much lower, you end up shrugging upward through a long session to type comfortably.
Set your back support at the curve of your lower back and let your shoulders hang. Shoulders heavy and down, not pulled back and held there, is the position you want before you touch anything on the desk.
If your desk is fixed and too tall for that elbow angle, a keyboard tray is the usual answer, as long as it is wide and deep enough for both the keyboard and the mouse at the same height. A tray that only takes the keyboard pushes the mouse up onto the desk and creates exactly the two-height problem discussed further down.
Position the Keyboard
Place the keyboard 10 to 15 cm (4 to 6 inches) back from the desk edge. Far enough that the desk edge meets your forearm, not your wrists. Close enough that you are not leaning forward over the desk to reach the home row.
Centering trips people up. Ignore the middle of the board and look at the letters instead: the middle of the B key is what should line up with the middle of your body. On a full-size keyboard the alphanumeric block sits left of center, so a board centered on the spacebar puts every letter about 5 cm (2 inches) too far to your left, which in turn pushes your right arm out toward the mouse.
Now the tilt. The front edge of a keyboard is usually 5 to 15 mm higher than the back, which tilts your wrists up and slightly sideways. Roughly 0 to minus 5 degrees, meaning flat or sloping gently away from you, keeps the wrist in line with the forearm. Many keyboards have adjustable feet for this, and folding them under usually gets you closer to flat.
Keep a clear strip in front of the keyboard so your forearms can rest there while you pause. Test by typing for a minute with a light touch, then let your hands fall. If they land on the desk with your wrists straight, the height and angle are right.
Compact tenkeyless boards help here more than almost any other single change. Removing the number pad pulls the left edge of the board and the mouse closer to your body’s midline, which shortens the reach for the hand that was doing the most reaching.
Split and curved ergonomic boards take the wrist deviation out entirely, but they create a mouse problem instead. Both halves sit in their natural position for your arms, which means the space between them is where your mouse hand wants to be and where there is no room for it. Two workable options: put the mouse on the left side under a left-handed setup if your right shoulder is the sore one, or keep one half pushed forward and use the space beside the other half as your mouse position. Most people on split boards report less wrist and shoulder discomfort after a week or two of adaptation, but mouse placement stays unsolved without one of those two workarounds.
Position the Mouse
The mouse belongs directly beside the keyboard, on the same surface and the same height, close enough that your forearm barely moves to reach it. Same height is the part people skip, and it is the part that causes trouble.
If the mouse sits on a mousepad on the desk while the keyboard sits on a thick tray, or on a laptop next to a raised external keyboard, your arm travels up and down with every task switch. That constant movement is what forum users with wrist pain describe when they say their setup feels wrong but they cannot name why.
The fix is a three-step decision. First, match the heights: put the mouse wherever the keyboard is, or move both onto the same surface. Second, if they must differ, put the more-used device at elbow height and the less-used one slightly lower. Third, if you cannot move either one, alternate between them so no single position holds all day. Users who alternate between a traditional mouse, a vertical mouse and a trackball through the day report less discomfort than anyone who uses one device for eight hours straight.
Set the pointer speed so you move your hand, not your arm. If you need a large mousepad sweep to cross the screen, the speed is too low, and that sweep is what pulls your shoulder forward. Hold the mouse loosely. The classic check is to be able to lift your fingertips off the buttons without picking the mouse up, because squeezing harder is how tension builds up in the forearm.
Left-handed users mirror everything: mouse on the left of the keyboard, and the keyboard shifted right so the letter block still lines up with your body. The centering advice above applies unchanged.
Check Your Monitor, Then Re-Check Your Keyboard and Mouse Placement
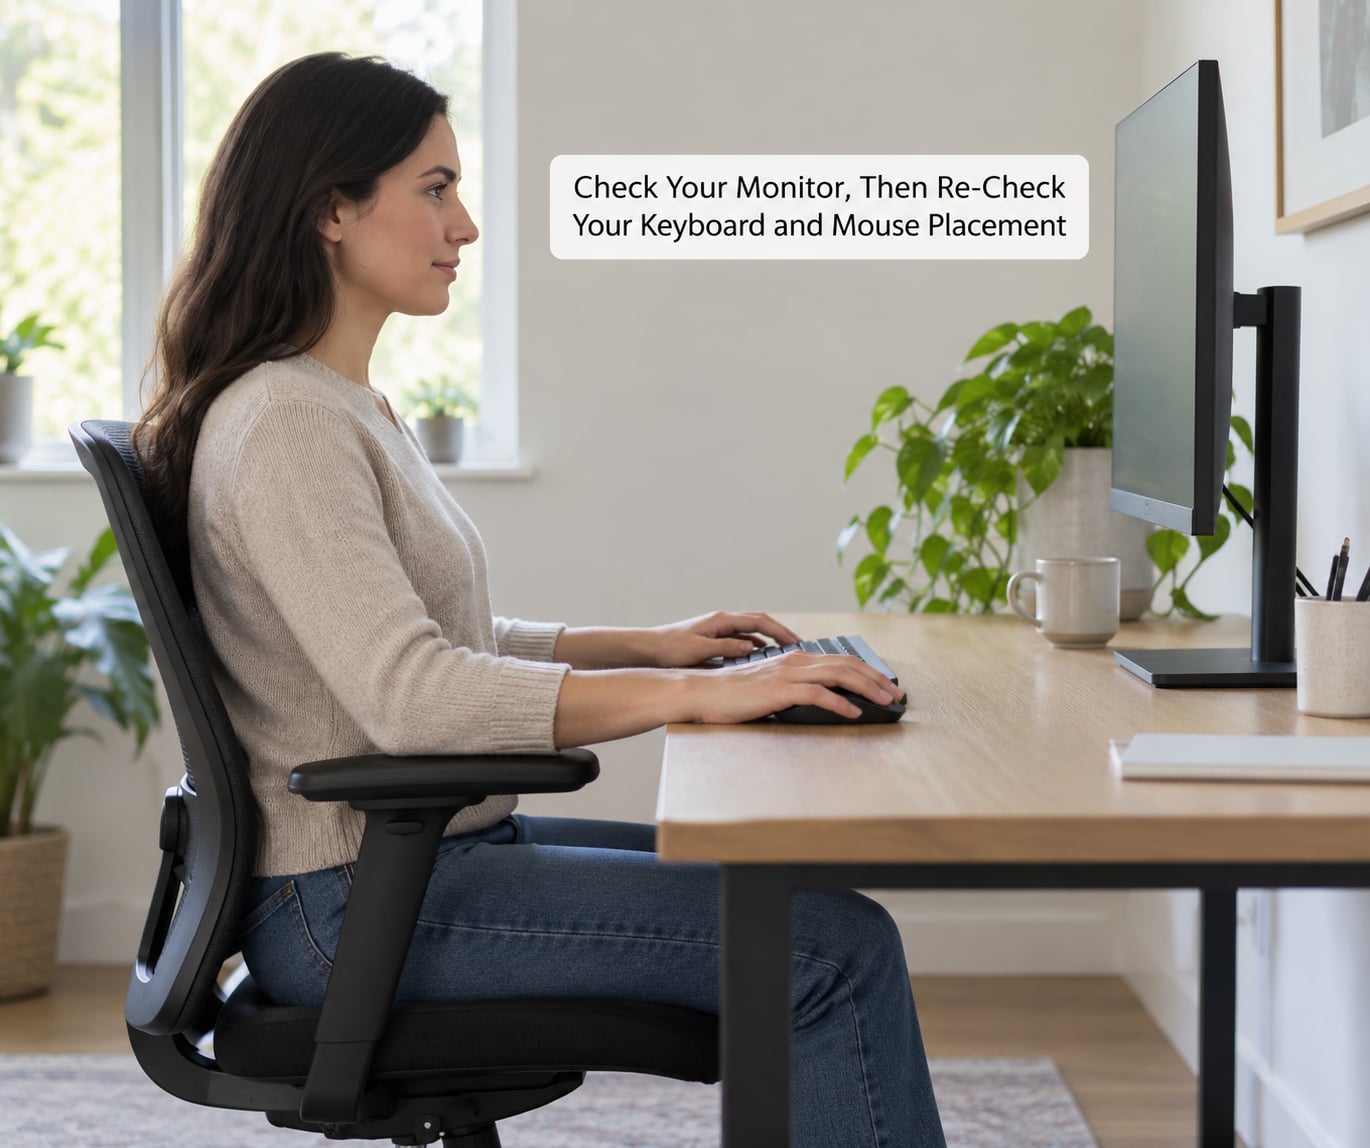
The monitor sets your head position, and your head position changes how your arms land. Put the top of the screen at or just below eye level, roughly 50 to 70 cm (20 to 30 inches) away, and centered on you. Glare from a window or a light behind the screen pushes people to lean back and forward, which drags the keyboard and mouse out of reach position.
With both in place, do a full self-check. Sit naturally and answer these out loud:
- Are my shoulders relaxed, with no shrug while I type?
- Are my elbows between 90 and 100 degrees?
- Are my forearms roughly parallel to the floor?
- Are my wrists straight, not bent up, down or sideways?
- Can I reach the mouse without lifting my shoulder or leaning?
- Are both input devices at the same height?
Two “no” answers and you know where to start. Three or more and the chair is usually the root cause, so go back a step rather than adjusting the mouse again.
Placement is only half of it. Movement is the other half, and OSHA guidance on computer workstations treats frequent breaks as part of a safe setup rather than an optional extra. Every 30 minutes, take your hands off the keys and let your wrists shake loose. Every hour, stand up and move for a couple of minutes. For your eyes, use the 20-20-20 rule: every 20 minutes, look about 20 feet away for 20 seconds.
A two-minute routine covers the rest: slow wrist circles in both directions, fingers spread and held for five seconds, shoulder rolls backward, and a chin tuck to undo the forward head position that comes with a screen that’s too low.
Common Mistakes
These are the setups that keep producing the same complaints. Each one has a direct correction.
Mouse pushed out to the side
The problem: The mouse sits beside the full-size keyboard, 20 cm (8 inches) or more out from your midline. Your shoulder holds your arm out at an angle all day, and the upper trapezius picks up the difference.
The fix: Pull the mouse in until it is right next to the keyboard, and if there is no room, switch to a tenkeyless board or a detachable number pad.
Keyboard centered on the spacebar
The problem: The whole board is centered on the spacebar rather than on the letter keys, so your arms sit off-center for the entire day and the mouse ends up even further out.
The fix: Align the B key with your sternum, then place the mouse relative to the keyboard’s right edge rather than to the desk.
Keyboard propped up on its feet
The problem: A positive tilt raises your wrists and adds sideways deviation. People do it because it feels more natural to type on a slope, and the discomfort shows up a week later.
The fix: Flat or slightly negative. If your board has no adjustment, put something thin under the back edge only after you have ruled out a height problem.
Keyboard too far from the desk edge
The problem: The keyboard sits in the middle of a deep desk with no forearm support, so you lean forward to reach it. Your lower back takes the load.
The fix: 10 to 15 cm back from the edge, then check that the edge meets your forearms rather than your wrists.
Wrist rest pressed into the desk while typing
The problem: A wrist rest is meant for pauses between bursts of typing, not to carry your wrists while you press keys. Resting on a raised edge while you type pushes pressure up into the carpal tunnel.
The fix: Rest the heel of your palm on the desk during pauses and let the wrist float while typing. Mayo Clinic guidance on repetitive strain injuries treats rest as recovery time, not as support during activity.
Hands hovering above the keys
The problem: Keeping the hands in the air feels active, but it holds the shoulder muscles contracted with no rest. Most people notice the effort once they are told to notice it.
The fix: Let your hands settle onto the home row between bursts. Height and angle are usually the reason they will not settle.
Adjusting for everyone else instead of your own proportions
The problem: The 90-90-90 rule is a starting point, not a mandate. Long-armed users with 90-degree elbows may have their hands floating past the edge of the chair, and shorter users may not reach the floor at all.
The fix: Keep the elbows at 90 to 100 degrees and adjust everything else around your body. If your fingertips hang past the desk edge, move the keyboard forward rather than lowering your elbows. If your feet do not reach, add a footrest before you change the desk.
Treating the mouse as a separate problem
The problem: Hours of typing in a fixed position and a few minutes of mousing in another. Repetitive strain injury comes from posture that does not change, not from any single device.
The fix: Vary your input. Alternating mouse types, switching to keyboard shortcuts, and moving between sitting and standing all distribute load in a way that one perfect setup cannot.
For a team setting this up, it is worth writing the checks down rather than mentioning them once, the same way you would for any other workstation hazard review.
Frequently Asked Questions
Should the keyboard be flat or tilted?
Flat or very slightly tilted away from you is the usual recommendation, roughly 0 to minus 5 degrees. Most keyboards ship with the front edge 5 to 15 mm higher than the back, which bends your wrists upward and slightly sideways and keeps those muscles working. If your keyboard has adjustable feet, fold them under. A strong negative slope is usually too much, so adjust gradually over a few days rather than all at once.
Where should the mouse be placed relative to the keyboard?
Immediately beside the keyboard, on the same surface and at the same height, close enough that your forearm barely shifts to reach it. If the mouse sits further out than your elbow does, your shoulder holds your arm up and out all day. If the two devices cannot share a height, put the one you use most at elbow height and alternate between them rather than favouring one for hours.
How can I make a laptop workstation more ergonomic?
Raise the laptop screen on a stand or a stack of books so the top of the display is at or just below eye level, then add an external keyboard and mouse. A laptop on a desk forces the neck down and the wrists up at the same time, which is the combination ergonomics guidance warns against most often. With the screen raised, place the external keyboard and mouse so your elbows stay near 90 degrees.
Do I need a wrist rest to use a keyboard and mouse correctly?
No. Correct wrist position comes from the height and angle of the keyboard, not from a cushion underneath it. A wrist rest is useful during pauses, when you let your hands fall onto it with your wrists straight. Using it while you type presses the heel of the palm against a hard edge and can increase pressure in the carpal tunnel, so treat it as a resting place rather than a support.
How do I choose the right keyboard and mouse for prolonged work?
Choose for reach before features. A tenkeyless keyboard removes the number pad and pulls the mouse closer to your body, which removes more reaching than any other single change. Look for a keyboard with adjustable feet or a slight negative slope. For the mouse, choose one that fits your hand without a tight grip, set the pointer speed so you move your hand rather than your arm, and consider trying a vertical or trackball model as an alternative.
When should discomfort at my keyboard or mouse prompt medical advice?
See a doctor or an occupational health professional if discomfort persists beyond a couple of weeks after you have corrected your setup, if it wakes you at night, if you notice numbness, tingling or weakness in a hand, or if you are losing grip strength. Ergonomic changes reduce load, but they do not treat an existing condition such as carpal tunnel syndrome or tendonitis. Getting assessed early keeps a short-lived ache from becoming a long one.
Conclusion
Start with the chair, because everything else depends on the height it sets. Then move the keyboard to 10 to 15 cm (4 to 6 inches) from the desk edge, centre it on the letter keys rather than the spacebar, and pull the mouse in until it sits beside the keyboard at the same height.
Give it a week, and check your posture twice a day for the first few days. Small habits need time to settle, and a setup that felt odd on day one often feels unremarkable by day five. Where something still feels wrong, work back up the order rather than adjusting the mouse again.
If discomfort carries on after a couple of weeks of a corrected setup, or if you notice numbness, tingling or weakness in your hand, talk to a doctor or an occupational health professional. Ergonomic placement reduces the load on your body; it does not treat an injury that is already there.