
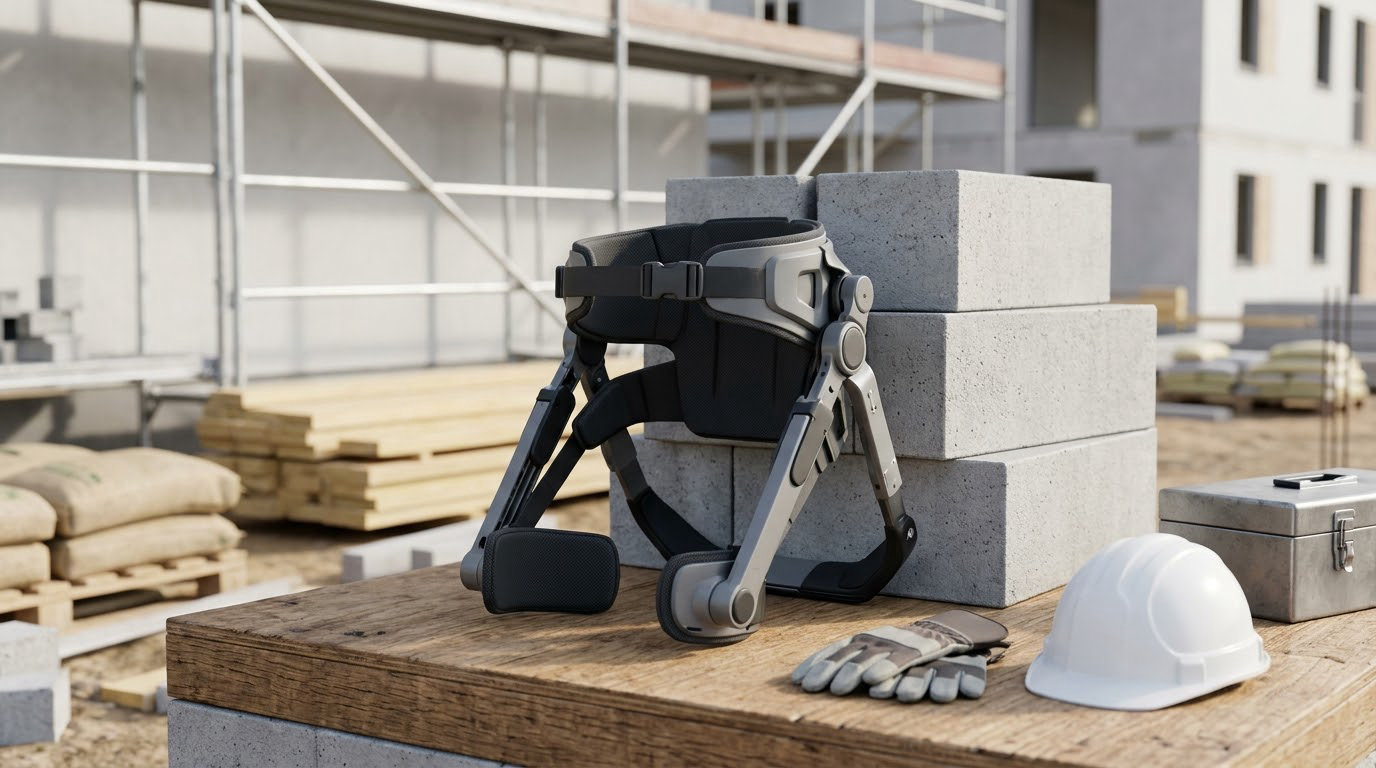
Reducing strain on a construction site comes down to one thing: cutting the physical demands of a task before the crew gets hurt doing it. Watch a crew for a shift and the strain shows up in the same places every time, a bent spine over a truss table, a shoulder held above the head for three hours of drywall, a hand gripping the same handle for the fourth hour of rebar tying. The controls that work target those specific demands, and they come in a clear order: change the equipment and the layout first, change how the work is organised second, change how people move only after that.
This guide walks through that sequence in seven steps, from watching the job to confirming the fix holds. It is written for superintendents, safety staff and foremen who need something they can run tomorrow morning, and it works just as well for a worker who is trying to protect their own hands and back.
Table of Contents
- What You Need
- Step-by-Step
- Step 1: Identify High-Risk Construction Tasks
- Step 2: Ask Workers Where Strain Occurs
- Step 3: Reduce the Force and Repetition Required
- Step 4: Improve Material Handling and Worksite Layout
- Step 5: Choose or Adjust Tools for the Task
- Step 6: Plan Workouts, Breaks, and Job Rotation
- Step 7: Train, Monitor, and Correct
- Common Mistakes
- Frequently Asked Questions
- What are the main ergonomic risk factors in construction?
- How do ergonomics reduce injuries on a jobsite?
- How do I prevent back strain at work in construction?
- How often should workers take breaks from repetitive tasks?
- Should soreness and numbness always be reported to a supervisor?
- Does ergonomics come up during a safety inspection or audit?
- Conclusion
What You Need
You need very little to start, but you do need a few things in place before tasks change. The first is access to the work itself, which means watching tasks as they happen, not reviewing them from a plan at a Monday meeting. Crews adapt on the job, and a task that looks manageable in a drawing often turns into a two-person lift once the material is where it actually sits.
The second is worker input from the people doing the task, including subcontractors who rarely get asked. The third is a way to record what you see, even a single page per task. Written notes matter later because the crew’s memory of a strain episode is fuzzy by the time anyone reviews it, and “everyone agreed the duct was too heavy” is hard to act on compared with a note that says the flex duct section ran 12 feet and two people carried it from the trailer.
You also want the manufacturer instructions and specifications for any tool or piece of equipment you plan to change, because a powered assist is only an improvement if it is rated for the load and used as intended. Finally, check what your jurisdiction requires of you. US sites work under the OSHA general duty clause, which obliges an employer to address a recognised serious hazard, and provincial rules in Canada add more specific duties, including a manual handling element in the Alberta OHS Code and ergonomic requirements in the WorkSafeBC rules. If you are outside the US or Canada, the underlying principle holds: an employer must address a hazard that can reasonably cause injury.
On the assessment side, NIOSH publishes lifting guidance and screening tools such as the lifting equation and the RULA method, and CPWR has ergonomics material written for the trades. None of it needs a consultant to use. A printed checklist and forty minutes of observation will get you further than a report nobody reads.
Step-by-Step
Step 1: Identify High-Risk Construction Tasks
Watch every task on the project and flag the ones that combine several demands at once. The high-risk list on almost any site includes lifting and carrying heavy or awkward materials, pushing and pulling loads, reaching and overhead work, prolonged kneeling or crouching, twisting under load, and repetitive tool use such as hammering, drilling or screwing. Add vibration from power tools and from equipment that shakes the operator all shift, and you have the main ergonomic risk factors in construction.
Look for combinations, not singles. A 30 pound box carried on two steps with a 90 degree twist is a different problem from a 30 pound box carried across a clear path. Repetitive work in a cold morning is worse than the same work at noon, and cold, wet, or awkward postures held for long periods produce far more strain than any one of them alone.
Rank what you find by exposure, not by how bad the injury sounds. A shoulder that aches after a heavy week is not the priority. A back that seizes during overhead fastening, forty feet up, is.
Step 2: Ask Workers Where Strain Occurs
Ask the crew directly, then let the silence tell you something. Most workers will not volunteer that a task hurts, because in the culture of a job site pain is treated as evidence you are not tough enough for the work. The phrase that comes up most often is the one that gets injuries filed late, “it’s just sore muscles.” One worker describes weeks of hanging sheet before a shoulder gave out entirely, while a second on the same crew had already stopped mentioning hand numbness days earlier because nobody filed anything for it.
Three questions get better answers than one. Which task would you rather trade with someone else? Where do you feel it at the end of the shift? What do you do differently now that you did not do two years ago? That last one surfaces adaptations people have made quietly, working around a handle, a staging location, or a tool weight rather than asking for it to be fixed.
Include subcontractors. A crew carrying a material the site is not used to handling is where a lot of strain first shows up, and they have the least voice in the room. On r/Construction and r/SafetyProfessionals, safety professionals make the same point: workers often will not use a fix even after it is installed, which is why peer mentoring and a supervisor demonstrating the correct method matter more than the equipment delivery date.
Step 3: Reduce the Force and Repetition Required
Cut the weight a person has to move and the number of times they have to move it. Small load sizes, lighter material packages, and mechanical assists remove strain at the source, and unlike technique advice they hold when the crew is tired, rushed, or working around someone else. Anything that reduces a 50 pound lift to two 25 pound loads, or that removes the lift entirely, is an engineering control and it belongs at the top of your list.
Repetition is the other half. Fasteners, nails, screws and staples are the classic example, because the same small motion hundreds of times a day is what drives hand and forearm problems. Extended handles, extension shafts, quick-release fittings and powered fastening tools each cut the number of strokes or the effort per stroke.
Our guide to how to reduce repetitive strain injuries on an assembly line covers the same physics from a different trade, and the control logic transfers directly: reduce effort, reduce cycle count, or add a hold that lets recovery happen.
Step 4: Improve Material Handling and Worksite Layout
Most site strain is a layout problem wearing a costume. Material gets staged wherever there was room at seven in the morning, so a crew carries sheet goods across the whole floor because they were dropped 60 feet from where they get hung. Staging at waist height, at the point of use, removes carrying, twisting and stacking in one move.
Shorten the carry route and shorten the reach. Set materials where they are used, not where they were unloaded. Keep clear walking paths, and never trade ergonomic benefit for a trip hazard or an obstruction to a fire lane; a cart parked in a doorway has solved nothing. Provide carts, wheelbarrows, hoists, scissor lifts and panel lifts so nobody becomes the lift mechanism. Where a load is genuinely two-person, schedule the team lift and the set-down point so nobody has to improvise the last ten feet.
Team lifts are worth rehearsing rather than assuming. A good working pattern for any large or awkward load is spelled out in our piece on ergonomics for nurses and patient handling, where a two-person lift works because the people involved were trained to do it the same way every time. The same logic applies to a duct, a door assembly, or a bundle of rebar.
Step 5: Choose or Adjust Tools for the Task
Pick tools that fit the hand doing the work. A tool that is too heavy, too thin, or badly balanced makes the user compensate, and compensation shows up in the wrist, elbow and shoulder first. A tool that cannot be used in a neutral wrist position will be gripped awkwardly, and an awkward grip held for a full shift is exactly the pattern behind hand and forearm problems.
Reduce vibration at the source where you can, with lower-vibration tools and anti-vibration handles rather than with gloves that only damp how it feels. Test any new tool before the whole crew adopts it. Give it to two or three people over a couple of shifts and ask them what stopped working well, because a tool that is lighter for one person may be unusable for someone with a smaller grip or a shoulder that already hurts.
Check the manual before powered assists go out, confirm the rating matches the load, and put the controls in the hands of people who have actually been trained on them. An unfamiliar lift gun in a new operator’s hands is a safety decision, not an ergonomic one.
Step 6: Plan Workouts, Breaks, and Job Rotation
Scheduling and rotation cut how long any one demand lasts, which matters because strain accumulates. Workers report real gains from short, frequent changes rather than rare long rests: a brief pause every 20 to 30 minutes, a five minute movement break every 30 to 45 minutes, and a short warm-up before the shift. Overhead work in particular benefits from a switch away from the ladder after a couple of hours rather than from one long break at the end.
Be honest about what these controls are and are not. Job rotation and micro-breaks reduce exposure duration, but they do not reduce the force, and a rotating crew still takes the worst task on the worst day. They belong above work-practice advice and below engineering controls, not above them. If the only rotation available is between two equally bad tasks, the hazard is still there.
For warm-ups, keep them dynamic rather than static, and short. A five minute routine of leg swings, hip hinges, arm circles across the chest, shoulder rolls, and thoracic rotations gets a cold crew moving without pulling a muscle. Hold any static stretch about 15 to 20 seconds, never bounce, and never use a stretch to justify entering a task the body is not ready for.
Step 7: Train, Monitor, and Correct
Train the crew on the revised method and watch them do it. Standing in front of a group and explaining a new handle is not the same as watching somebody actually use it under load. Correct in the moment, because habits built over years do not change in a toolbox talk.
Make early reporting easy and safe. Tell people plainly what to report, such as numbness, tingling, pain that wakes them at night, or a task they have started avoiding, and tell them who receives it. Workers are notoriously reluctant to report a slow-building strain, so the absence of reports is not evidence that a task is fine.
Check whether the change worked by watching the task again a few weeks later, and by asking the same crew the same questions. If a control got installed and bypassed, find out why before you install something else. Modern Niagara’s Vancouver operation recorded two ergonomic claims between February 2021 and July 2023, across 403601 man-hours in 2022, after investing in roller and table systems, gantry cranes, electronic hoists and prefabrication. That result came from changing the work, not from telling people to lift properly.
Common Mistakes
Training and posture advice as the whole plan. A lifting demonstration does not reduce the weight of a 70 pound board, and on a tired shift the technique simply drops off. Fix it by pairing every posture conversation with a change to the load, the layout, or the tool.
Buying ergonomic products without testing them. A tool that suits the person who trialled it may not suit the rest of the crew. Test with several people over real tasks before purchasing in volume.
Ignoring the fact that site conditions change. A layout that worked in the first week fails once the framing goes up and the access route narrows. Revisit staging and routes as the build changes, and treat a changed layout as a new hazard to assess.
Rotating workers instead of removing the hazard. Rotation spreads exposure, it does not reduce it. Fix it by asking what the highest-demand task is and what physically makes it hard, then changing that.
Treating pain as normal. “Just sore muscles” is the single most expensive phrase on a job site, because it delays a report until the injury is established. Fix it by making early reporting routine, and by responding to the first report rather than the third. Our guide to how to reduce workers comp costs covers why the delay is what turns a sprain into a long claim.
Ignoring the cases where the worker has no lever. Some equipment is bolted to the floor and mechanically tied to other machines, so no amount of individual technique helps. If the fix belongs to the employer, document it in writing with dates, the exposure described, and the change requested, and escalate it as a safety issue rather than a comfort request.
Frequently Asked Questions
What are the main ergonomic risk factors in construction?
The main ones are force, repetition, awkward or sustained posture, overhead reaching, vibration, and contact stress. On a real site they combine: heavy awkward material handling, repetitive fastening, prolonged kneeling, and twisting under load. Rank tasks by exposure duration and how often the demand repeats, not by how dramatic the worst possible injury sounds.
How do ergonomics reduce injuries on a jobsite?
By removing or reducing the physical demand at its source. Engineering controls come first, such as panel lifts, material carts, hoists and adjustable platforms. Administrative controls such as job rotation and scheduled micro-breaks come next. Work practice changes such as pre-shift warm-ups and neutral-spine lifting come last, because they depend on a tired worker still doing things correctly.
How do I prevent back strain at work in construction?
Most back strain in construction comes from lifting under load, twisting while carrying, and working in a bent position for hours. Reduce the weight and the distance, stage material at waist height where it is used, break long bent-over tasks into shorter blocks, and keep the spine neutral rather than twisting. If pain is present at the start of a task, change the task rather than the technique.
How often should workers take breaks from repetitive tasks?
Short, frequent pauses work better than one long rest. A common pattern is a brief pause every 20 to 30 minutes during repetitive work and a five minute movement break every 30 to 45 minutes during sustained or overhead tasks. These reduce how long a demand lasts, but they do not reduce the force, so pair them with an equipment or layout change wherever possible.
Should soreness and numbness always be reported to a supervisor?
Yes. Numbness, tingling, weakness, pain that wakes you at night, or a task you now avoid are all worth reporting early, even when they seem minor. Musculoskeletal problems build slowly, and early reporting is what makes a simple change possible before it becomes a long claim. Report to a supervisor or safety lead and keep a note of the date and task involved.
Does ergonomics come up during a safety inspection or audit?
In the US there is no general ergonomics standard, so the issue usually surfaces through the OSHA general duty clause and through hazard assessments. In Canada it is more explicit, with a manual handling element in the Alberta OHS Code and ergonomic requirements in the WorkSafeBC rules. Most contractors also address ergonomics inside a task-based hazard assessment, so it belongs in that paperwork and not only in conversations.
Conclusion
Start tomorrow by watching one shift of the task you suspect is causing the most strain, with the crew member who does it. Ask where it hurts, then look for the change that removes weight, repetition or reach from that task rather than the one that tells people to lift differently. Fix the layout, the load, or the tool, watch the crew use it, and ask again in a few weeks. The evidence from programmes that did this is consistent, and it is not a training problem, it is a design problem.