
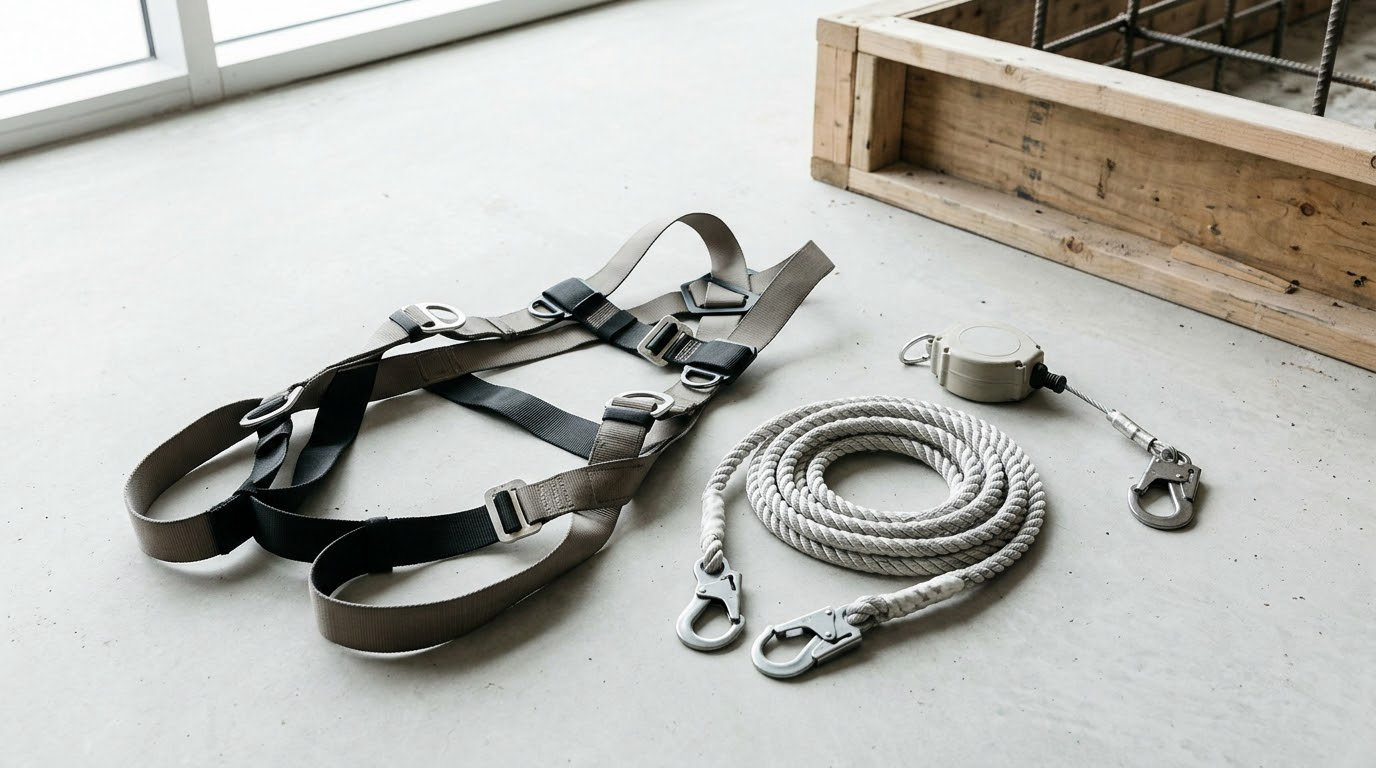
A fall protection plan is a written, site-specific document that names every fall hazard at a worksite, matches each one to a control, and records who supplies the equipment, who inspects it, who gets trained, and how a suspended worker gets rescued. Here is how to write one that stands up under a real inspection. This guide is written for U.S. employers working under federal OSHA standards; other countries and Canadian provincial codes set their own triggers, so check the rules that apply where you work.
Most plans fail on the same thing: they read like a corporate policy pasted into a binder, not a description of the roof deck in front of you. A 2021 CPWR survey named insufficient or ineffective planning as the leading underlying cause of falls from height, and the same research found that employers doing no fall planning at all had workers using protective equipment 71 percent less often. Planning is the piece that makes equipment actually get used.
If you are building a broader safety system at the same time, our guide on how to write a workplace health and safety policy covers the parent document a fall protection plan usually hangs from. If your crews work outdoors in cold weather, the cold stress prevention plan for outdoor workers is the companion piece, because cold hands make harness adjustment sloppy and cold workers make bad tie-off decisions.
Table of Contents
- What You Need to Write a Fall Protection Plan
- A record of where people actually work at height
- The applicable standards and their exact clause numbers
- Qualified person input, not just a template
- Exposure, incident, and equipment records you already have
- The controls and equipment currently on site
- Training material and the people authorized to deliver it
- Authority to implement the plan
- Step-by-Step: Create and Implement Your Fall Protection Plan
- Step 1: Define the Plan’s Scope and Responsibility
- Step 2: Identify Fall Hazards and Assess Risk
- Step 3: Write a Fall Protection Plan That Fits the Site
- Step 4: Select Feasible Controls and Fall Protection Methods
- Step 5: Assign Roles, Inspections, and Rescue Procedures
- Step 6: Train Workers and Communicate the Plan
- Step 7: Verify the Plan in the Field
- Step 8: Review, Revise, and Retain the Plan
- Common Mistakes and How to Fix Them
- Frequently Asked Questions
- Conclusion: Build and Use the Plan
What You Need to Write a Fall Protection Plan
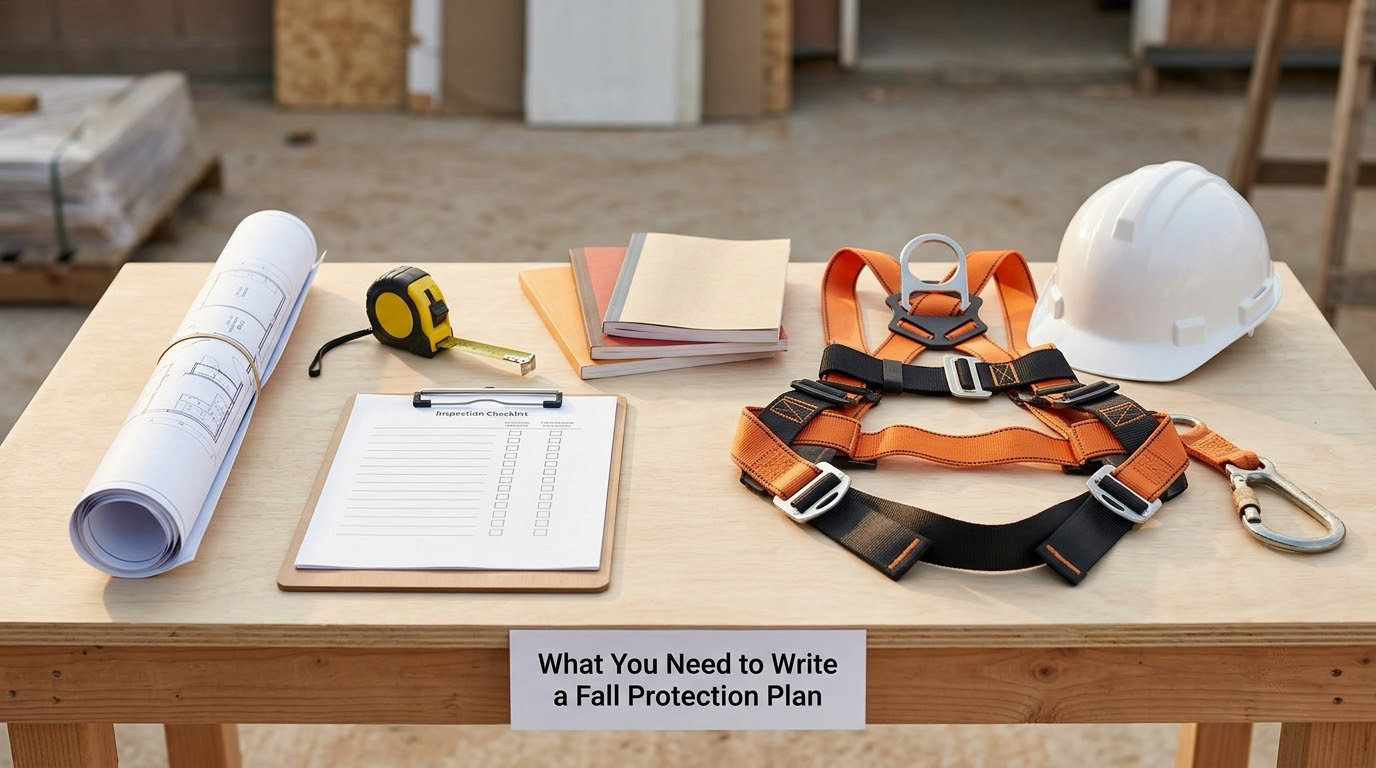
You cannot write this from a desk. Everything in a useful plan comes from information you gather on site first, so gather it before you open a template. Here is what to have in hand.
A record of where people actually work at height
Start with the drawings and the reality. Floor plans, roof plans, demolition scopes, and the latest revision of the erection drawings tell you where the edges, openings, and elevated work areas are. Then walk the site and confirm they match, because the drawings are usually a few weeks behind the work.
Note surface heights at each location. The numbers matter later: a fall arrest system has to be sized against the height of the hazard below the worker, not just the height of the anchor above the worker.
The applicable standards and their exact clause numbers
Know which rule set governs the work before you write a word. In U.S. construction, 29 CFR 1926 Subpart M sets the trigger at 6 feet for unprotected sides and edges, roofs, floor openings, and elevated work areas under 1926.501(b)(1), and at 6 feet for essentially all of it in residential construction under 1926.501(c)(2). General industry runs through 1910 Subpart D, where 1910.28(b)(1) sets 4 feet for unprotected sides and edges and similar exposures.
Keep the clause numbers in the plan itself, not just in your head. Safety professionals on forums like r/SafetyProfessionals say the single thing that improves a plan’s credibility is naming the actual CFR paragraph instead of describing the rule informally.
Qualified person input, not just a template
Subpart M and ANSI/ASSP Z359.2 both frame the survey as the work of a person with the training, experience, and knowledge to identify fall hazards and specify controls. That person is often called a qualified person. 1926.32(f) and 1926.454 use a different term, a competent person, for the role that inspects and corrects on the job. Your plan should name which person holds which role.
Exposure, incident, and equipment records you already have
Pull the last three years of near-miss reports, fall events, injury logs, equipment inspection tags, and training rosters for the crews who will work at height. Existing records tell you where the recurring exposures are and which crews need retraining before they set foot on site.
The controls and equipment currently on site
Inventory the guardrails, hole covers, scaffolds, ladders, anchor points, and personal fall arrest equipment already installed, plus their inspection status. A plan that specifies equipment nobody owns and nobody inspects is a plan that fails at the first audit.
Training material and the people authorized to deliver it
Have your training curriculum, the manufacturer instructions for the equipment in use, and the name of the qualified person who delivers training in hand. 1926.503(b) requires training by a qualified person, and the plan has to reflect that.
Authority to implement the plan
Somebody has to be able to stop the job, buy the equipment, and change the method. A plan written without that authority is a suggestion. Name the employer or controlling organization and the person accountable for implementation.
Step-by-Step: Create and Implement Your Fall Protection Plan
A fall protection plan is not a document you file once. It gets written, implemented, communicated to the crew, inspected in the field, revised when conditions change, and retained as a record of what was decided and why. The eight steps below take you from an empty page to a plan that is actively doing work on site.
Step 1: Define the Plan’s Scope and Responsibility
Write down who the plan covers, where it applies, and who is accountable for it. That means naming the employees and contractors included, the buildings, areas, roof sections, tanks, and mobile work locations in scope, the tasks that put people at height, and the height range those tasks involve.
Then assign ownership. A workable plan names the person responsible for implementation, not a committee. Safety professionals who have authored these documents for a living will tell you the plan is stronger with one accountable name than a list of departments.
Check your 1926.502(k) obligation here too. If you are a residential construction employer relying on a written plan rather than providing personal fall arrest systems, the plan has to meet the criteria in that clause, and the plan must be available to employees at the worksite.
You can tell this step worked when any worker on site can name the person whose job it is to implement the plan, and that person knows which areas the plan covers without checking.
Step 2: Identify Fall Hazards and Assess Risk
Build the hazard inventory task by task, not room by room. Walk each activity someone actually performs at height and record every exposure point: unprotected edges and floor openings, holes and skylights, fixed and portable ladders, scaffolds and rolling ladders, stair towers, roof edges and roof access points, leading edges on steel and roofing work, gable ends, open-sided floors, catwalks, work platforms, and truck beds.
For each one, write the who, the how often, and the what if. Who is exposed, how frequently the task runs, what could land on someone below, and what the credible injury is. A hazard line that says skylight at Building C with no detail is an inventory entry, not an assessment.
Watch for the hazards that degrade fall arrest equipment as well. Sharp edges that cut lanyards, corrosive or conductive atmospheres, heat and welding damage, oily or dirty anchor points, and moving equipment all change the risk calculation and belong in the inventory.
Step 2 is finished when every line item has a location, a task, an exposure frequency, and a plausible serious injury attached to it. If any line still says TBD, the plan is not ready to leave the office.
Step 3: Write a Fall Protection Plan That Fits the Site
Now you write the plan, and this is where site-specific detail decides whether the document is useful. The plan body should carry your actual findings from Step 2, not generic language. Each task gets its hazards, the control selected, the person responsible, the inspection frequency, and the rescue method.
Structure the document in a consistent set of sections so an inspector or a new hire can find things fast. OSHA’s own Model Fall Protection Plan uses eleven sections that work well as a skeleton: policy, scope, definitions, responsibilities, fall hazard identification, fall protection systems, training, inspection, emergency and rescue procedures, recordkeeping, and enforcement. A shorter version can merge definitions into scope and enforcement into responsibilities, but keep the hazard identification, systems, training, inspection, and rescue sections intact, because those are where the real content lives.
Add a revision section with a stated review cycle and a list of triggers. A plan with no version number, no approval signature, and no date is a document nobody can prove was current.
Write a sample hazard line in plain language so your crew can read it: Tower A roof edge, north and east elevations, standing seam roof, 32 feet above grade, task is sheet metal flashing replacement, exposure is two workers continuously for up to three days, credible injury is a 32-foot fall to grade with a struck-by below, control is a guardrail system on the perimeter with a personal fall arrest system for setting out beyond the rail.
You can tell this step worked when a crew member can find their own task in the plan, read the control, and tell you who checks the equipment that week.
Step 4: Select Feasible Controls and Fall Protection Methods
Control selection runs through the hierarchy of controls, and for falls the order is not negotiable. Try to eliminate the exposure by changing the method, for example prefabbing assemblies on the ground rather than fitting them overhead. Then use engineering controls, meaning guardrails, hole covers, scaffolds with proper access, fixed ladders, and travel restraint that physically prevents reaching the edge. Personal protective equipment comes last, even though it is what most people picture first.
Guardrail systems are the default where they are feasible. Under 1926.502(b), a guardrail has a top rail, a midrail, a toeboard, and posts spaced so a worker cannot pass through or fall past it. Where guardrails are not feasible, you document why, and the plan names the alternative.
Where a personal fall arrest system is the control, the plan has to specify the system, the anchorage, the clearance, and the connection. Anchorage must hold 5,000 pounds per attached worker under 1926.502(d)(16)(i), or be engineered with a qualified person under 1926.502(d)(16)(ii). Clearance has to be worked out rather than guessed, and the calculation is where a lot of plans quietly go wrong.
Clearance required equals maximum free fall distance, plus distance to decelerate, plus distance to allow for harness stretch and body length, plus a safety margin, plus the height of the hazard below. Set the anchor high and you shrink the free fall term, which is why high-angle anchorage and short lanyards with energy absorbers are preferred. A worked example: a worker connects at 22 feet above a roof whose surface sits 14 feet below the connection point, with a 6-foot lanyard including a decelerator and roughly 3.5 feet of combined harness stretch and body clearance. Free fall is about 2.5 feet, deceleration up to 6 feet, then about 3.5 feet of body length, giving roughly 12 feet required, plus a margin. Confirm the numbers for your actual equipment and roof, and write the method in the plan.
Also document travel restraint where the goal is never reaching the edge at all, and warning line systems where a qualified person has determined they are permitted on low-slope roofs. Each control in the plan needs its own selection rationale, its own inspection schedule, and its own training requirement.
Step 4 is done when every hazard in the inventory maps to a named control, and every fall arrest control has a written clearance figure and a named anchorage.
Step 5: Assign Roles, Inspections, and Rescue Procedures
For each control, state who installs it, who uses it, who inspects it, who maintains it, and who has authority to stop work when it fails. Scaffolds get a competent person inspecting per 1926.452(f)(3) before use and after any event that could affect it. Personal fall arrest equipment gets inspected by the user before each use, and tagged and removed from service when it fails an inspection.
Set the inspection triggers in writing: before use, after any fall or near miss, after a structural or process change, on a calendar schedule, and at each shift handover where conditions shift. Name the record where the inspection log lives and who signs it.
Then write the rescue section, because fall arrest equipment by itself is not a complete program. A worker suspended in a harness after a 30-foot arrest faces suspension trauma, and waiting for a fire department ladder is not a plan. The rescue procedure needs the rescue method, the rescuer, the equipment on hand, the sequence of steps, the emergency number, and the first-aid response, plus a drill schedule so people have actually practiced it. Many crews own arrest gear and no rescue capability, and that gap is the one that shows up in the incident report afterwards.
Step 5 is done when a reader can answer who rescues a suspended worker, with what, and in what timeframe without making anything up.
Step 6: Train Workers and Communicate the Plan
Training has to happen before the work starts, and it has to be role specific. A roofer needs leading-edge technique, a scaffold user needs access and tie-off points, and a warehouse picker working from a rack edge needs restraint rather than arrest. 1926.503(b) requires training by a qualified person, covering hazards, the system selected, its limits, how to inspect it, how to connect and disconnect, and the rescue procedure.
Write the specifics into the plan: who is trained, on what, in which language, under whose supervision, how competency is demonstrated, and what triggers retraining. New equipment, a new task, a new worker, an incident, a failed inspection, and a plan revision all belong in the retraining list.
Keep sign-off records. An attendance sheet with names, dates, the trainer, and the systems covered is the piece an inspector asks for first. Where literacy or language is a factor, use interpreters and pictorial instructions, and record that you did.
You can tell this step worked when a worker can demonstrate the connection, the inspection, and the limitation of their own system without being prompted.
Step 7: Verify the Plan in the Field
Paperwork drifts from the job. Someone moved a guardrail, opened a new hole, or started working a roof section that was not in the plan. Verification closes that gap.
Have supervisors or the qualified person observe real work against the plan. Check that the documented control matches the field condition, that the anchorages still exist, that clearance figures still hold given any new obstruction, and that the equipment in use is the equipment named. Talk to workers and ask them to describe their own responsibilities; a worker who cannot answer is a training finding, not just a paperwork finding.
Log each gap, assign a corrective action with a name and a date, and close the loop. A short verification record with dated observations does more for an inspection than a 60-page plan nobody has tested.
Step 8: Review, Revise, and Retain the Plan
Put a review cycle in writing, and treat certain events as mandatory updates rather than waiting for the cycle. Triggers include new or changed fall protection equipment, structural or process changes, new tasks or new areas, a fall or near miss, new workers or a new subcontractor, revised standards or a regulatory change, and any failed inspection.
Name the record owner and the retention location, and require the copy to be available at the worksite where it applies. 1926.502(k) requires the plan to be available to employees, and 1926.32(f) requires a written program with the program administrator named.
Version the document. A plan with a number, a date, and a revision history makes it obvious which one was in force on the day of an incident, and it stops the oldest draft in the shared folder from being mistaken for the live plan.
Common Mistakes and How to Fix Them
Most deficient plans share the same handful of defects. Each one below comes with the fix and a way to verify the fix actually held.
The generic plan that describes no actual site
A corporate template that says protect workers from falls and use appropriate equipment satisfies nobody. The hazard lines need real locations, real heights, and real tasks. Fix it by replacing every placeholder with an entry from your site walk, then verify that a worker names their own task and finds it in the document.
An incomplete hazard inventory
Plans routinely list roof edges and stop there, missing skylights, stair tower openings, leading edges on steel erection, gable ends, ladder use, truck beds, and the holes created by last week’s plumbing rough-in. Fix it with a task-based walk, not a room-based one, and check that every task someone performed at height in the last year appears somewhere in the inventory.
Choosing equipment before testing feasible controls
Buying harness systems to solve a problem that a guardrail would solve is backwards, and it usually violates the requirement to use feasible engineering controls first. Fix it by documenting, for each hazard, why the higher control in the hierarchy was not feasible. Verify that every personal fall arrest entry has a written feasibility statement for the engineering control you rejected.
Vague responsibilities
Safety is responsible for everything means nobody is. Fix it by putting a name and a title against each of install, inspect, maintain, train, rescue, and stop work. Verify that each named person can describe their own assignment without referring to the plan.
No rescue procedure
Arrest gear with no rescue plan is the most expensive gap on this list. Fix it by writing the rescue method, the equipment, the trained rescuer, the response time target, and the drill schedule, and by keeping retrieval equipment staged where the crew is working. Verify with a timed drill on the actual site.
Certificate-only training
An attendance sheet proves nobody was in a room. Fix it by adding hands-on competency: a demonstrated connection, a demonstrated pre-use inspection, and a stated limitation the worker can explain. Verify by asking a worker to show you, not to describe.
A plan that is never updated
Once the conditions change, an outdated plan is worse than none, because it signals that the process stopped. Fix it with defined revision triggers, a named record owner, and version control. Verify by checking that the revision date moved the last time equipment or scope changed.
Confusing three different documents
A fall protection plan, a fall hazard assessment, and a fall prevention program are not the same thing, and mixing them up is a common source of confusion in the field. The assessment is the survey of hazards. The prevention program is the organization-wide policy and management structure. The site-specific plan is the document that says, for this task at this location, here is the control, here is who owns it, here is how we rescue. Fix it by giving each document its own title and file, and cross-referencing them so an inspector can see the chain from survey to plan to program.
Frequently Asked Questions
Do I need a written fall protection plan under OSHA?
Sometimes, yes. U.S. OSHA does not require a written plan for every fall exposure, but it does in specific cases. Residential construction employers must have one under 29 CFR 1926.501(c)(2), employers using scaffolds must meet the training and inspection duties in 1926.452(f), and 1926.502(k) allows a written plan in place of some personal fall arrest requirements where specific criteria are met. Even when it is not mandatory, a written plan is the practical control that makes equipment get used. Requirements differ outside the United States.
Can I use a generic fall protection plan template?
A template is a starting structure, not a finished plan. OSHA’s own Model Fall Protection Plan states that it is provided as a resource and is not designed to address all worksite scenarios or fall hazards. What makes a plan compliant is site-specific content: your locations, your heights, your tasks, your anchor points, your equipment, and your people. Copy the section structure from a free template, then replace every generic line with a finding from your own site walk. Verify it by asking a worker to find their own task in it.
Does OSHA require every employer to create a written fall protection plan?
No. General industry employers under 1910 Subpart D are held to the 4-foot trigger in 1910.28(b)(1) and the general duty clause, which does not itself mandate a written document. Written plans become specific obligations in construction under 1926.501(c)(2) for residential work, under 1926.502(k) where a plan is used in place of certain fall arrest provisions, and under the scaffold standard. That ambiguity is why practitioners on r/SafetyProfessionals keep asking whether facilities and warehouse sites need one at all. A written plan is advisable whenever people work above the trigger height.
Who should review and approve a workplace fall protection plan?
A qualified person should author or review the hazard survey and specify the controls, since that role exists to identify fall hazards and design the systems that address them. A competent person owns the recurring on-site duties such as scaffold inspection and immediate correction, which is how 1926.32(f) and 1926.454 describe the role. In practice the plan administrator named under 1926.32(f) holds the program, the qualified person signs the technical content, and the employer signs for funding and authority to stop work.
What should a fall rescue plan include?
Name the rescue method and the equipment staged for it, the rescuer and the backup, the sequence of steps, the emergency services number, the site address and access point for responders, and the first-aid response including suspension trauma precautions. Set a response time target, because a worker suspended after an arrest has a medical clock running, and waiting on a fire department ladder has been the fatal delay in multiple incident reports. Then drill it on the actual site, timed, and record the drill. An untested rescue plan is an assumption.
Conclusion: Build and Use the Plan
Start with the part that does the work: inventory your real tasks and the real fall hazards at your real locations, with heights attached. Then name a qualified person as the owner, and fill in the controls, the clearances, the anchorages, the training, the inspection triggers, and the rescue procedure that go with each hazard.
Treat the plan as a working tool rather than a binder item. Review it on a schedule and on the events you named in Step 8, keep a copy where the work happens, and check in the field that the document still matches the job. Do that and the plan stops being paperwork and starts being the reason people use the equipment they were given.
Reviewed for accuracy in 2026. Requirements cited are U.S. federal OSHA standards; provincial codes in Canada and rules elsewhere differ, so verify the standard that applies to your site before you rely on this plan.