

How to run a safety orientation for temp workers comes down to preparation: it is a documented, site-specific pre-shift briefing that tells a temporary employee where the hazards are, what PPE to wear, how to report an injury, and who to call for help before they touch any equipment. A good one runs 30 to 45 minutes, includes a walk of the actual work area, and ends with a signed record.
It is easier than it sounds, because the content is already written. What makes it hard is the clock: most temp workers arrive with twenty minutes before shift start, and the staffing agency has not told them what to expect. That gap is where injuries happen.
Table of Contents
- What You Need
- Step-by-Step
- Common Mistakes
- Frequently Asked Questions
- How long should a safety orientation be for temp workers?
- What topics should be included in a new employee safety orientation checklist?
- Who is responsible for training temporary workers?
- Is a safety orientation required for temporary workers?
- How do I document safety orientation completion?
- What are examples of orientation training topics?
What You Need
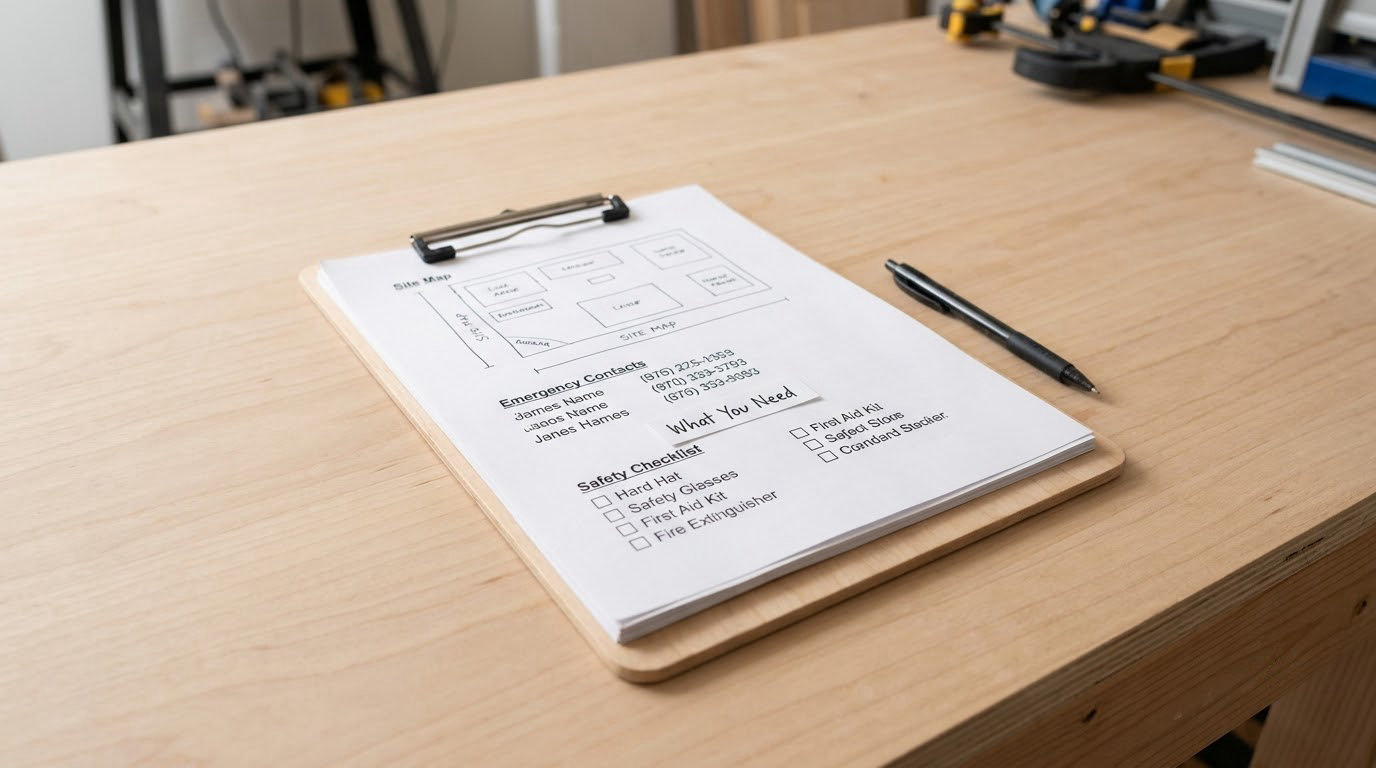
You need four things ready before the worker walks in. Gather them in one folder and the session stops feeling improvised.
The first item is assignment detail. Name, staffing agency, supervisor on site, shift, work area, expected duties, and start date. The second is the current site risk assessment for that area, which tells you what the actual hazards are rather than what the generic packet assumes. The third is emergency information: nearest exit from the work area, assembly point, alarm sounds, first aid kit, AED, and eye wash station locations.
The fourth is the paperwork trail. An orientation record with space for signature, date, topics covered, and any assessment score, plus a retention rule. Two job titles should be on it too: who the temp reports to on the floor, and who to call after hours. Safety professionals on trade forums describe orientation failures where a payroll clerk ran the tour and the manager never showed, leaving the worker with nobody to actually ask.
Tick these off as you go. It is the difference between an orientation you ran and one you can prove you ran.
- Worker name, staffing agency, supervisor, shift, and work area confirmed
- Current risk assessment for that area reviewed
- Nearest exit, assembly point, alarm sounds, first aid kit, AED, and eye wash located
- Required PPE issued and fit checked on the worker
- Certifications and fitness-for-duty documents verified as current
- Assignment-specific hazards covered with a local example
- Incident and injury reporting steps explained, including who to call after hours
- Stop work authority stated plainly
- Walk-back comprehension check completed
- Signed record filed where it can be found, with follow-up check-in scheduled
Step-by-Step
1. Prepare the Orientation for the Assignment
Tailor the session to the job rather than running the same script for everyone. If a worker is headed to the pick line and another is headed to the returns cage, they do not need identical 45 minutes.
Pull the assignment details from the staffing agency order, read the risk assessment for that zone, and mark the three hazards most likely to bite. Workers who are new to a site are at their highest injury risk during their first days, so the first session should concentrate there and defer anything that does not apply to the job in front of them.
How you know it worked: you can name the worker’s duties and the specific hazards for that area without opening the generic binder.
2. Explain Site Rules and Emergency Procedures
Cover reporting, alarms, evacuation routes, assembly points, first aid, and stop work authority. Do it standing up in the work area if you can, pointing at each thing as you name it. A room with a slide deck about exits is not the same as a person walking you to the door you would actually use.
Stop work authority deserves explicit mention. Tell the worker they can stop any task they believe is unsafe, without fear of losing the assignment, and that they report to their supervisor afterward. That sentence takes fifteen seconds and it matters more than most of the rest of the session.
How you know it worked: ask the worker to point to the assembly point and tell you what the alarm sounds like.
3. Teach the Main Task Hazards
Now the assignment-specific content. Forklifts and pallet jacks crossing pedestrian routes, loading dock crush zones, conveyor pinch points, chemical handling with SDS access, working at height, confined space entry, hot work permits, noise, heat, manual handling, and biological exposure, depending on your site. Plain language, real examples from that floor.
The generic rules everyone gets taught are a supplement, never a substitute. “Seven basic safety rules” taught in a conference room does not tell a worker why the third aisle has a blind corner at Bay 12.
How you know it worked: the worker can name one hazard in their own work area and what they would do about it.
4. Demonstrate Required PPE and Safe Work Practices
Hand the worker the actual equipment rather than describing it. Check hard hat fit, that safety glasses are the right kind, that gloves suit the chemical or task, and that boots meet the site standard. Ill-fitting PPE is a common reason temp workers end up not wearing it at all by hour three.
Demonstrate the procedures that come with the job: tool handling, housekeeping, lockout or energy-control precautions, permit steps, and how an incident gets reported. Verification is different from orientation: a forklift operator certificate, a respirator fit, or a first aid credential has an expiry date, and you check it before the worker starts, not after.
How you know it worked: the worker can put the PPE on correctly and explain the inspection they will do before each use.
5. Check Understanding and Answer Questions
A signature records attendance, not comprehension. Use a walk-back instead: ask the worker to describe what they would do in a scenario, or to physically locate something. Spill on the floor near them. Alarm sounds. Forklift coming around the corner. You will find confusion that a lecture would have hidden.
Deliver this in a language the worker actually understands. Washington state and several other jurisdictions require industry hazard training in the employee’s preferred language, and that is the direction everyone is moving. Arrange an interpreter, use a trained bilingual coworker where policy allows, and pair written material with spoken explanation. Never single anyone out for needing help with language. Safety professionals on forums repeatedly identify language mismatch as a genuine source of training failure, not a paperwork issue.
How you know it worked: the worker answers the scenario question correctly without asking you to re-explain it.
6. Record Completion and Set Follow-Up
Record attendance, topics covered, questions asked, the walk-back result, PPE issued, and supervisor approval. Keep the record for the retention period your jurisdiction and your own policy require, and confirm you know where it lives before you need it.
Then book the follow-up before the worker leaves the room. A ten-minute check-in partway through the first shift, a buddy or safety champion paired for the first days, and a retraining trigger whenever assignments, tools, or site conditions change. Brief the staffing agency on what was covered so the next worker starts with context instead of cold.
How you know it worked: the record exists, is findable, and the follow-up is on a calendar rather than in someone’s memory.
Common Mistakes
The most common failure is giving every temporary worker an identical generic script. The packet talks about a boiler room; the worker is unloading a trailer. Second, delivering the session as a lecture from a binder, which is where the walk-back step usually gets skipped and misunderstanding survives. Third, leaving the staffing agency out of the loop entirely, so nobody knows the worker has been trained or what the site rules are.
Fourth, treating the signature as proof. Safety professionals are blunt about this in the forums they post in: attendance is not comprehension. Fifth, skipping documentation because it feels like paperwork until a regulator, an insurer, or a workers compensation claim asks for the training record. Sixth, and worst, never updating training when the assignment or the equipment changes. Knowing how to run a safety orientation for temp workers means fixing these habits, not just filling in a form.
A few things prevent most of this. Keep the checklist in the folder, not in a shared drive nobody opens. Run the orientation before the first shift starts rather than during it. Pair every temp with a named buddy on day one. Ask your supervisor team what actually went wrong in the last month, because that is usually a gap the checklist did not cover. And when you only have fifteen minutes before shift start, cut the history lesson and the benefits overview, and never cut emergency procedures, PPE verification, incident reporting, or stop work authority.
Frequently Asked Questions
How long should a safety orientation be for temp workers?
A site-specific temp worker safety orientation usually runs 30 to 45 minutes for a first shift, with a site walkthrough adding another 15. Longer assignments justify a second session covering equipment-specific procedures. Compress to 15 minutes only when a worker arrives mid-shift, and keep emergency procedures, PPE verification, incident reporting, and stop work authority even then.
What topics should be included in a new employee safety orientation checklist?
Cover site hazards for the specific work area, required PPE and how to inspect it, emergency exits, alarms, assembly points, first aid and AED locations, incident and injury reporting, stop work authority, and site-specific rules such as forklift and pedestrian separation. Add hazard communication and SDS access where chemicals are used, plus permits and energy control for maintenance assignments.
Who is responsible for training temporary workers?
Both parties carry duties. The staffing agency is the employer of record and supplies general safety training, while the host employer must deliver site-specific orientation because it controls the hazards. Whoever supervises the worker day to day carries the heaviest training obligation, since it directs the work and sets the conditions. Document the split in your contract.
Is a safety orientation required for temporary workers?
There is no single federal rule titled a temporary worker orientation, but the General Duty Clause requires each employer to provide a workplace free from recognized hazards, and that duty cannot be handed to another company. OSHA expects host employers to train temporary workers on site-specific hazards before work begins. State plans and state law can add requirements on top of that.
How do I document safety orientation completion?
Use a signed record listing the date, the worker and agency, the topics covered, questions asked, any walk-back assessment result, PPE issued, and the supervising signature. Keep it with the personnel or contract file for the period your jurisdiction requires, and confirm where those records live before an injury happens. Attendance alone is weak evidence, so note the comprehension check too.
What are examples of orientation training topics?
Common examples include a facility walkthrough of exits and hazard zones, PPE fitting and inspection, emergency alarm response and evacuation to an assembly point, lockout or tagout, hazard communication and SDS locations, forklift and pedestrian rules, manual handling technique, incident reporting steps, and stop work authority. In a warehouse, add dock crush zones and conveyor pinch points.
Start with the assignment, not the binder. Print the checklist, walk the worker through their own work area, hand them the PPE they will actually wear, and make them point back at the assembly point before you sign anything. Everything else on the page is detail that one good session covers.