
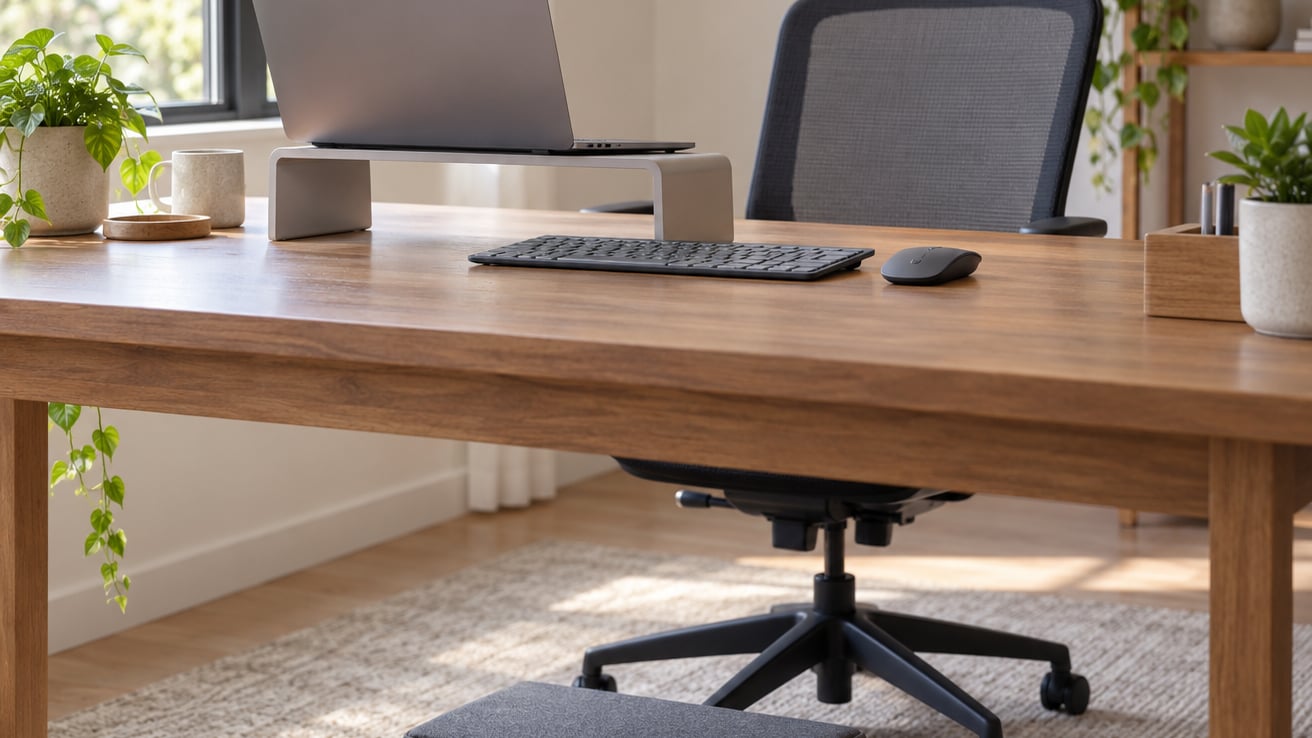
Learning how to set up a laptop ergonomically takes about fifteen minutes, and the first two adjustments cost nothing. Support your feet, put your hips and knees at right angles, keep your hands low with straight wrists, then raise the screen so its top edge sits at or just below eye level about an arm’s length away. Get those four right and most of the neck, shoulder and wrist complaints that bring people to a clinic start to fade.
The trouble with a laptop is structural. Screen and keyboard are bolted to the same slab at one fixed height, so you can only satisfy one of your body’s needs at a time. Push the screen up until looking at it is comfortable and the keyboard goes to chin height. Leave the machine flat and you type well but spend hours looking down.
That downward gaze is the setup behind what gets called laptop neck or forward head posture, where the head drifts in front of the shoulders and the neck muscles hold it there. The head weighs roughly 5 kg, and each degree of forward tilt sharply increases the load on the cervical muscles at the base of the skull. Held for eight hours, that static loading turns into stiffness, tension headaches and, over years, a higher risk of the musculoskeletal disorders that workplace ergonomics programmes are meant to prevent. Regulators such as OSHA treat workstation design as a recognised control measure for musculoskeletal injury, which is why computer workstations get reviewed at all.
Two changes fix most of it, and they only work as a pair: raise the screen, then add an external keyboard and mouse. Raise the screen alone and you cannot touch-type. Keep the laptop flat and your neck pays. Together they let the screen sit high and the hands sit low at the same time, which is why the two changes belong in the same afternoon.
Everything below is detail around those two moves, worked from the floor upward. Guidance here follows what occupational health and safety regulators and professional bodies such as the American Occupational Therapy Association and the American Optometric Association publish for computer work. It is general information about workstations, not medical advice.
Table of Contents
- What You Need
- Step-by-Step: How to Set Up a Laptop Ergonomically
- Common Mistakes
- Frequently Asked Questions
- Do I need a laptop stand for an ergonomic setup?
- How high should my laptop screen be when I work?
- Can I use my laptop for a full workday without an external keyboard?
- Is working on a laptop in bed or on a couch safe for my posture?
- How do I know if my laptop setup is causing strain?
- When should I ask for an ergonomic assessment?
- Conclusion
What You Need
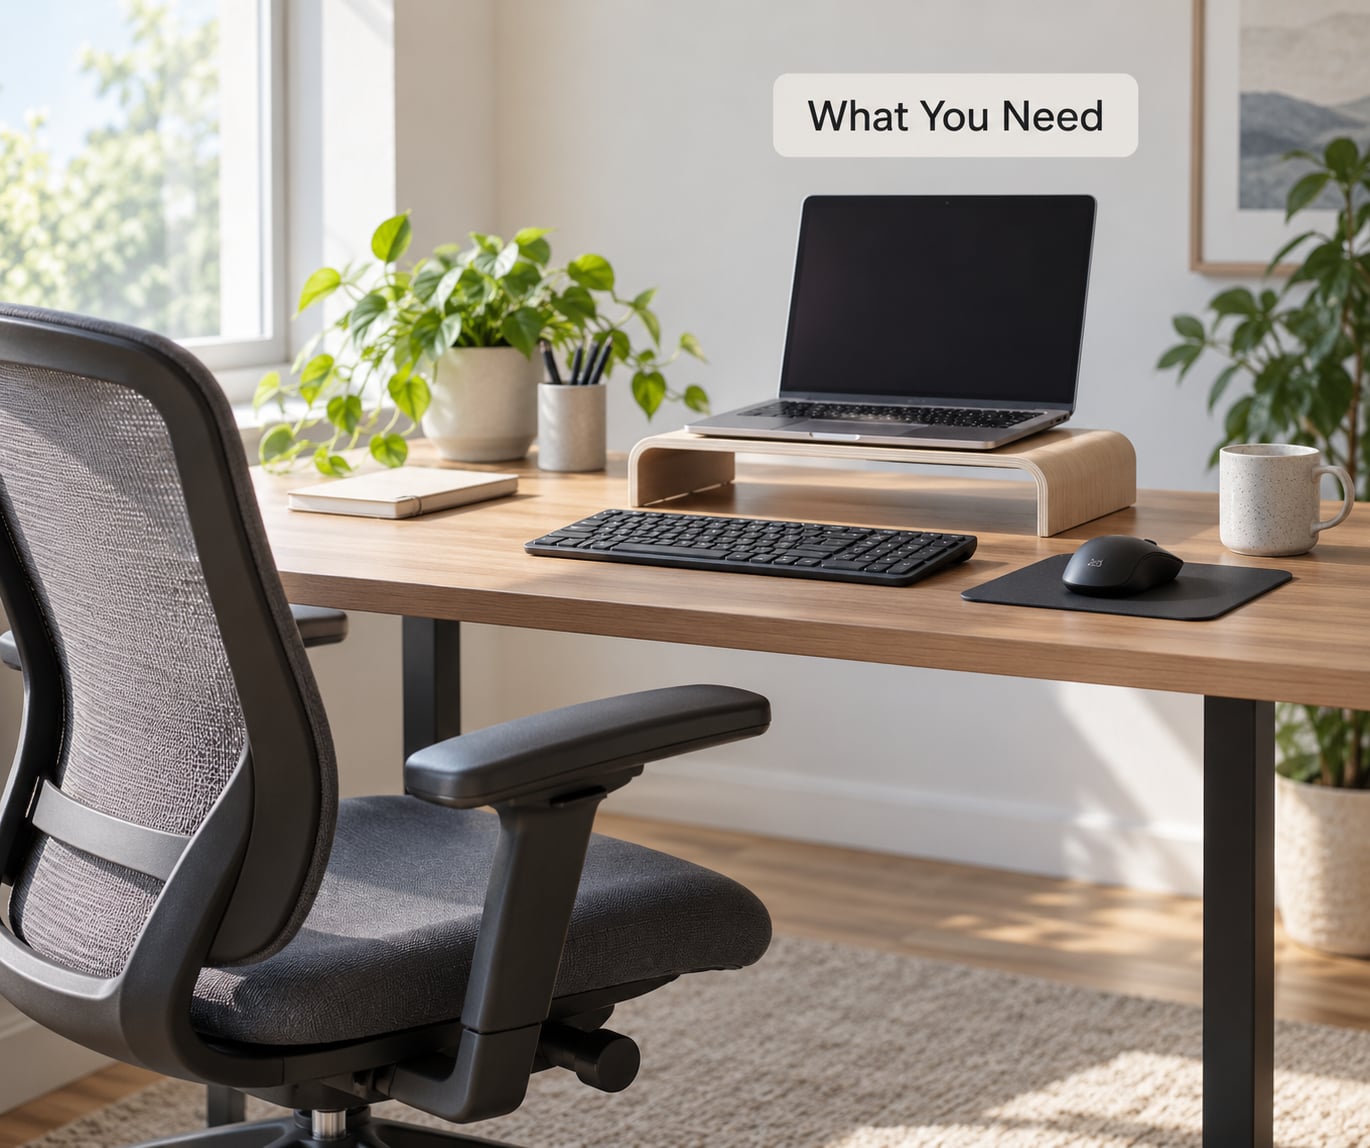
Four things are genuinely essential, and you almost certainly already own them. Everything else on the list is an upgrade you can add later, in the order below.
Essentials
- A flat, stable surface that holds the laptop without wobbling when you type.
- A chair that gets your hips slightly above your knees and something at your lower back, even if it is a rolled towel.
- Light from the side or front, so nothing reflects off the screen and your hands are lit well enough to type on.
- Power within reach for a full workday, so you are not hunched over a battery bar at 3pm.
Optional, in order of impact
- An external keyboard and mouse. The single biggest improvement after the screen height. Any wired set will do the job.
- A laptop stand or riser. A purpose-built riser, a firm box, or a stack of hardbacks. In r/Ergonomics threads, getting the top of the display to eye level is repeatedly the fix people say finally cleared their neck pain.
- A footrest. A thick book, a sturdy box or an angled footrest, if your feet dangle once your knees are at 90 degrees.
- A rolled towel or small cushion for lumbar support when the chair has none.
- A task lamp that lights the keyboard and your notes without shining onto the screen.
Two failure modes are worth knowing before you buy anything. Very cheap plastic risers flex, so the screen shakes with every keystroke, and anyone typing that way unconsciously braces their arms. And a tall stack of books pressed flat against the laptop’s base can block the underside vents and trap heat, which shortens battery life and makes the machine run warm. Leave a real gap under the base and test for wobble with a firm palm press.
Step-by-Step: How to Set Up a Laptop Ergonomically
Work bottom-up. Feet, then hips, then hands, then eyes. Setting the screen first is the most common mistake, because screen height only means something once the rest of you is in position.
Step 1: Prepare Your Work Area
Clear a working area about the size of two forearms. Put the items you reach for every few minutes, notebook, mug, phone, documents, within easy reach so you are not leaning and twisting all day, and push the rest to the edges.
Set the laptop on the hardest, flattest part of the desk. If it rocks or slides when you press the palm of your hand on the keyboard, the surface is wrong and nothing else you do will feel right.
You worked it if you can type for ten minutes without shifting the laptop once, and without a tug-of-war with the charger cable.
Step 2: Adjust Your Chair and Sitting Position
Raise the seat until your thighs are roughly parallel to the floor and your hips sit a little higher than your knees. Feet flat on the floor, or on a footrest if they hover. Slide your lower back into contact with the backrest and adjust its height or angle until it supports the curve of your lower back rather than pushing you forward.
Check the armrests next, because they are the most quietly destructive setting on most chairs. If your shoulders lift to touch them, lower or remove them. An armrest that forces your shoulders up is worse than no armrest at all.
Finally, bring the laptop close enough that your elbows stay beside you rather than in front of you. You should not have to lean forward to reach it.
You worked it if your lower back stays in contact with the chair through a phone call, and if both feet are resting on something solid.
Step 3: Position the Laptop Screen at Eye Level
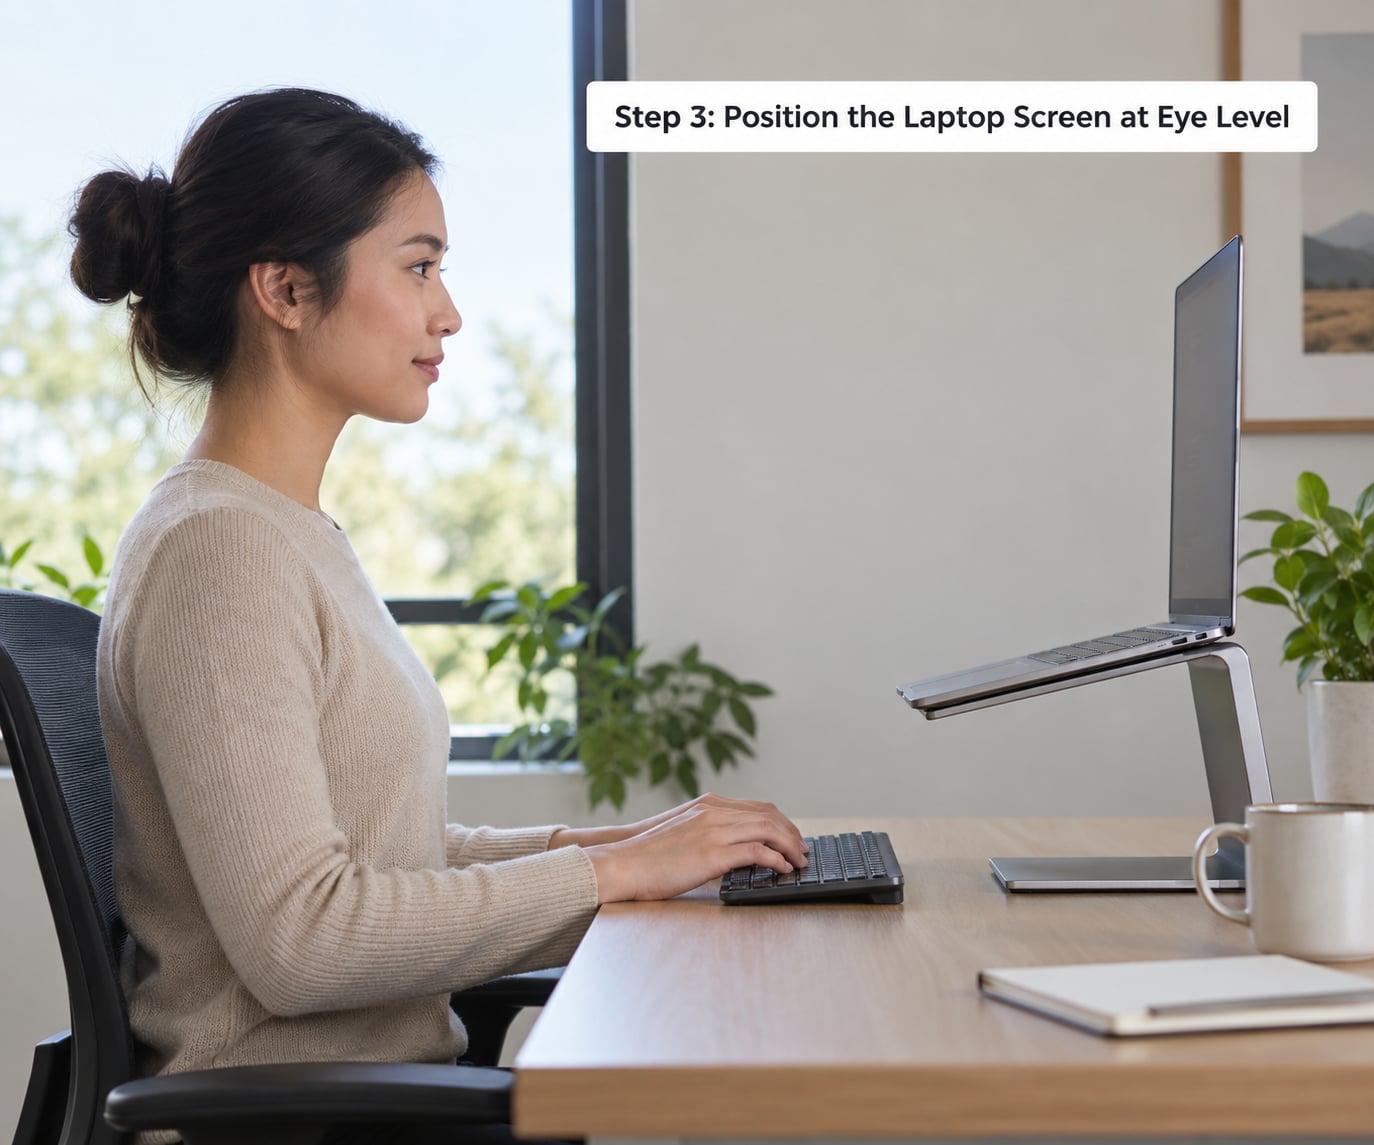
Sit upright first, then raise the laptop so the top edge of the screen is at or slightly below eye level. Exactly level makes most people crane upward, so a touch lower usually feels better. Push the screen back to about an arm’s length, roughly 50 to 70 cm, and centre it so your neck is not twisted to one side.
Tilt the screen back a little until reflections disappear. That is usually between 10 and 20 degrees, and it also brings the bottom edge of the panel closer to your line of sight, which stops you dropping your gaze to the bottom row.
Use whatever lifts it: a riser, a firm box, hardbacks, a laptop shelf on a bookcase. It must be rigid and it must leave the underside vents open. If the whole thing wobbles when you type, the height gain is not worth it.
You worked it if your chin is roughly level and you can read the bottom line of text without moving your head. You will also notice the keyboard is now far too high. That is expected, and it is the next step.
Step 4: Use an External Keyboard and Mouse
Keep the laptop raised and bring in a separate keyboard and mouse. The keyboard goes directly in front of you, close enough that your elbows stay beside your ribs. The mouse goes beside it on the same level, not further out on a different surface.
A compact keyboard without a numpad is worth considering: it keeps your left hand near the centre of the body and pulls the mouse closer, which is the position people in r/desksetup most often credit with relieving shoulder ache.
This is optional gear in the sense that you can work without it, but it is the step that lets you keep the screen high and the hands low. The wrists and forearms sit at elbow height, elbows bent around 90 degrees, shoulders down. Anything cheap works, and the difference shows up within a few days.
Step 5: Support Your Wrists and Forearms
A neutral wrist is a straight line from the elbow through the wrist to the middle finger: not bent up, not dropped down. Raised wrists, called wrist extension, are what typing on a raised laptop keyboard or an angled keyboard does to you over hours.
Let your forearms rest lightly on the desk or on the chair arms, with the shoulders relaxed rather than braced. If the front edge of the desk digs into your forearms, move your chair closer or soften the contact with a folded cloth sleeve. Sharp desk edges create contact stress that lingers for hours after you stand up.
If your elbows sit above 90 degrees, fix the seat or desk height before you think about a wrist rest. A wrist rest supports your hands during pauses; it is not somewhere to press down while typing. Elbow height is the cause, the wrist rest is the bandage.
Step 6: Check Lighting, Glare, and Screen Position
Put the screen perpendicular to any window, side to the window rather than facing it or backing it. If that is impossible, close the blind or hang a light-coloured sheet and turn the screen ninety degrees, because the alternative is a bright reflection washing out the whole panel.
Use a task lamp on the side opposite your writing hand, aimed at the keyboard and your notes. Overhead light alone leaves shadows in front of the keyboard and makes you crane toward the screen to read, so dim the ceiling light if you can. Match screen brightness to the room rather than to daylight, and set the text scaling so you do not lean in to read.
Glasses change the answer. Bifocals and reading glasses make the lower part of your vision stronger, which pushes your head down toward the screen; sit closer, tilt the screen back further, or switch to an external monitor at arm’s length. If your chin keeps dropping while you read, this is usually why.
You worked it if you can hold your normal reading posture for ten minutes without the screen washing out or your eyes straining at the edges.
Step 7: Test and Recheck Your Setup
Run a real twenty-minute task, not a two-minute check, then watch yourself. Look for a head pushed forward, shoulders creeping toward your ears, wrists bent upward, forearms sloping down from elbows to hands, or a neck twisted toward a screen placed off to one side.
Use this self-check: with your hands relaxed on the keyboard, can you look straight ahead rather than down, and can you reach the mouse without lifting your shoulder away from your side? If not, adjust before you carry on.
Then treat movement as part of the setup, not a break from it. Change position at least every thirty minutes, stand, refill a glass of water, walk to another room. For your eyes, use the 20-20-20 rule: every twenty minutes, look at something twenty feet away for twenty seconds.
Finally, note your settings so the setup survives tomorrow. Photograph the desk, put a strip of tape on the desk at the riser height, and count the books. Hot-desking and hybrid weeks are where good setups quietly fall apart, because each surface is a different height.
Common Mistakes
Working on the lap or on a bed. Both round the spine and push the head forward, and the laptop rests on a soft surface that blocks cooling vents. A lap desk gives the machine a hard base but does not raise the screen. Limit it to short sessions and use a proper surface for real work.
Looking down at a screen that is too low. This is the mistake behind most laptop neck. Fix: raise the screen so the top edge is at or just below eye level, then solve the keyboard problem separately.
Raising the screen with no keyboard. You fixed the neck and broke the hands. Now you are reaching up and forward for every key, which loads the shoulders. Add an external keyboard and mouse.
Typing with the shoulders up. Almost always the desk or armrests are too high for you. Check elbow height before changing anything else.
A screen that is too close or off to one side. Set it back to roughly an arm’s length and centred. A screen off to the side means your neck stays twisted for hours.
Setting up once and never touching it again. Posture drifts over a day and over months. Twenty seconds every thirty minutes to stand, reset your chair and check your wrists is worth more than any accessory.
Bifocals ignored. If your head keeps tipping down while reading, the screen is too low or too far for your lenses. Sit closer or use a separate monitor.
Two habits keep a setup working. Move on a schedule rather than waiting for discomfort, and keep the area around the laptop clear so reaching never becomes a twist. If you work from a couch or a kitchen table, treat those as occasional stations and keep one proper seated setup as your default.
Frequently Asked Questions
Do I need a laptop stand for an ergonomic setup?
No, but it is the single highest-impact change for most people. A stand fixes the neck angle, which is where most discomfort comes from. If you are at a kitchen table with no stand, a stack of hardbacks or a sturdy box does the same job. Whatever you use has to be rigid enough that the screen does not shake as you type, and must not cover the laptop’s underside vents.
How high should my laptop screen be when I work?
Place the top edge of the screen at or slightly below eye level while you sit upright with your head in a neutral position. Exactly level tends to make people crane upward, so a touch lower usually feels better. Then push the screen back to roughly an arm’s length, about 50 to 70 cm, and centre it so your neck is not twisted all day.
Can I use my laptop for a full workday without an external keyboard?
You can, but you will be trading comfort somewhere else. With the laptop flat on the desk, the neck takes the strain; with it raised on a riser, typing becomes awkward and the wrists suffer. For a full workday an external keyboard and mouse is the answer. Any wired set will do, and most people notice the difference within a few days of switching.
Is working on a laptop in bed or on a couch safe for my posture?
Not for long stretches. A bed or a couch forces you to lean forward, round the spine and support the laptop on your legs, which loads the neck and wrists at the same time. A lap desk helps slightly by giving the machine a surface, but it does not raise the screen. Use those spots for reading, email or a short call, and move to a table for real work.
How do I know if my laptop setup is causing strain?
Judge it at the end of the day rather than the start. Typical signs are a stiff neck, headaches behind the eyes, tingling fingers, sore forearms, or an ache between the shoulder blades that fades after a break and comes back. If sitting upright for a minute makes it worse, something in the setup is off. Persistent symptoms need a professional, not more equipment.
When should I ask for an ergonomic assessment?
Ask when discomfort lasts more than a few weeks despite sensible changes, when it wakes you at night, or when you notice numbness, tingling or weakness in a hand. Those are not workstation problems. A physical therapist, occupational therapist or ergonomist can assess both the setup and the way you move through a working day. If you are employed, ask whether your employer offers an assessment.
Conclusion
Start with the free adjustments: set your chair so your hips are slightly above your knees and your feet are supported, then raise the screen so its top edge sits at or just below eye level. Those two changes usually take fifteen minutes and no shopping. Buy anything only after you have lived with them a week, and start with the external keyboard and mouse if your hands still feel wrong.
Then make the rest of the day move. Change position every thirty minutes, look away from the screen on the 20-20-20 rhythm, and reset your posture rather than working through a hunch. A good setup is the one you can hold with movement inside it, not the one you sit perfectly in for nine hours. If discomfort lasts a few weeks or comes with numbness, tingling or weakness, stop adjusting the desk and ask a physical therapist, occupational therapist or ergonomist. Guidance here is general workplace information and does not replace individual medical advice.