
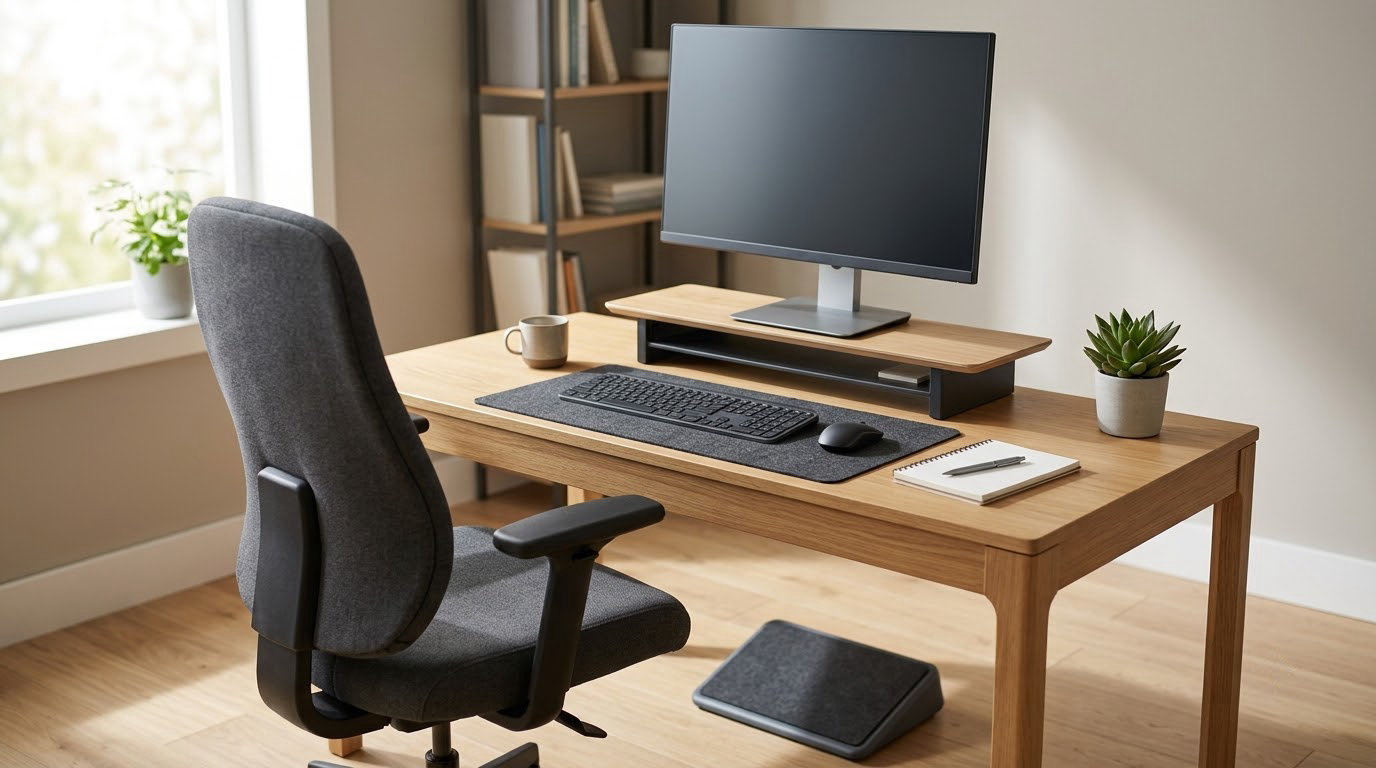
If you want to know how to set up your desk to prevent back pain, you only need four numbers: seat height, screen height, elbow angle, and how often you get up. Most discomfort at a desk traces back to one of those four being wrong for hours at a stretch. Working through the setup below takes roughly an hour, and most of it uses what you already own.
The fit targets follow the same principles used in OSHA and CCOHS computer workstation guidance, written in plain numbers instead of posture slogans. Reviewed by our occupational health editor and last checked for 2026.
A note before you start: this is general information about workstation setup, not medical advice, and it cannot diagnose or treat anything. If your pain is severe, keeps recurring, radiates down a leg, or comes with numbness, weakness, or changes in bladder or bowel control, stop reading and speak to a doctor or qualified clinician.
Table of Contents
- What You Need
- How to Set Up Your Desk to Prevent Back Pain: Step-by-Step
- Step 1: Set Your Chair and Pelvis for a Neutral Spine
- Step 2: Set Your Desk and Elbow Height
- Step 3: Place the Monitor at Eye Level and a Comfortable Distance
- Step 4: Position the Keyboard and Mouse
- Step 5: Support Your Feet and Lower Legs
- Step 6: Arrange the Rest of the Work Area
- Step 7: Test the Setup and Add Movement Breaks
- Common Mistakes
- Frequently Asked Questions
- Conclusion: Start With Your Three Biggest Pressure Points
What You Need
You do not need a new chair to start. Most of the gains come from adjusting what is already in the room, and the items below are listed roughly in the order you will actually use them.
- A work surface you can get your knees under. Any stable desk works. A desk too low or too deep for your legs is a bigger problem than the chair brand.
- A chair with at least one working adjustment. Height is essential. A backrest that moves or can be repositioned is the next most useful thing. If yours has neither, a rolled towel or a firm lumbar cushion gives the back something to push against.
- A screen you can raise or lower. A monitor on a riser, a stack of stable boxes, or a monitor arm all work. Laptops count as the screen, which is exactly why they cause trouble in step 3.
- An external keyboard and mouse if you use a laptop. Borrowed ones are fine. This is the cheapest single fix in the whole list.
- Something to put your feet on. A footrest, a sturdy box, or a stack of heavy books. Only needed if your feet do not reach the floor when your knees are bent.
- A ruler or tape measure and your own arm. That is genuinely the whole measuring kit. You are checking screen distance, seat depth, and elbow angle, and a body part beats a number for all three.
Here is the reference table I keep taped to the side of a desk. Every value is something you can check on yourself in under a minute.
| Body part | Target position | How to check it |
|---|---|---|
| Feet | Flat on the floor or on a footrest, weight on the heels and balls | Sit and try to wiggle your toes; if you cannot, raise the seat or add a footrest |
| Knees | About level with the hips, roughly 90 to 100 degrees | Slide a flat hand under your thigh; if it does not fit, the seat is too high |
| Lower back | Gentle inward curve supported by the backrest | Sit back fully; you should feel contact at the small of your back, not a gap you have to lean back to close |
| Elbows | About 90 degrees, tucked close to the body | Hands on the keyboard, shoulders down. If your shoulders lift, the desk or seat is too high |
| Wrists | Straight, in line with the forearm, not bent up or down | Look at your forearms from the side while typing; the line should continue rather than bend |
| Screen top | At or just below seated eye level | Close your eyes and note where you were looking; the top edge of the screen should land near that spot |
| Screen distance | About an arm’s length, roughly 20 to 30 inches | Stretch your arm toward the screen; your fingertips should just about reach it |
| Head and neck | Eyes level with the middle or upper third of the screen | You should not have to tilt your head up to read the top row |
How to Set Up Your Desk to Prevent Back Pain: Step-by-Step
Work through these in order. The chair comes first because everything else, from elbow angle to screen height, depends on where your pelvis is sitting.
Step 1: Set Your Chair and Pelvis for a Neutral Spine
Sit all the way back first. Most people perch on the front half of the seat, and then spend the day slowly sliding forward, which puts all the load into the lower back. Once your back is against the backrest, raise or lower the seat until your feet are flat and your knees are about level with your hips.
Next, check the seat depth. With your back against the backrest, there should be two to three fingers between the front edge of the seat and the back of your knee. Too deep and you cannot use the backrest properly. Too shallow and you will slide off the front.
Set the backrest so its curve meets the small of your back. On most chairs that means the lumbar knob, dial, or slider sits at belt level, not halfway up the spine. If the chair has no adjustment, a lumbar cushion is the fix people reach for first, and the reasoning is straightforward: a back without support collapses into a curve under an hour of sitting.
Armrests come last. Set them so they support the underside of your forearms just below the elbow, low enough that your shoulders stay down. Armrests that are too high are a common hidden cause of shoulder ache, which people then blame on the monitor.
You will know it worked when you can sit there for ten minutes without shifting, without the urge to lean forward, and without any pinching. You do not need a perfect posture. You need a position you can hold without thinking about it.
Step 2: Set Your Desk and Elbow Height
With your back against the chair and shoulders relaxed, place your hands on the keyboard as if typing. Your elbows should sit at roughly 90 degrees, close to your sides, with your forearms roughly level with the desk surface.
Now match the furniture to you rather than the other way round. If your hands land above the desk and your shoulders start to rise, you need a lower desk, or a higher chair plus a footrest to get your feet back down. If your hands land well below the desk and your wrists are bent upward, you need a higher desk, a keyboard tray, or a riser under the keyboard.
Wrist position is the test here. If you are typing with your wrists tilted up, on a cushion, or braced against the desk edge to reach, the heights are wrong. No amount of adjustment technique fixes a reach that is too far.
A good test: close your eyes and type for a minute. If your shoulders and wrists were not working to hold the position, the setup is wrong. If they were working, it is right.
Step 3: Place the Monitor at Eye Level and a Comfortable Distance
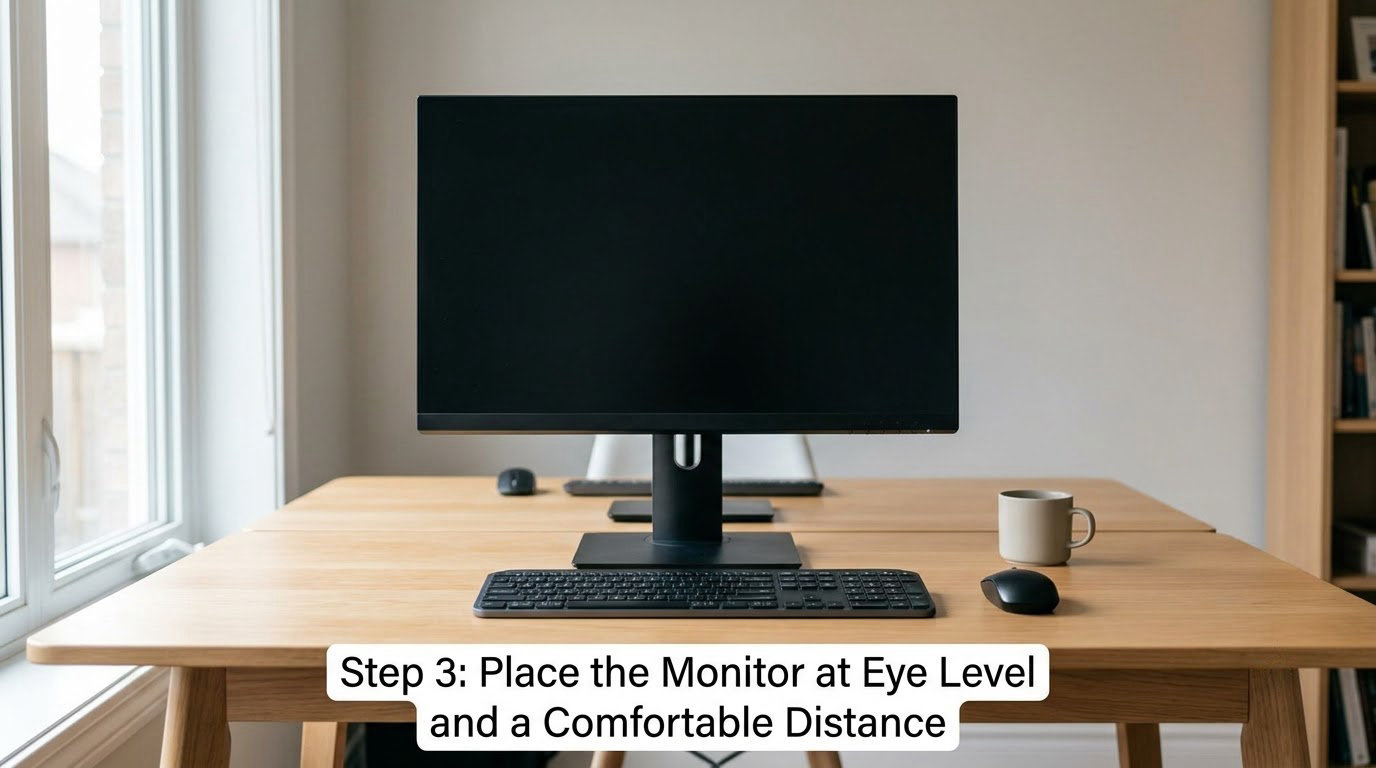
The top of the screen should be at or just below your eye level when you are sitting back in your chair. The middle or upper third of the screen is where you spend most of your time, so that is what your eyes should meet. Anything lower and you are looking down all day, which loads the neck more than almost anything else at a desk.
Set the distance next. An arm’s length, roughly 20 to 30 inches, is the usual target. Tilt the screen slightly upward so it faces you rather than making you lean back. Then deal with glare: a window behind you or a lamp overhead forces your neck to compensate, so move the screen or the light, not your head.
A laptop cannot do this on its own. The screen and the keyboard are fixed at the same height, so raising the screen for your neck raises the keyboard for your wrists. The usual fix is to put the laptop on a stand or a stack of books and add an external keyboard and mouse, which lets you set the screen and the input devices independently. This is the single most common fix in remote setups, and the cheapest one too, since almost any keyboard will do.
With two monitors, put the one you use most directly in front of you and angle the second one to the side. A vertical monitor for documents saves a lot of repeated neck rotation.
Step 4: Position the Keyboard and Mouse
Push the keyboard back far enough that your elbows stay beside you rather than in front of you. Keep it flat or at a slight downward angle, so the keys do not force your wrists upward. A negative tilt is the goal, and there is a simple reason: typing on a surface that slopes up pushes your hands into extension, and wrists do not like being held there for eight hours.
Put the mouse next to the keyboard, on the same level, close enough that you reach it by moving your forearm rather than stretching your whole arm across the desk. If you are reaching for it, the mouse is too far forward or too far out, and that is what people mean when they say reaching for the mouse wrecks their shoulder.
Grip matters more than button count. A mouse that is too large forces a tense grip and a bent wrist. If yours hurts after an hour, a smaller mouse, a vertical mouse, or even a trackball will help. Same with a compact keyboard that pulls your elbows in instead of pushing them out.
One rule overrides the rest: never force a position that hurts. If neutral is not available with what you have, change the furniture rather than fighting your body for the rest of the day.
Step 5: Support Your Feet and Lower Legs
Feet flat, weight spread across the heels and balls of the feet. If you are five foot tall, or your desk is tall, or your legs are shorter than the seat allows, your feet will hang, and that pushes pressure into the back of your thighs. A footrest fixes this, and users in the shorter-stature community report that a footrest plus a lumbar cushion solves problems that a new chair never did.
Make sure your knees can actually move. Your legs need clearance under the desk, and a pedestal of drawers, a tower, or a trailing cable that stops short of you limits that. Dangling feet plus limited leg room is a common pair, and both together are worse than either alone.
Get into the habit of uncrossing your legs. Crossing them keeps your pelvis tilted, and a tilted pelvis plus a screen that sits low is a reliable recipe for an afternoon ache. If you need your knees apart, a footrest that is wide enough also gives them somewhere to go.
If you have access to a standing desk or a riser, treat it as a variation rather than an upgrade. Alternating between sitting and standing suits some people, but standing still for hours is its own problem, and it is not automatically better for your back. What matters is that you change position, not which position you are in.
Step 6: Arrange the Rest of the Work Area
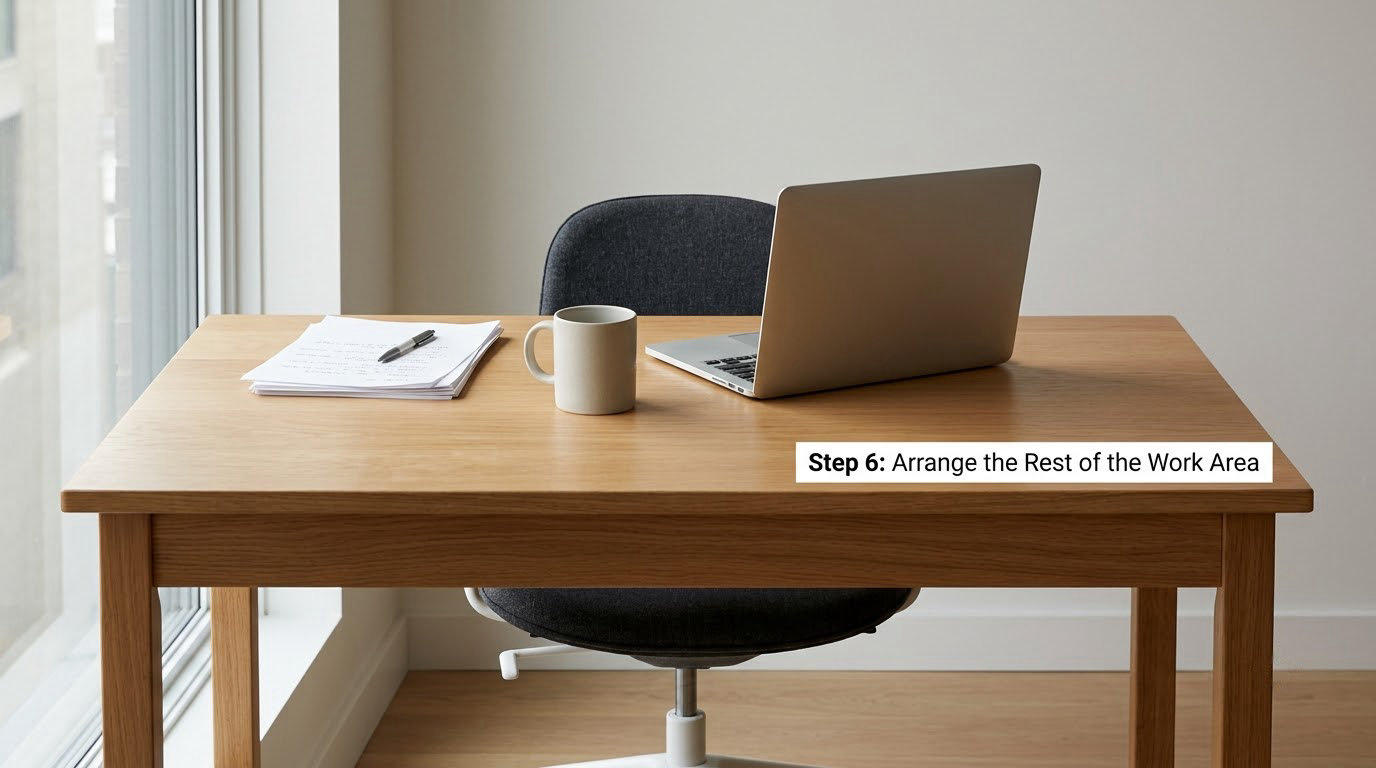
Everything you touch regularly should be inside a comfortable reach, which is roughly the area between your elbow and shoulder when your arm is bent. That includes the phone, the notebook, the document you are reading, the coffee, and the mouse. Each one you stretch or twist for breaks whatever position you just achieved, and the repetition is what makes it a problem rather than a single twist.
Fix the desk edge while you are here. If the front of the desk presses into the underside of your forearms, add a soft pad, or move the keyboard back so the pressure lands on the pads of your hands instead. If you are on a hot desk or moving between shared workstations, write your settings down. Adjusting a chair from scratch every morning is a good way to stop bothering.
Lighting matters more than people expect, mainly because of glare. Aim your desk so the brightest light is beside you rather than behind you or behind the screen, which is what produces the squinting, forward-leaning posture that ends up in the neck.
Finally, clear the leg space. A bin, a bag, or a stack of boxes under your feet limits circulation and stops you from changing position freely, which quietly undoes everything in the steps above.
Step 7: Test the Setup and Add Movement Breaks
Hold the setup for three to five working days before judging it. On day one, everything feels strange, and that is not a signal to change anything. Change one variable at a time, because moving three things at once leaves you guessing which one helped.
Then add movement. A break every 30 to 60 minutes beats one long break, and it does not need to be a workout. Two minutes is enough to stand up, walk to another room, take a few steps, and roll your shoulders back. Then sit down again. If your schedule resists that, stand up for your calls.
A simple routine you can run at your desk: five shoulder rolls backward, five forward, five chin tucks, and ten seated knee lifts. That is under a minute and covers the areas that complain first.
Keep a rough note of how your back and neck feel at the end of each day for the first two weeks. Most people notice a difference within that window, and if nothing changes, you have useful information to take to a clinician instead of guessing. Re-check the whole setup again around the six-week mark, since a chair that fit you well after two weeks of a new job can stop fitting once your habits change.
Common Mistakes
Almost every bad desk setup I have seen is one of these seven, and every one of them has a same-day fix.
- Matching the previous worker’s chair height. Office chairs are set for whoever sat there last. Adjust yours from your own feet up, and expect to readjust it whenever you change desks or chairs.
- Putting a laptop straight onto the desk. You get a low screen and a high keyboard, and both hurt. A stand plus an external keyboard and mouse breaks the compromise in a few minutes.
- Reaching for the mouse or the phone. A reach breaks the position you just settled into, and doing it fifty times a day is what turns a small habit into pain. Bring the device to your elbow instead.
- Tucking your feet under the chair. Hanging or tucked feet press into the back of your thighs. A footrest, a thicker seat, or a taller chair fixes it.
- Sitting perfectly still for hours. Holding one position, however textbook, is its own strain. The best posture is the next posture, so build in the short breaks.
- Buying before adjusting. Most of what helps here is free or already on your desk. Change the height, move the screen, add a footrest, then judge what is still missing.
- Overcorrecting into rigid posture. Trying to sit in a perfect position for eight hours fails almost everyone within an hour. Aim for a position that is comfortable and varied, not one that looks right in a photograph.
There is a limit worth stating plainly. Setup work is good at removing avoidable load, and it is genuinely helpful for neck, shoulder, and lower back discomfort that has crept up over months of sitting badly. It is not a treatment for pain that has a clinical cause, and it will not fix pain that was there before you touched the chair. If you are managing an ongoing condition such as chronic back pain, endometriosis, or pelvic pain, ask your clinician about workstation adjustments as part of your wider care rather than instead of it. Setup tweaks, including softer support and pressure relief, are often worth adding, but they belong alongside professional advice.
Frequently Asked Questions
Should I adjust my chair or my desk first?
Start with the chair, because seat height sets your elbow height, screen height, and foot position. Sit back with your feet flat and knees level with your hips, then look at where your hands land on the keyboard. If your shoulders rise, raise the chair and add a footrest. If your hands sit too low, the desk needs to come up instead.
Is a laptop acceptable for preventing back pain?
Only with a compromise. A laptop fixes the screen and keyboard at the same height, so you can raise the screen for your neck or lower it for your wrists, not both. Put it on a stand or a stack of books and add an external keyboard and mouse. If you cannot do that, alternate between devices and take frequent position breaks.
Do standing desks help prevent back pain?
They help some people, mostly because they make changing position easy, not because standing itself is corrective. Standing still for hours can be as uncomfortable as sitting still for hours, and a desk set too high will cause shoulder and wrist problems instead. Treat it as one of several positions, alternate through the day, and adjust the height to your elbows like any other desk.
How long should I test a new desk setup?
Give it three to five working days before drawing conclusions, and change only one variable at a time. Keep a quick note on how your neck and back feel at the end of each day for two weeks, then reassess the whole setup around the six-week mark. Most people notice a change well before that, and if nothing shifts, the note is useful for a clinician.
What back pain symptoms should prompt a visit to a doctor?
Book an appointment if pain is severe, keeps coming back, or is getting worse rather than settling. Seek prompt care if the pain radiates down a leg, comes with numbness, tingling, or weakness, follows an injury, or comes with changes in bladder or bowel control, fever, or unexplained weight loss. Setup changes are worth trying alongside clinical care, never instead of it.
Conclusion: Start With Your Three Biggest Pressure Points
Start with three things tonight: set your chair so your feet are flat and your knees are level, raise the screen until its top edge is at or just below eye level, and put the mouse next to the keyboard at the same height. Those three cover most of what is fixable in an evening without buying anything.
After that, work through the rest of the steps and give the setup three to five days before you judge it. Knowing how to set up your desk to prevent back pain is mostly a matter of fitting the furniture to your body, checking numbers, and changing position often. No desk prevents all back pain, and general conditioning tends to matter as much as the chair, so treat the setup as one part of looking after your back rather than the whole answer. If pain is persistent, severe, or radiates, see a doctor or qualified clinician rather than adjusting the chair again.