

To conduct a workplace hazard assessment, you break a job into steps, list what can go wrong at each step, rate the risk, and assign a control to every hazard you find. For a single job that usually takes a few hours of walking, writing and a short conversation with the person doing the work.
The paperwork is the easy part. The hard part is getting someone to tell you that the standard procedure gets skipped every Friday afternoon when the line is behind schedule.
The eight steps below follow the structure most safety programs use, and they map closely onto a job hazard analysis (JHA), also called a job safety analysis (JSA). The framework is stable, but the legal references and recordkeeping expectations shift, so check your own jurisdiction’s current rules. This guide was last reviewed in 2026.
Table of Contents
- What You Need
- Step-by-Step
- 1. Define the Scope and Hazard Checklist
- 2. Gather Worker Input and Existing Data
- 3. Inspect Tasks, Work Areas, and Workflows
- 4. How to Conduct a Workplace Hazard Assessment
- 5. Prioritize Risks and Select Controls
- 6. Document Findings and Corrective Actions
- 7. Review and Share the Assessment
- 8. Verify Controls and Schedule Follow-Up
- Common Mistakes
- Frequently Asked Questions
What You Need
Most assessments fail because the team arrives with a form and no preparation. Gather these eight things first.
An assessment team with a named decision maker
Three to five people works best: the supervisor who owns the work, the person who performs it, a worker or safety committee representative, and a safety professional if you have one. A field-level hazard assessment, the term common in UK energy and construction work, is usually run by a two-person team with a designated leader.
Decide in advance who can approve a control that costs money. If nobody in the room can, the assessment ends in a list of wishes.
Authoritative hazard information
Bring the safety data sheets for every chemical used, the manuals and lockout procedures for every machine, and the current requirements that apply to your operation. In the US that means OSHA standards and the General Duty Clause, which requires employers to keep the workplace free from recognized hazards; in the UK it means HSE guidance and the written safe system of work for higher-risk activities.
Worker participation, scheduled in advance
Block 30 to 60 minutes with the operator and one or two workers from the task. Frontline staff know the shortcuts, the awkward reach, and which guard is always propped open with a zip tie. Book the time before you need it, or you will assess an empty workplace.
Prior records
Pull the last two to three years of incident reports, near misses, first aid log entries, workers’ compensation claims, equipment downtime logs, and any previous hazard assessment for the same task. A step that shows up in four near-miss reports in a year is not a low-risk step, whatever the checklist says.
Measurement equipment
Match the tool to the hazard: a noise meter or dosimeter for noise and vibration, a lux meter for lighting, an air monitor and appropriate sampling pumps for airborne contaminants, a gas detector for confined spaces, a light meter for screen glare, and a goniometer or RULA sheet for lifting and awkward postures. A device with a current calibration certificate beats one that has been sitting in a truck since the last inventory.
Maps and layouts
Floor plans, traffic and pedestrian routes, emergency exits, electrical and ventilation layouts, and a rough sketch of the workstation. Mark the points where people, vehicles and stored materials share space, because that is where most near misses happen.
Forms
Three forms cover nearly everything: a hazard assessment worksheet with a sequence of steps, potential hazards and preventive measures; a risk matrix sheet defining your likelihood and severity scales; and an action tracker with owner, due date and closure evidence. Paper works fine for one job, but a digital form that pushes the previous revision and flags overdue actions saves hours once you are past your tenth assessment.
Authority and resources
Bring interim controls: lockout tags, barrier tape, a replacement guard, a spare respirator cartridge. If the only control you can offer someone is a poster, the assessment is decorative. Also settle who can stop the job if you find something serious mid-walkthrough.
Step-by-Step
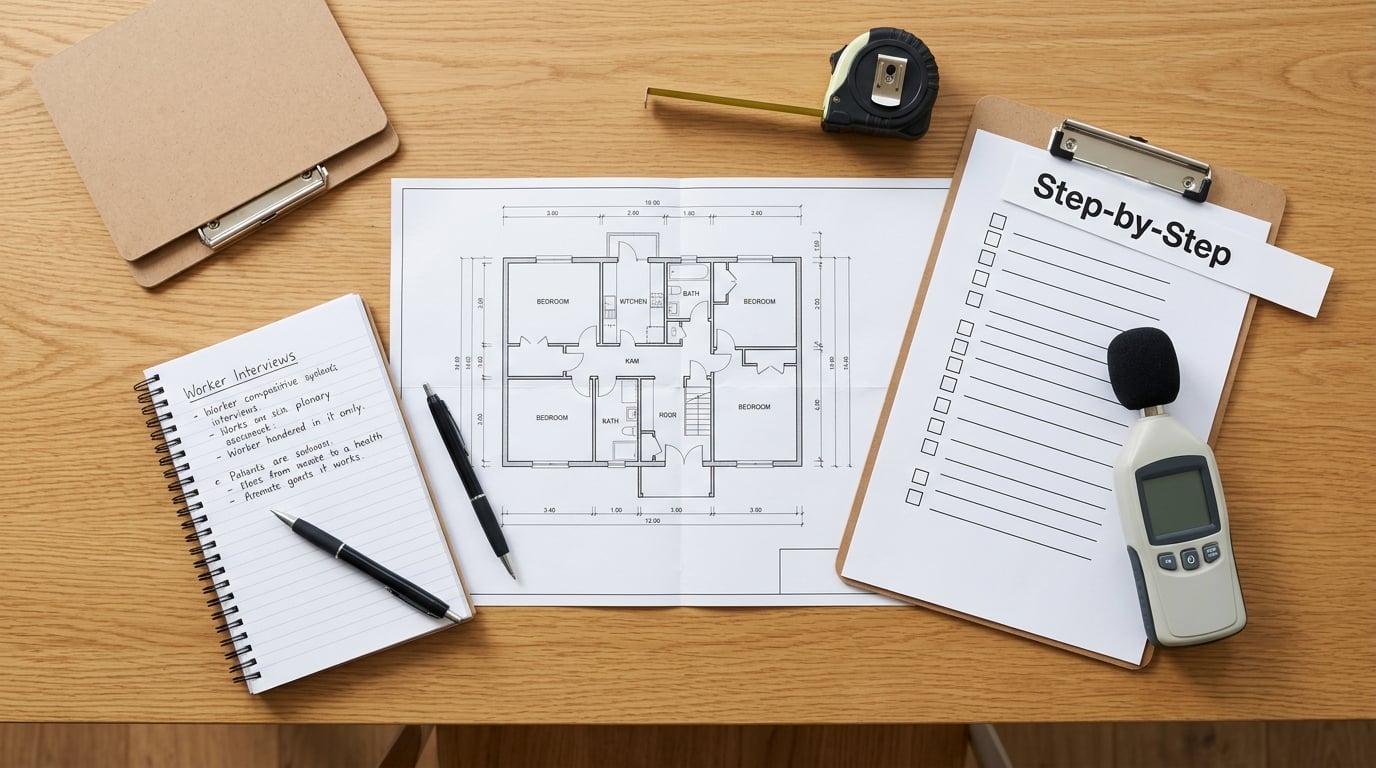
The eight steps in short: define the scope, gather worker input and existing data, inspect the work, record each hazard, prioritize and choose controls, document corrective actions, share the findings, then verify the controls and set a review date.
1. Define the Scope and Hazard Checklist
Write the boundaries down before anyone walks. Which tasks, which shifts, which areas, which workers. Most workplace hazard assessments quietly fail because they covered the day shift and missed the contractor crew working at 2am in the same bay.
Then build the checklist from hazard classes, not from a generic template. Cover physical hazards (noise, vibration, heat, cold, radiation, lighting, working at height, electricity, slip trip and fall, caught-in or caught-between, moving parts), chemical hazards (inhalation, skin contact, ingestion, fire and explosion), biological hazards (blood, waste, mould, animals), ergonomic hazards (repetition, force, awkward posture, manual handling, poor workstation design), and psychosocial hazards (workload, shift patterns, bullying, role ambiguity, low control over pace of work).
Confirm which review or sign-off requirements apply to you. Some organizations require a safety committee to approve any assessment touching a regulated process, and some jurisdictions expect the record to be available to an inspector.
Completion criterion: a one-page scope statement and a hazard checklist that a stranger could follow.
2. Gather Worker Input and Existing Data
Read the records before the walkthrough, not after. Incident history, near misses, exposure records, equipment faults, complaints and the previous version of the assessment all tell you where to look hardest.
Then interview the people doing the job. Ask what always goes wrong, what they skip when the schedule is tight, which tool is missing, what hurt last year, and what they would change first if they had any say. Ask about breaks, changeovers, cleanup, maintenance, delivery, and anything done differently at night or during shutdown.
Watch for the gap between the written procedure and the actual task. That gap is where the hazards live, and it is invisible to anyone who has not watched the work.
Completion criterion: a list of tasks and conditions that the record review alone would not have surfaced.
3. Inspect Tasks, Work Areas, and Workflows
Observe the job from setup to cleanup, not a five-minute sample in the middle. Setup and teardown carry a surprising share of injuries, and they are exactly the parts people rush.
Cover normal operations, maintenance and cleaning, material handling, waste removal, and non-routine work such as breakdowns, startup after a long shutdown, and temporary repairs. Look at the workflow around the task too: shared floor space, traffic routes, lighting that fails under a specific layout, storage stacked at head height, and where people stand when they wait.
Include remote and hybrid work if it applies, from the physical setup at home to the assumption that everyone has a suitable desk. Do not interrupt the operator mid-task to ask questions. Watch, take photos where permitted and allowed, and note it down afterward.
Completion criterion: observations for every task in the scope, with the abnormal conditions written down rather than mentally filtered out.
4. How to Conduct a Workplace Hazard Assessment
Record each hazard with the same set of fields every time: where the hazard comes from, who is exposed, what controls already exist, what harm could result, how likely it is, how severe the harm would be, how often the exposure happens, and how uncertain your estimate is. That last field is worth keeping. A score you are guessing at should look different from a score backed by five years of exposure data, and recording the uncertainty is how you find out which hazards need measuring rather than assuming.
Do not treat a checklist score as the decision. A checklist tells you what to look at. The judgment is yours, made at the workstation, and it is what an inspector or a worker will test you on.
Rate likelihood and severity on scales you defined before you started scoring, and use the same scales for every job in the organization.
| Score | Band | Typical response |
|---|---|---|
| 16 to 25 | Critical | Stop or redesign the task. Control before work resumes. |
| 10 to 15 | High | Interim control now, permanent control with a named owner and date. |
| 5 to 9 | Medium | Control within a planned timeframe, monitor while open. |
| 1 to 4 | Low | Accept and monitor; no further action unless conditions change. |
A worked example: solvent transfer in a small parts room. Someone pours solvent into a mixing vessel twice a shift, in a room with no local exhaust. Likelihood of an inhalation or skin exposure is 3 (it could reasonably happen in a year), severity is 4 (medical treatment and a lost-time case). The score is 12, which lands in the high band. The uncertainty field says the number is unverified because nobody has measured the airborne concentration.
That last point changes the next step. Because the score is high and the evidence is thin, the correct action is to measure, not to argue about the number.
The worksheet is the document the whole process produces. Three columns, one row per step, in the sequence the work actually happens.
| Sequence of steps | Potential hazards | Preventive measures |
|---|---|---|
| Move to level ground, engage the parking brake, switch on hazard lights | Vehicle rolls on a slope; wheel chocks missing | Level surface check, brake engagement verified, wheel chocks fitted before any lifting |
| Loosen wheel nuts with the impact wrench | Wheel slips off and falls; pinch injury; flying debris | Loosen half a turn before the wheel comes off, correct socket, eye protection |
| Lift the vehicle with the jack | Jack failure or wrong model; vehicle falls off the stand | Rated jack and stand for the vehicle weight, no work under a vehicle supported only by a jack |
| Fit the spare wheel | Under-torqued nuts fail in service; wrong wheel for the vehicle | Torque to the manufacturer specification with a torque wrench, recheck after the first 50 miles |
Note that every measure in that table is specific. Nobody writes “be careful with the jack,” because a worker cannot act on it and an inspector cannot verify it.
5. Prioritize Risks and Select Controls
A hazard is anything with the potential to cause harm. Risk is that harm actually occurring, which depends on likelihood and severity. Confusing the two is the most common error in this field, and it produces two opposite failures: treating a serious but rare hazard as trivial, and treating a trivial but frequent nuisance as urgent.
Rank your findings with one consistent method across the whole site, so the loudest supervisor does not decide what gets fixed. Start with anything scoring in the critical band, then any hazard with a regulatory limit, then anything with a history of harm to a person rather than to equipment.
Choose controls in a fixed order. Working down the hierarchy is not a formality, because controls higher up remove the exposure rather than asking a person to behave better every time.
| Tier | What it does | Example |
|---|---|---|
| Elimination | Remove the hazard entirely | Drop the manual cleanup step and buy the tool that does it |
| Substitution | Replace it with something less dangerous | Water-based solvent instead of the solvent-based one |
| Engineering controls | Isolate people from the hazard | Machine guards, local exhaust ventilation, fixed barrier, interlocked lid |
| Administrative controls | Change how people work | Rotation, training, permit-to-work, restricted access, signage |
| Personal protective equipment | Protect the individual | Gloves, eye protection, respirator, hearing protection |
Personal protective equipment is last because it depends entirely on a person choosing it, wearing it correctly and wearing it every time. That is a real behavior, not a guaranteed one, and in a hot warehouse at the end of a shift it is the first thing to fail.
Know when to stop and bring in someone qualified. Air sampling, noise dosimetry, exposure modeling, ergonomic redesign, asbestos or lead survey, confined space entry, and any interpretation of a specific regulatory standard need a competent professional. So does a serious incident, a regulator visit, or a dispute about whether a control is adequate.
Completion criterion: every hazard above the low band has a named control at the highest tier that is reasonably practicable.
6. Document Findings and Corrective Actions
Turn the walkthrough into a record that stands up six months later when someone asks why a decision was made. Each corrective action needs an owner by name, a due date, the resources committed, any interim control in place while the permanent one is built, and the evidence required to close it.
Name a person, not a department. “Facilities” is not an owner, because nobody in Facilities knows they own it. Set the due date against something real: the next scheduled shutdown, the equipment order lead time, the contractor visit already on the calendar.
Record what workers were told and when. If a control changes how someone does their job, they need the instruction before the change, not after the incident.
Completion criterion: an action tracker where no row has a blank owner or a blank due date.
7. Review and Share the Assessment
Take the draft back to the people affected. The worker who flagged a hazard and then watched it get rewritten as “be careful” learns that participation is theatre, and you lose your best source of information for the next assessment.
Resolve disagreement in writing. If a supervisor disputes a finding, record both the finding and the reason, and escalate to the safety committee or a competent person. Documented dissent is useful; quietly deleting it teaches people not to bother.
Share the results in plain language. Workers want to know what changed for them, what they should do differently, and what is still open. A worksheet filed in a system nobody opens is not communication.
Feed the closed actions into the organization’s hierarchy of controls process so the learning carries to other jobs with similar exposures. Most organizations have ten assessments of the same task on ten different pieces of paper, and consolidating them is the cheapest control available.
Completion criterion: the affected workers can state what changed and why.
8. Verify Controls and Schedule Follow-Up
Check that the control does what you expected. A guard fitted but wired open, a ventilation hood installed but blocked by stored stock, and a training delivered in a language the crew does not read all look complete on the action tracker and change nothing.
Where you measured before, measure again. Noise at the operator’s ear, air concentration at the breathing zone, illumination at the task surface. Where you did not measure, watch the work for several cycles and ask the operator whether the exposure actually changed.
Look for new hazards introduced by the fix. Rerouting pedestrian traffic away from machines moves the conflict, it does not remove it. Disabling an interlock for testing turns an engineering control into an administrative one, and it stays that way unless someone checks.
Keep the record. Most organizations hold completed assessments for years, and the retention period is often set by regulation rather than by preference, so check before you delete anything.
Set the review date from risk and change rather than the calendar. Review when the job, equipment, chemical, layout or crew changes, after an incident or near miss involving that task, when a worker reports that conditions have changed, when a regulation changes, and at a fixed interval for the highest-risk tasks. Low-risk office tasks can wait longer than a confined space entry.
Completion criterion: a dated review trigger for every assessment, plus verification evidence for the controls you closed.
Common Mistakes
These eight failures show up repeatedly, and every one of them has a straightforward fix.
- Papering over a tour. The walkthrough became a conversation about the worksite in general. Fix it by bounding the assessment in writing first, and treating a hazard outside the scope as a separate note with an owner.
- Inspecting an empty workplace. The assessment happened at 10am on a day the line was down, so the real work was never observed. Fix it by scheduling around production, and by watching one full cycle from setup to cleanup.
- Relying on the checklist alone. A completed form with no observation is a guess with formatting. Fix it by pairing every checklist line with something you saw, and marking items as unverified rather than ticking them.
- Confusing hazard with risk. A theoretical hazard with no exposure path got the same treatment as one that injures people every month. Fix it by scoring every hazard on likelihood and severity before ranking anything.
- Skipping worker input. The assessment was written entirely by someone who does not do the work. Fix it by putting the operator in the room and by recording what they say verbatim, not paraphrasing it into vagueness.
- Jumping straight to PPE. The hazard list became a list of gloves and glasses. Fix it by working down the hierarchy and justifying why a higher tier is not reasonably practicable before settling on personal protective equipment.
- No named ownership. Actions read “improve housekeeping” with no name and no date. Fix it by naming an individual and a date on every row, and by closing only on evidence.
- Declaring success without follow-up. The controls were installed and the file was closed. Fix it by verifying after the change, recording the result, and scheduling the next review before you close the current one.
Two more worth adding to your own list: writing steps that are too broad (“operate the machine”) makes hazards unhideable, while steps that are too granular (“move right hand forward 10cm”) produce a worksheet nobody maintains. Aim for a sequence a competent worker would recognize, usually somewhere under ten steps for a single task.
Frequently Asked Questions
How often should a workplace hazard assessment be conducted?
Conduct one before a task starts for the first time, whenever the job, equipment, chemical, layout or crew changes, and after any incident or near miss involving that work. On top of that, set a fixed review interval based on risk: frequently for confined space, working at height or machine work, less often for low-risk desk tasks. Expect a full re-assessment rather than a quick glance whenever the work changes shape.
Should employees participate in a workplace hazard assessment?
Yes, and treat their input as the core of the process rather than a courtesy. The people doing the job know which step gets skipped, which guard is always propped open and which tool is missing from the cart. Involve the operator plus one or two workers from the task, record what they say, and keep them in the loop when findings are finalized. In many jurisdictions worker participation in hazard assessment is also a legal expectation.
Do I need a physical hazard checklist?
You need a checklist, but the medium does not matter much. Paper works well for a single job, and a digital form saves real time once you run more than a few, because it keeps version history and flags overdue actions. Build the checklist around hazard classes covering physical, chemical, biological, ergonomic and psychosocial risks rather than a generic template. Pair every line with something you actually observed, and mark unverified items instead of ticking them.
Can I use a risk score to prioritize workplace hazards?
Yes, as long as you define the likelihood and severity scales in advance, apply the same method across the organization, and treat the number as a ranking aid rather than a verdict. Scores make prioritization defensible and comparable between sites. Where the score conflicts with what you observed in the field, investigate the disagreement instead of averaging it out, and write down what evidence drove the score, including how uncertain it is.
When should I hire an occupational safety or health professional?
Bring one in when the answer depends on measurement or specialized competence: air sampling, noise dosimetry, exposure modeling, ergonomic redesign, asbestos or lead surveys, confined space entry, or interpretation of a specific standard. Also after a serious incident, before a regulator visit, or when a control is disputed. A certified safety professional or occupational hygienist gives you defensible numbers and a document that holds up when the finding is challenged.
Start with one job this week, not the whole site. Pick a task with a recent near miss, sit down with the person who does it, walk it end to end, and fill in three columns. Everything else in this guide, the matrix, the hierarchy, the review cycle, is a refinement of that first honest pass.
And when you are done, go back and watch the work one more time. The gap between the written procedure and the actual task is where the next injury is waiting, and it is the part of a workplace hazard assessment that no amount of paperwork substitutes for.