

A job hazard analysis is a structured review of one specific task: you watch the work, break it into steps, list what could injure someone at each step, decide the controls, and write the result up as a short safe work procedure. A first analysis for a single task takes 45 to 90 minutes once you have the paperwork in front of you. Below is job hazard analysis how to do it step by step, in the order that actually works in the field.
Most of the JHAs I have reviewed read like a generic safety poster. They list “slips, trips and falls” without saying where, name personal protective equipment as the answer to everything, and were clearly written at a desk by someone who never watched the task. The ones worth keeping name the step, the exposure, the rating, and the person who owns the fix.
Table of Contents
- The Five Steps at a Glance
- What You Need
- Job Hazard Analysis How to Do It Step by Step
- Step 1: Define the Job or Task
- Step 2: Gather Information and Involve Workers
- Step 3: Break the Job into Steps
- Step 4: Identify Hazards at Each Step
- Step 5: Evaluate the Risk
- Step 6: Develop and Select Controls
- Step 7: Implement, Communicate, and Verify
- Step 8: Review and Update the Analysis
- Common Mistakes
- Frequently Asked Questions
- What are the 5 steps of a job hazard analysis?
- What are the four elements required in a job hazard analysis?
- Who should perform a job hazard analysis?
- How often should a job hazard analysis be reviewed?
- What is the difference between a job hazard analysis and a risk assessment?
- What should I do first when an analysis identifies a high risk hazard?
- Conclusion
The Five Steps at a Glance
- Observe the work. Watch the task performed under real conditions, start to finish, and take notes on what people actually do.
- Break the job into steps. List the tasks in logical order, including setup, operation, cleanup and maintenance.
- Identify hazards at each step. Ask what could go wrong and how a person is exposed, for safety, health, environment and quality.
- Determine the controls. Rate the risk, then pick a control from the highest practical level of the hierarchy of controls.
- Write and communicate the job procedure. Document the steps and controls, train the crew, sign off, and set a review date.
Those five steps are the same method published in official training material from OSHA Academy courses and state safety agencies, and the same sequence CCOHS describes. Everything below is the working detail behind each one.
What You Need
You need seven things before you start, and half of them are documents someone already has.
- The task, defined narrowly. Not “maintenance,” but “isolating and replacing the drive belt on the #2 conveyor while it is running.” Narrow scope is what makes the analysis finishable.
- The people who do the work. The operator, the helper, the contractor who shows up on Tuesdays. Their input is not optional; it is the difference between an accurate analysis and a guess.
- Current procedures and equipment information. Standard operating procedures, machine manuals, lockout/tagout procedures, and the manufacturer’s limits.
- Chemical information. Safety data sheets for anything the task uses, so exposure limits and required controls come from the source rather than memory.
- History. Inspection findings, near misses, first aid records and prior incident reports for that task. A near-miss report on the same job is the strongest argument for doing the analysis now.
- The applicable requirements. In the US that includes your state-plan or federal OSHA standards plus the General Duty Clause, Section 5(a)(1) of the OSH Act, which requires a workplace free from recognized serious hazards. If you operate in Canada, the provincial Occupational Health and Safety Acts and any applicable federal regulation apply instead.
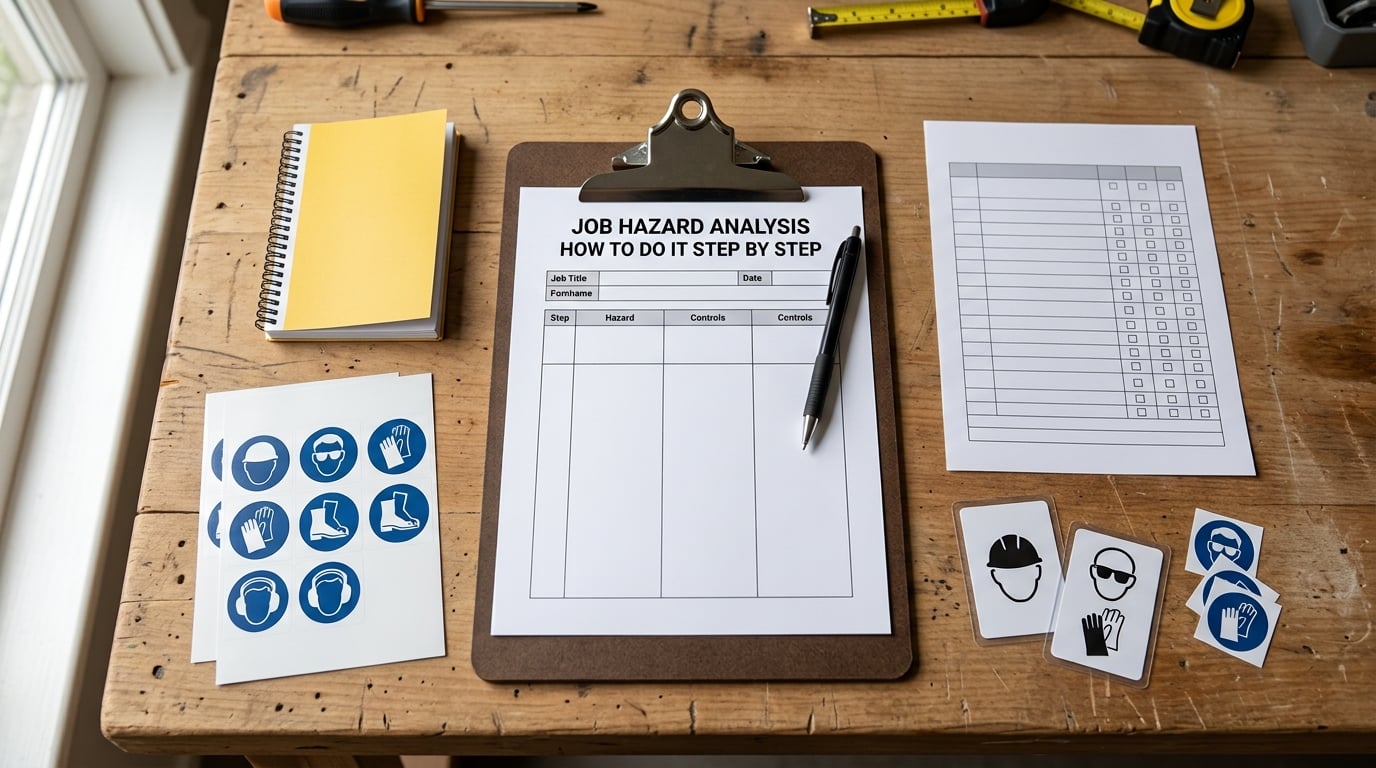
- A recording format. A one-page worksheet with four columns: task or step, who does it, hazards, and how to prevent injury or accident. If you have no form, a single page of paper works. The format is not the hard part; deciding what goes in the cells is.
NIOSH and CCOHS both frame this work as part of a larger safety management system rather than a standalone document. Knowing where the JHA sits in your program tells you who signs it and where it lives after.
Job Hazard Analysis How to Do It Step by Step
Step 1: Define the Job or Task
Write the task in one sentence that someone who has never seen the job could recognize. “Changing the blade on the table saw in the fabrication shop” works. “Shop work” does not.
Then record who performs it and who else is affected. A two-person task with a nearby apprentice and a passing delivery driver has a wider exposure picture than a solo task, and those people belong in the scope even though they never touch the tool.
Set the boundary explicitly. State what is in the analysis and what is not, so a review of blade changing does not quietly turn into a review of the entire workshop. You can tell whether you got the scope right by asking a simple question: could a worker look at this sheet and know how to do their part of the job without guessing? If the answer is no, the scope is wrong in one direction or the other.
Step 2: Gather Information and Involve Workers
Pull the standard operating procedure, the equipment manual, the safety data sheets and the training records for that task, and read the last two inspection reports that mention it. If a near miss happened on this job six months ago, the hazard is already documented and you are confirming rather than discovering.
Then watch the work being done. Observation is the step most often skipped, and skipping it produces an analysis of the job as described in the manual rather than the job as performed, which are frequently not the same thing.
Before you start watching, say plainly that the job is being studied, not the person. This single sentence prevents most of the problems I have seen in the field: if a worker thinks the exercise is a performance review, they describe the procedure as written instead of the procedure as practiced, and you lose the shortcut that actually causes injuries. CCOHS guidance makes the same point. Where a step is disputed, record both versions and resolve it on the floor, not in an office.
Step 3: Break the Job into Steps
List the tasks in the order they happen. A useful granularity test: each step should take long enough that a different hazard could exist within it, and short enough that you can picture the worker’s hands and body position. “Prepare for the task” is too broad. “Shut down, isolate and verify zero energy” is a real step.
Include the parts people skip. Setup, cleanup, tool changes, refills, and the awkward moment when something jams and the worker reaches in. Include non-routine states too: running late, working a night shift with reduced staff, or doing the job in the rain. If a task happens only once or twice a year, describe the whole chain including the decisions made beforehand.
Check the count against the observation. Seven to twelve steps suits most single tasks. Fewer than four usually means the analysis is too coarse to catch anything. More than fifteen usually means two jobs are trying to fit in one sheet.
Step 4: Identify Hazards at Each Step
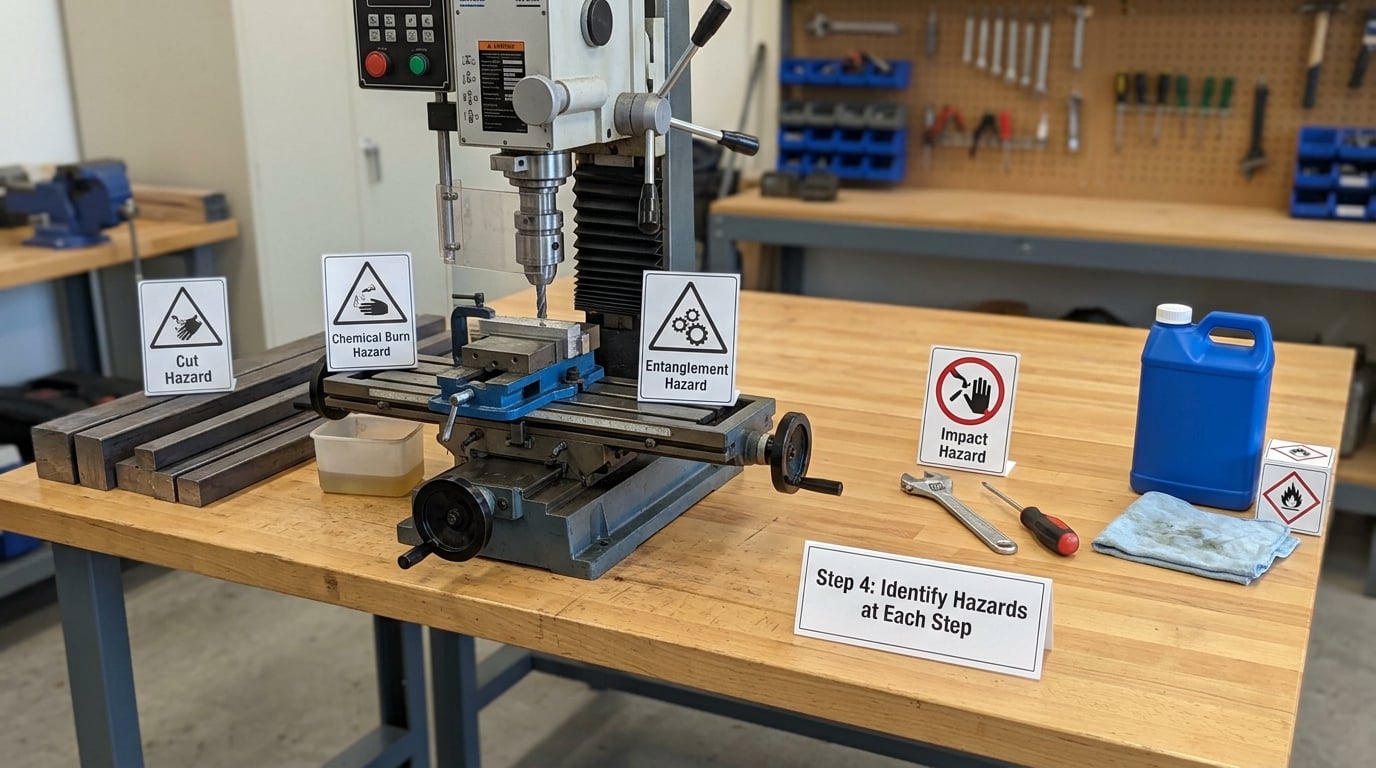
For each step, ask three questions in order: what can go wrong, who or what could be harmed, and how could it happen. A hazard entry without a step attached is unusable, so write it in the row for the step where it occurs. “Flying debris” in the operation row means something different than “flying debris” during cleanup with the guard off.
Work through the hazard families rather than waiting for something to occur to you:
- Mechanical and physical: moving parts, stored energy, sharp edges, noise, vibration, heat and cold, radiation, manual handling loads, slips and trips.
- Chemical: dust, fume, vapour, skin contact, corrosives, flammables, and the reaction risk of mixing two products.
- Ergonomic: awkward posture, repetition, overreach, twisting under load, and hand tool weight over a full shift.
- Electrical: energized equipment, damaged cords, wet conditions, arc flash potential, and missing lockout.
- Fire and explosion: ignition sources near fuel, hot work, confined atmospheres, dust accumulation.
- Biological: exposure to waste, mould, animals, bloodborne pathogens, and contaminated tools.
- Psychosocial: fatigue, night work, lone working, workload, and work at or above a pace people sustain.
- Environmental: heat stress, cold stress, noise levels, ventilation, and lighting that hides a trip hazard.
- Quality: contaminated product, wrong part fitted, scrapped material, the cost angle of a control decision.
Health hazards get skipped more than physical ones because nothing happens on the day. Airborne dust, fume and noise damage show up years later, and by then nobody connects them to the task on this sheet.
Step 5: Evaluate the Risk
Rate each hazard for likelihood and severity, then combine them on a 5 by 5 matrix. A worked example: a worker replaces a blade on a running saw once, per task. Hearing loss and a laceration are both plausible outcomes, so severity is high. Existing guards reduce likelihood to possible rather than likely.
Likelihood scale: rare, unlikely, possible, likely, almost certain. Severity scale: insignificant, minor, moderate, major, catastrophic. Multiply the two numbers for a score from 1 to 25, and write the reasoning next to the number. A rating a reader cannot follow is a rating they will not accept in an inspection.
| Score / likelihood | Rare | Unlikely | Possible | Likely | Almost certain |
|---|---|---|---|---|---|
| Catastrophic | 5 | 10 | 15 | 20 | 25 |
| Major | 4 | 8 | 12 | 16 | 20 |
| Moderate | 3 | 6 | 9 | 12 | 15 |
| Minor | 2 | 4 | 6 | 8 | 10 |
| Insignificant | 1 | 2 | 3 | 4 | 5 |
Set the action threshold before you rate anything, not after you have a result you like. A workable rule used by many programs: scores of 1 to 4 are monitored, 5 to 9 need a control within 30 days, 10 to 15 need a control before the task runs again with a supervisor sign-off, and 16 to 25 mean the task stops until the risk is reduced.
Record two ratings where you can. The inherent rating describes the risk before any control, and it justifies the effort you are about to ask for. The residual rating describes the risk with the new controls in place, and it is what tells you whether the control was worth anything.
Step 6: Develop and Select Controls
Every significant hazard needs a control, and controls come from the hierarchy of controls in order of reliability. Elimination removes the hazard: ship the pre-cut panel so nobody cuts on site. Substitution replaces it with something less dangerous: water-based adhesive instead of solvent-based. Engineering controls separate people from the hazard: a fixed blade guard, an interlock, local exhaust ventilation. Administrative controls change how the work is done: a permit, a two-person rule, a written lockout procedure, rotation to limit exposure hours. Personal protective equipment is last, because it depends on a person choosing it correctly every single time.
Ask the cheap question first: can this hazard be removed entirely? On many analyses it can, and the answer gets buried because the control people expect is gloves and goggles. It is worth naming a control at every level above PPE, even when you then explain why the higher level does not fit the situation.
If a hazard scores 16 or above and no control above PPE will bring it under 10, that is a signal to change the job rather than to document the risk. A supervisor sign-off is not a control.
Step 7: Implement, Communicate, and Verify
Give every control an owner and a date. “Improve ventilation” is not an action; “facilities to install local exhaust at the grinding station, complete before the next production run” is. Controls that need money, a purchase, or a contractor get a written note on what interim measure applies in the meantime, because a control with a 60-day lead time and no interim measure is six weeks of unprotected work.
Then communicate. Walk the crew through the revised steps at a pre-shift meeting, hand out the sheet, and have each person sign that they have read it. Workers who had a hand in writing it will defend it; workers handed a finished document will treat it as a rule imposed on them.
Here is what a completed row looks like. The same four columns work for construction, maintenance, manufacturing and warehouse work.
| Task or step | Who does it | Hazards | How to prevent injury or accident |
|---|---|---|---|
| Shut down, isolate and verify zero energy before guard removal | Line operator with maintenance technician | Unexpected energization; stored hydraulic pressure; release of a loaded spring | Written lockout/tagout per the site energy control procedure; personal lock applied; bleed and relieve pressure; verify zero energy with a meter before any guard comes off |
| Replace the drive belt and re-tension | Line operator | Crush injury to fingers; hands trapped between belt and pulley; noise during the first test run | Guard stays locked out until the belt is fitted; use a bar, never hands, to seat the belt; tension to the manufacturer figure, no over-tension; hearing protection during the run test; supervisor checks tension after 30 minutes of running |
| Return to production and clear the area | Line operator | Guard left off or unlatched; others unaware the machine is about to start | Two-step verification: operator checks guard latched, second person confirms before the start button; signage at the isolation point during the return to service |
Verification is the step people call “follow through” and then skip. Someone has to see the guard hanging on the machine, not a photograph of a guard on a parts bench. Check the control in place, check it works, and check the worker knows it exists and how to use it. A control that is installed and unused is the same as no control at all.
Step 8: Review and Update the Analysis
Set a review date on the sheet itself, not in a separate spreadsheet. Most programs use an annual cycle for routine tasks, with more frequent review for new workers, new equipment, or high-rated tasks.
Events override the calendar. Re-run the analysis after an incident or near miss on the task, after an equipment or process change, after a new chemical arrives, after a regulatory change, after a worker reports a control that is awkward or missing, and after any close call where something stopped working by luck.
Version the sheets. When a task changes, mark the old document superseded and the date, so nobody is working from last year’s instructions and nobody can argue about which revision governed a particular job.
Common Mistakes
These are the errors I see most often, with the correction that works.
- Treating it as paperwork. If a manager signs it in ten minutes without the worker present, you have a filed document and no information. Fix: sign-off only after the crew walkthrough.
- Skipping worker input. The person doing the task knows the shortcuts, and the analysis misses all of them. Fix: the observed worker co-authors the steps.
- Listing hazards with no step attached. “Chemical exposure” tells nobody anything. Fix: every hazard sits in a specific row with a specific exposure route.
- Jumping straight to personal protective equipment. It is the shortest line to write and the least reliable control. Fix: name an elimination, substitution or engineering option first, and explain why it was rejected if you reject it.
- Wrong step granularity. Too coarse and the controls are meaningless; too fine and nobody maintains the sheet. Fix: aim for seven to twelve steps and check that each one has a distinct position or tool.
- Vague ownership. “Improve training” with no name and no date. Fix: owner, action, due date, on every row.
- Writing it without observing the work. The sheet then describes the manual, not the job. Fix: watch one complete cycle before writing anything.
- Never verifying or reviewing. A completed analysis with no follow-up is a document about an old version of a job. Fix: verification visit after controls land, review trigger on every sheet.
Frequently Asked Questions
What are the 5 steps of a job hazard analysis?
Observe the work being performed under real conditions. Break the job into individual steps in logical order, including setup, cleanup and maintenance. Identify the hazards at each step across safety, health, environment and quality. Determine the controls needed, choosing the highest practical level of the hierarchy of controls. Then write the safe work procedure, train the crew, sign it off and set a review date.
What are the four elements required in a job hazard analysis?
Job steps and tasks, listed in the order they are performed. Identifying hazards at each of those steps. Hazard controls, or the measures that remove or reduce each hazard. Writing a job procedure, meaning the finished safe work procedure in positive narrative form with the required controls and personal protective equipment stated for each step.
Who should perform a job hazard analysis?
The supervisor or competent person leads it, the worker who performs the task takes part, and where one exists the joint health and safety committee or safety coordinator reviews it. Contractors performing the work should be included. Tell the observed worker in advance that the job is being studied rather than the individual, so they describe the task as it is actually performed.
How often should a job hazard analysis be reviewed?
Most programs review routine tasks annually and higher-rated tasks more often. Events override the schedule: review after an incident or near miss, after equipment or process changes, after a new chemical is introduced, after regulatory updates, and when workers report that a control is missing or awkward. Mark superseded versions so nobody works from an old sheet.
What is the difference between a job hazard analysis and a risk assessment?
A job hazard analysis is task-level and observational: it looks at one job, step by step, in the conditions where it is actually done. A risk assessment is broader and covers the whole activity or workplace, drawing on the analysis, inspection findings and incident history. A short pre-task briefing or Take 5 is lighter still: five minutes at the start of a shift, covering hazards for the day only.
What should I do first when an analysis identifies a high risk hazard?
Stop the task until the risk is reduced, then fix it at the highest practical level of the hierarchy of controls. Elimination or substitution beats an engineering control, which beats an administrative rule, which beats personal protective equipment. Record an interim measure if the fix needs money or a contractor, name an owner and a date, and rerate the risk once the control is in place.
Conclusion
Start with one task this week, not a program. Pick the job with the highest rating on your incident and near-miss list, watch one complete cycle of it, and write down what actually happens rather than what the procedure says should happen. Then run the five steps on that task and give every control an owner and a date.
A job hazard analysis is not a document you complete once. It is a standing description of how a specific task is done safely, and it only stays true if someone returns to it after every change, near miss and close call.