
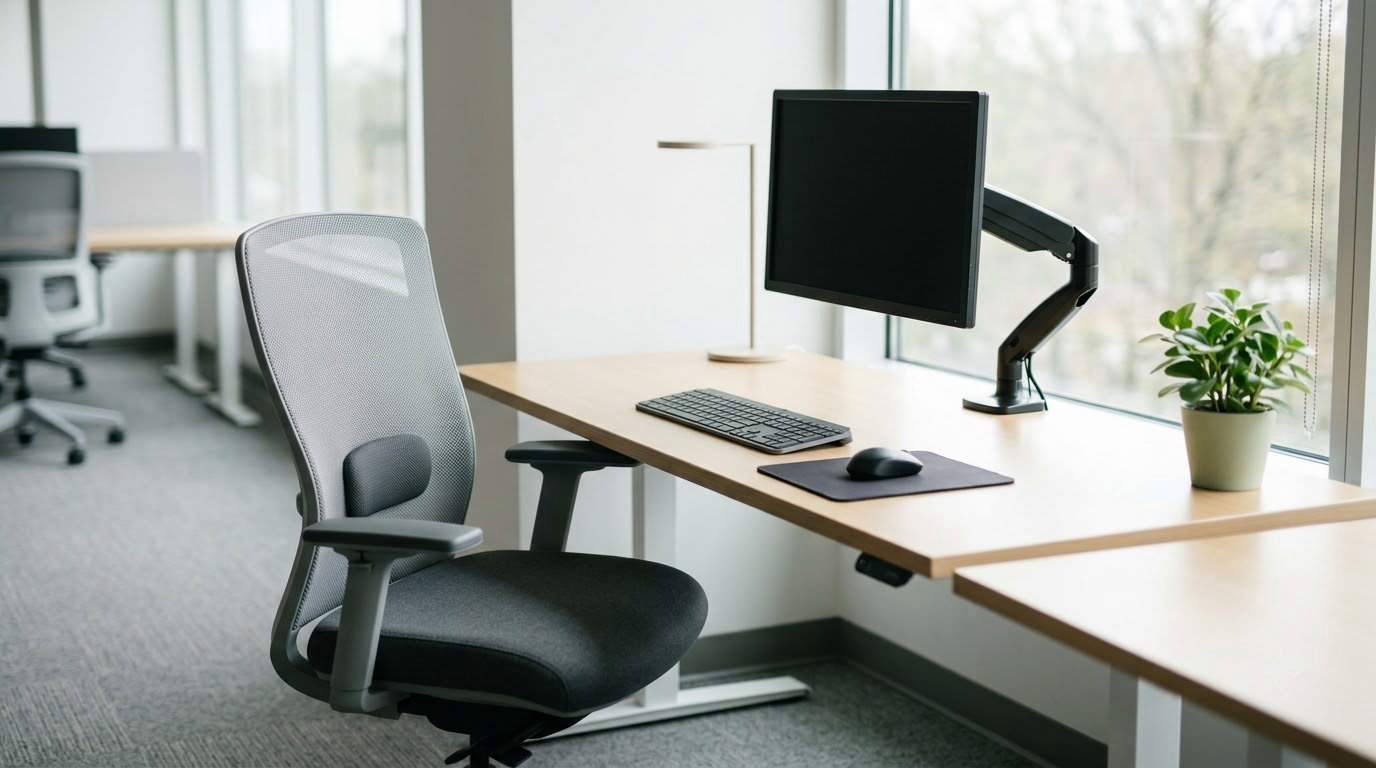
Most desk discomfort is not caused by a bad chair. It comes from a handful of small mismatches between your body and your setup, and each one takes about two minutes to correct. This office ergonomics checklist for desk workers turns that advice into ten specific actions with measurable targets you can check today, whether you sit in a corporate office, a home corner, or a shared touchdown space. Guidance here follows mainstream occupational-safety and occupational-therapy practice; last reviewed for accuracy in October 2026.
The premise is simple. An ergonomic workstation keeps your joints in neutral, relaxed positions so your muscles do not have to hold you in place for eight hours. Test each part of your setup against a number, fix whatever fails, and re-test. It is general information, not a diagnosis or a treatment plan.
Table of Contents
- Office Ergonomics Checklist for Desk Workers: Quick Guide
- 1. Set Your Chair and Pelvis for Neutral Posture
- 2. Place Your Monitor Directly in Front of You
- 3. Position Your Keyboard and Mouse Close to You
- 4. Support Your Feet, Legs, and Lower Back
- 5. Keep Your Work Surface Clear and Functional
- 6. Adjust Lighting and Screen Settings for Comfort
- 7. Use Documents and Accessories in Comfortable Positions
- 8. Build Short Movement and Stretching Breaks Into the Day
- 9. Check the Workstation When Your Task or Setup Changes
- 10. Ask for an Ergonomic Assessment When Problems Persist
- Frequently Asked Questions
- Conclusion
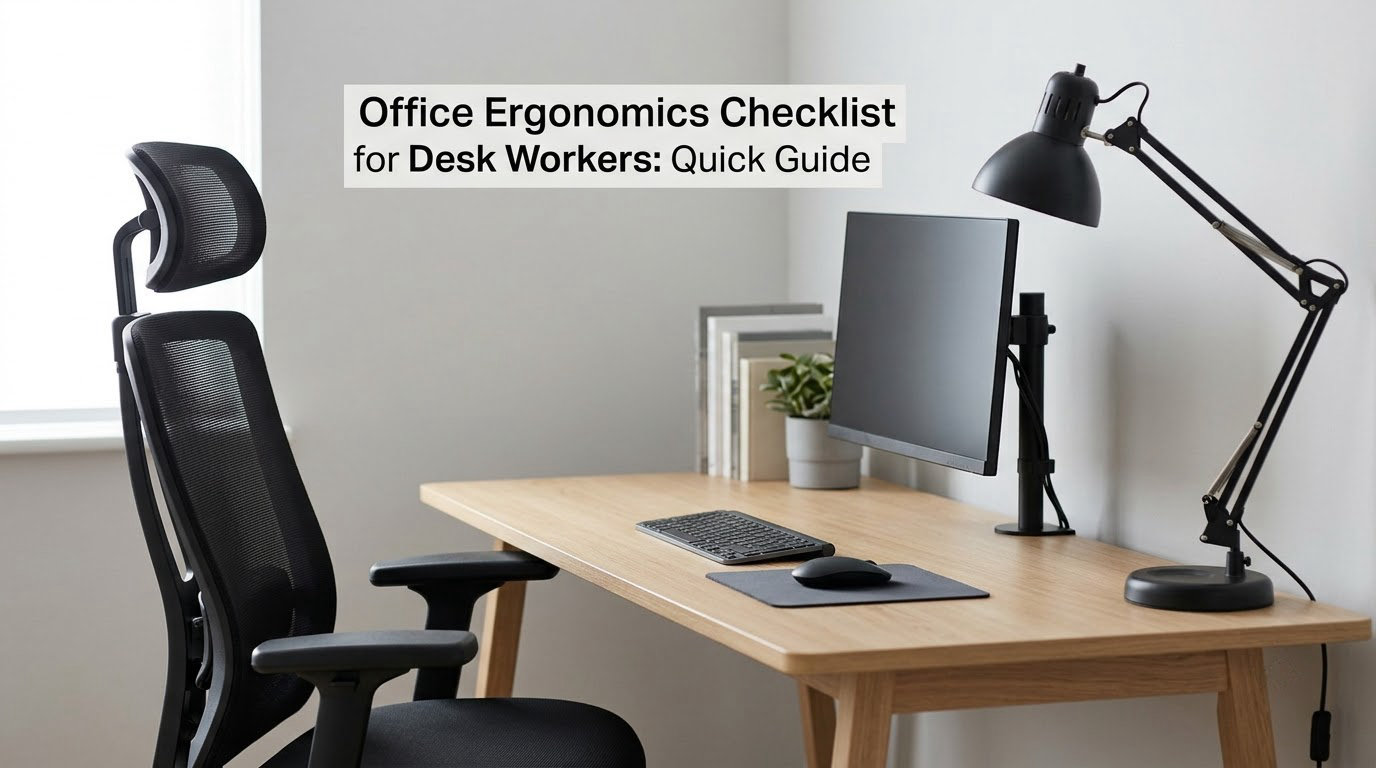
Office Ergonomics Checklist for Desk Workers: Quick Guide
| Checklist area | Main action | Sign it is working |
|---|---|---|
| Chair and pelvis | Set seat height, lumbar support, and foot placement so weight is on your seat bones | Feet flat or on a footrest, back supported, no forward lean |
| Monitor | Centre the screen and place its top edge at or slightly below eye level | Neck stays relaxed through a full hour of typing |
| Keyboard | Keep it centred on your body, flat, and close enough that elbows stay at your sides | Wrists rest without bending up or down |
| Mouse | Place it beside the keyboard and raise pointer speed so less sweeping is needed | No reaching or shoulder lift to move the pointer |
| Feet and legs | Support both feet fully, with knees near 90 to 100 degrees | No dangling feet and no pressure under the thighs |
| Desk surface | Keep daily items inside a short reach and clear the leg space | You do not twist or stand up to grab the phone |
| Lighting and screen | Kill glare, match screen brightness to the room, raise contrast | No squinting by mid-afternoon |
| Documents and phone | Use a document holder, laptop stand, and headset for off-screen work | Head does not swivel repeatedly between devices |
| Movement breaks | Stand, walk, and change position every 30 to 60 minutes | Stiffness arrives later in the day, not earlier |
| Setup changes | Re-run a shortened check at any new desk or with new equipment | A reset takes under five minutes and holds |
Work through the list in order rather than jumping to the fix that interests you. The biggest wins land early, at the chair and the monitor, and a change there often makes the input-device problems disappear on its own.
1. Set Your Chair and Pelvis for Neutral Posture
Sit back fully in the chair and let the backrest carry your weight instead of your abdominal muscles. Lower the seat until your thighs are roughly parallel to the floor, then slide forward until the front edge of the seat sits two to three finger-widths behind your knees. That gap stops the seat pan from pressing into the back of your legs.
Then set the lumbar support so it sits in the curve of your lower back, not in the middle of your back. Adjust armrests so they rest just below elbow height and let your elbows hang close to your ribs, because elbows held out to the sides load the shoulder and upper back all day. A chair that slowly sinks while you work is a common and overlooked failure, so check your height setting at the start of the day and again after lunch.
You know it is working when you can type for an hour without shifting forward in the seat, and you can get up without the feeling that you have been folded for hours.
2. Place Your Monitor Directly in Front of You
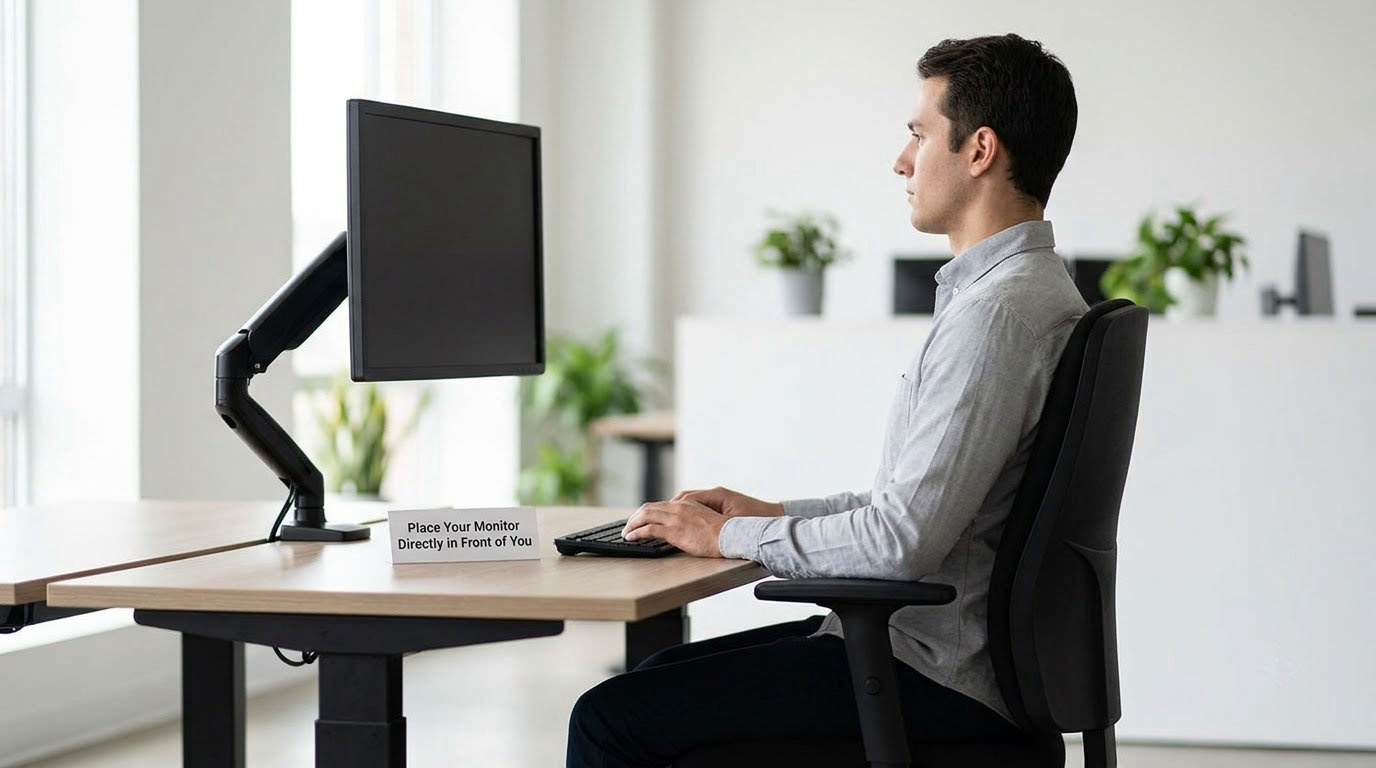
Your screen belongs centred on your body, not off to one side where you twist your neck to read it. Set the distance to roughly 18 to 20 inches, about an arm’s length, and raise or lower the display so the top edge sits at or slightly below eye level. Looking a little downward is natural; craning upward is not.
Position the monitor at a right angle to any window so daylight does not land on the screen as glare, and tilt the panel slightly so reflections do not bounce toward you. If text feels small at a comfortable distance, increase font size rather than pulling the screen closer. A monitor arm is worth the small adjustment effort here, since it makes all four of these changes repeatable in seconds.
Try this test: look at the screen for a full work block, then glance ten feet away. If your eyes need time to refocus and your neck is tight, the distance or height is off. People who propped a monitor on stacked paper or boxes often find the screen ends up too low and too close at the same time, which doubles the strain rather than solving it.
3. Position Your Keyboard and Mouse Close to You
Push the keyboard back until your forearms can rest lightly on the desk edge with your elbows still near your sides. Align the space bar with the centre of your body, because a keyboard placed off to the left makes you hold one shoulder higher than the other all day. Keep the mouse directly beside the keyboard so switching between the two does not involve a reach.
The best wrist position is neutral, meaning the hand continues in a straight line with the forearm: no bending up, no bending down, and no resting on a sharp desk edge. That edge pressure is a very common cause of wrist discomfort. Raise the pointer speed in your operating system settings so small movements cover more ground, and lower it if you overshoot, since an over-sensitive mouse creates its own strain.
If you are on a laptop and feel it in your wrists or neck, the keyboard height is almost certainly the reason. A laptop on a stand plus an external keyboard and mouse is the fix, and it is not an optional upgrade for anyone typing more than an hour or two a day.
4. Support Your Feet, Legs, and Lower Back
Both feet should be fully supported, with your weight split between them, your knees at about 90 to 100 degrees, and a few inches of clearance between the top of your feet and the underside of the desk. If you cannot place both feet flat, a footrest is the standard answer, and any stable platform that raises the floor to the right height does the job.
Lower back discomfort is not proof that you need a more expensive chair. Far more often the chair is simply not adjusted for your body, or the seat has drifted out of position during the day. Make these three checks first: back support in the lumbar curve, thighs roughly parallel to the floor, and feet fully on the floor or on a footrest. Fixing those removes most of the complaints people report about pricey seating.
Also check the front edge of the desk. If your thighs hit it, your keyboard has probably been pushed too far forward to make room, and the keyboard needs to come back instead.
5. Keep Your Work Surface Clear and Functional
Your keyboard, mouse, and monitor belong in the inner reach zone, the area your forearm can sweep without moving your torso. Items you use several times a day, such as a notebook, a headset, or a charger, belong in the same zone. Anything used once belongs at the back of the desk or in a drawer.
The common mistake is a tidy-looking surface where the phone, a document, and a mug have quietly claimed the typing space, pushing the keyboard toward the desk edge and setting up wrist pressure. Move the phone out of the reach of your typing hands and keep the front edge of the desk clear so you can rest your forearms when you pause.
One practical test: reach for something the way you normally would. If your shoulder lifts, your back arches, or you twist in the chair to get it, the item is in the wrong place.
6. Adjust Lighting and Screen Settings for Comfort
Glare is the first thing to fix because it forces constant squinting and pupil adjustment. Position the screen perpendicular to windows, close blinds or sheer curtains that let direct light through, and add a task light aimed at your work surface rather than at the screen. If a window is behind you, a brighter lamp inside the room can reduce the contrast your eyes fight all afternoon.
Then match the screen to the room. Set display brightness so white text on the screen looks about the same brightness as white paper beside it, turn night mode on for evening work, and increase text contrast rather than shrinking fonts. Keep the screen clean, since a smeared surface forces the same kind of squinting as glare.
Digital eye strain also comes from staring without blinking, so take a visual break every 20 minutes and look at something roughly 20 feet away for 20 seconds. The familiar 20-20-20 habit is a useful prompt, but the deeper fix is a reminder you will actually notice.
7. Use Documents and Accessories in Comfortable Positions
When you need to read a document while typing, put it on a stand beside the monitor rather than flat on the desk. Looking down at paper while your head faces forward, or alternating between paper and screen, keeps your neck turning through a large range. A phone or tablet stand serves the same purpose for a laptop-only worker.
For call-heavy days, a headset with a boom microphone keeps your neck from craning toward a phone held at your shoulder. If you have two screens, set the second one at a slight angle beside the first rather than stacking them vertically, since a vertical stack forces repeated neck extension. And if you wear a headset all day, remove it between calls so the pressure does not accumulate.
Accessories are the cheapest fix in the set, and they are usually the last thing people buy. The pattern in community discussions is consistent: people buy a gadget before they identify which adjustment would actually remove the pain.
8. Build Short Movement and Stretching Breaks Into the Day
The body tolerates variety far better than it tolerates one posture held for hours, so the goal is changing position, not stretching hard. Set a reminder for every 30 to 60 minutes and pick a low-risk movement: stand and walk for a minute, roll your shoulders backward, turn your head slowly each way, or shift your weight and straighten your knees.
Alternating sitting and standing helps many people, and a common guideline is to spend about twice as long seated as standing before reversing the ratio. Standing all day is not a treatment for sitting all day, because the same static loading applies to the legs and lower back. If you have a sit-stand desk, change position at your reminder rather than standing indefinitely through a call.
A useful habit is to note what you felt in the last few days before you change anything, for example tightness after ninety minutes or wrists that go numb mid-afternoon. That record tells you which setup step deserves your attention, and it is a step most guides skip entirely.
9. Check the Workstation When Your Task or Setup Changes
A setup that works for one task often fails for the next. A person who reviews documents all morning and then switches to data entry at a second monitor needs a different keyboard position and a different viewing distance. When your equipment, chair, desk, or location changes, run a shortened version of this checklist rather than assuming the old settings still hold.
Hot-desking and shared desks deserve particular attention, because you inherit whatever height the last person left. Sit, adjust, and re-check before you start, and keep a small note of the settings that suit you. At home, the same rule applies when the desk doubles as a dining table or the sofa becomes your evening workstation; a dining chair rarely offers lumbar support or the right height, and a sofa cushions you into a slouch you cannot consciously correct.
Treat temporary equipment as a real workstation, not an exception. A laptop on a coffee table for two hours of calls is a neck and wrist risk no matter how short it feels.
10. Ask for an Ergonomic Assessment When Problems Persist
This checklist handles setup problems, not health problems. Get professional help if you notice numbness or tingling in your hands, weakness when gripping something, persistent aching or sharp pain that lasts more than a couple of weeks, visible swelling, or a headache and eye strain that build every afternoon and do not settle on the weekend. Those are the patterns people report when a work-related musculoskeletal disorder is developing, and they deserve a proper look rather than another equipment purchase.
Talk to your manager or your workplace health team and ask specifically for an ergonomic assessment of your workstation, describing the symptom, the tasks, and when it appears. If you work remotely, put the request in writing to the same contact. A qualified ergonomist or occupational therapist will watch you work, measure your setup against your body, and recommend changes. Bring your notes of when discomfort shows up, since that timing narrows the cause faster than anything else.
For pain that is sharp, spreading, or accompanied by weakness, see a doctor or physiotherapist. Nothing in this general information replaces individual medical or workplace advice.
Frequently Asked Questions
What is the 90-90-90 rule in ergonomics?
The 90-90-90 rule describes a neutral seated position: your hips, knees, and ankles each sit at roughly 90 degrees, with thighs parallel to the floor and feet flat or on a footrest. It is a quick visual check rather than a strict measurement. If you cannot hold all three angles at once, adjust seat height first, then add a footrest or lumbar support.
How high should my monitor be and how far away should it sit?
Place the top edge of the screen at or slightly below eye level and position the display about 18 to 20 inches away, roughly an arm’s length. Centring it on your body keeps your neck straight. If text looks too small, enlarge the font instead of pulling the screen closer, and angle the monitor 90 degrees to any window to reduce glare.
Should my feet be flat on the floor at a desk?
Both feet should be fully supported, whether on the floor or on a footrest, with knees near 90 to 100 degrees and a few inches of clearance under the desk. Dangling feet push pressure into the back of your thighs. If the floor is out of reach, a stable platform at the correct height fixes the problem inexpensively.
What is the best wrist position for typing?
Keep the hand in a straight line with the forearm, neither bent upward nor downward, and avoid resting the wrist on a sharp desk edge. Pull the keyboard close enough that your forearms can rest lightly while your elbows stay near your sides. If your desk is too high, the keyboard should come forward and your feet may need support too.
Is my desk too high if I feel pressure on my forearms?
Yes, pressure on the forearms or wrists against the desk edge is one of the clearest signs the surface is too high, or that the keyboard has been pushed too far forward. Slide the keyboard back, let your forearms rest without pressing, and check that your shoulders are relaxed. If the edge still digs in, a soft edge or a keyboard tray solves it.
What is the 20-8-2 rule for standing desks?
The 20-8-2 rule suggests spending about twice as long sitting as standing, so roughly 20 minutes standing for every 40 minutes seated, then reversing the pattern. The point is alternation rather than long standing blocks. Standing still for hours loads the legs and lower back the same way sitting still loads the hips and back.
Conclusion
Start with three actions today: set your seat height until your feet are supported and your thighs are roughly parallel to the floor, then centre the monitor at an arm’s length with its top edge at or just below eye level, then pull the keyboard back so your elbows stay near your sides and your wrists stay straight. Those three cover the majority of problems people bring up in desk-work discussions.
After that, work through the rest of this office ergonomics checklist for desk workers and re-run it whenever your task, equipment, or location changes. If discomfort persists or numbness and weakness show up along the way, ask for a workplace ergonomic assessment and see a health professional. Fix the setup you can measure, and let an expert handle the rest.